Master the Art of Faux Finishing: Transform Your Living Room with Paint
Unlock the Secrets of Stunning Faux Finishes and Elevate Your Home Decor
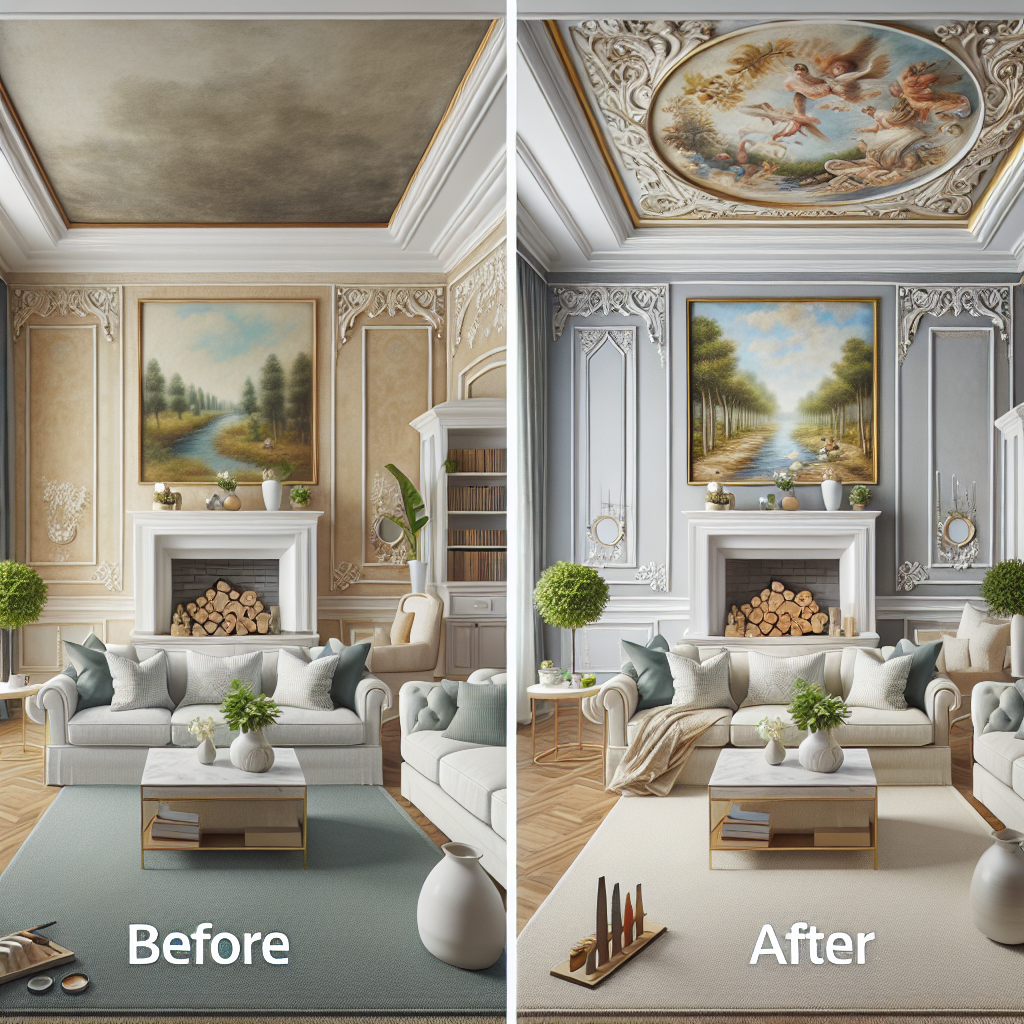
Are you tired of staring at dull, uninspired walls in your living room? Do you yearn for a space that exudes style, personality, and that elusive "designer touch"? Look no further than the transformative power of faux finishing techniques. With a little creativity and the right know-how, you can turn your plain walls into showstopping features that will have your friends and family in awe. In this comprehensive guide, we'll delve into the world of faux finishing, uncovering step-by-step methods to create a variety of captivating effects. From the rustic charm of a textured Tuscan plaster to the sophisticated elegance of a metallic glaze, the possibilities are endless. Prepare to unleash your inner artist and transform your living room into a space that reflects your unique style.Understand the Basics of Faux Finishing
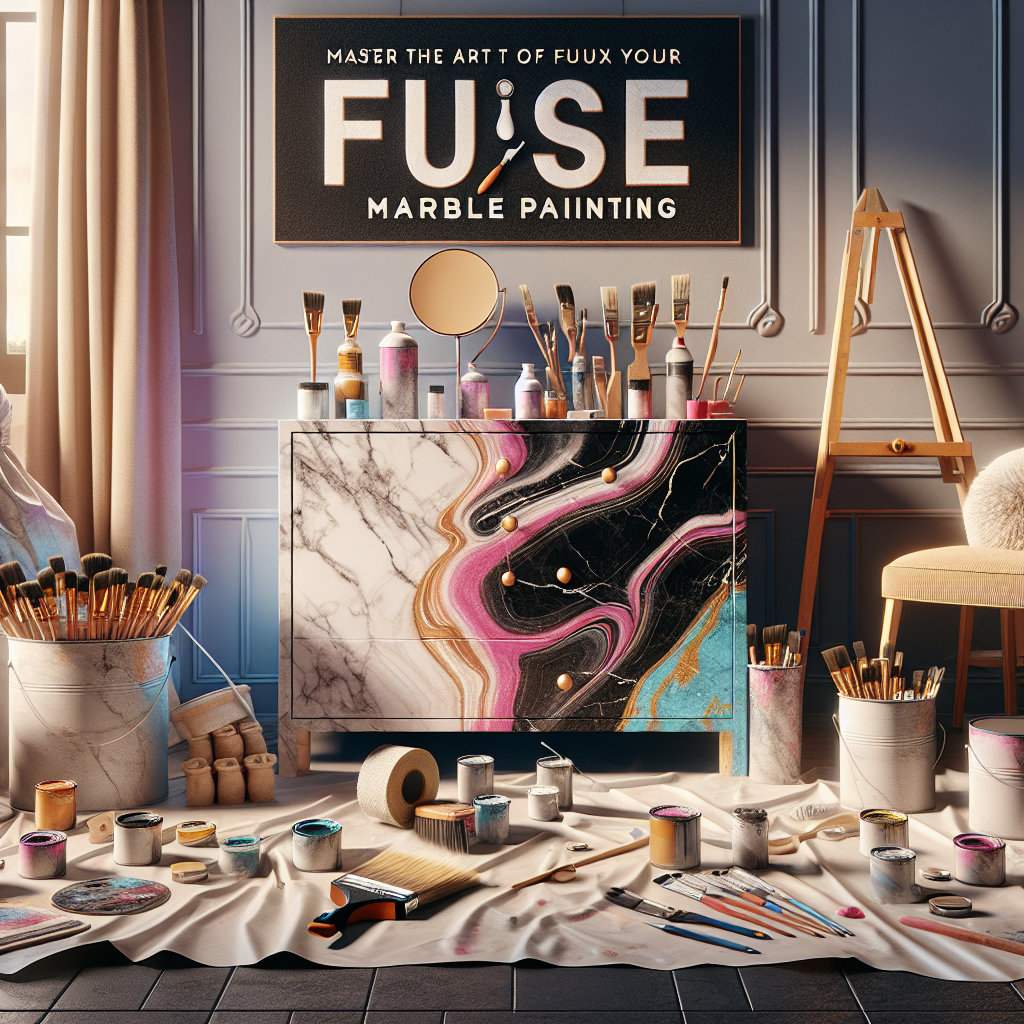
Faux finishing is the art of creating the illusion of a high-end, premium surface through the strategic application of paint and other materials. Unlike a standard paint job, faux finishes utilize techniques like sponging, ragging, glazing, and color washing to achieve depth, dimension, and visual interest. The beauty of faux finishing lies in its versatility. You can mimic the appearance of natural materials like stone, marble, or wood, or even create entirely unique textures and patterns. The key is to embrace experimentation and a willingness to let your creativity guide the process.Essential Tools and Materials for Faux Finishing
Before you dive into your faux finishing project, make sure you have the right tools and materials on hand. Some essential items include:- High-quality paints: Choose a mix of base coats, glazes, and specialty paints to achieve your desired effect.
- Painting tools: Sponges, rags, sea sponges, and various brushes (both natural and synthetic) will be your primary application tools.
- Specialty products: Depending on the technique, you may need items like glaze medium, metallic powders, or crackle medium.
- Painter's tape and drop cloths: To protect surrounding surfaces and create clean lines.
- Sandpaper: For prepping surfaces and creating subtle textures.
- Primer: To ensure proper paint adhesion and a smooth base for your faux finish.
Mastering the Tuscan Plaster Faux Finish
One of the most popular faux finishing techniques is the Tuscan plaster effect, which creates the illusion of a warm, weathered plaster wall. This technique is perfect for adding character and a touch of Old-World charm to your living room.Step-by-Step Guide to Tuscan Plaster Faux Finish
1. Prepare the Surface: Start by thoroughly cleaning the walls and applying a high-quality primer. This will ensure the best possible adhesion for your faux finish. 2. Apply the Base Coat: Choose a warm, earthy base color, such as a soft beige or muted terracotta. Apply two coats, allowing each to dry completely between applications. 3. Create the Texture: Dip a sea sponge or a large, stiff-bristle brush into a tinted glaze (a mix of paint and glaze medium). Gently dab and stipple the surface, working in small sections, to build up a random, textured pattern.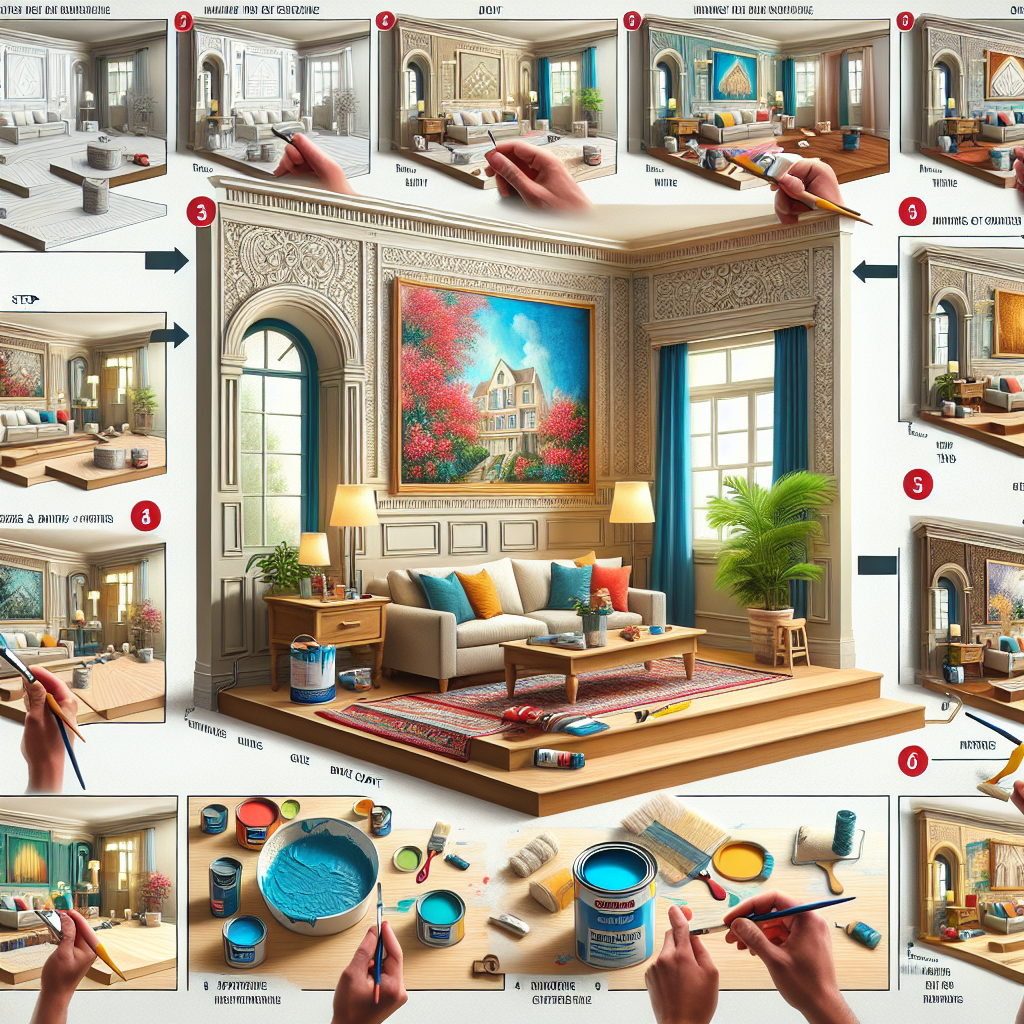
Achieve the Elegance of a Metallic Glaze Faux Finish
For a more sophisticated, high-end look, consider a metallic glaze faux finish. This technique can transform a plain wall into a shimmering, luxurious feature that exudes opulence.Step-by-Step Guide to Metallic Glaze Faux Finish
1. Prepare the Surface: Start with a smooth, well-primed surface. Apply a base coat in a neutral color, such as a soft gray or beige. 2. Create the Metallic Glaze: Mix a high-quality metallic paint or powder with a clear glaze medium. The ratio should be approximately 1 part metallic to 3 parts glaze. 3. Apply the Metallic Glaze: Using a clean, dry rag or sponge, apply the metallic glaze mixture in a random, overlapping pattern. Work in small sections, allowing the glaze to partially dry before moving on. 4. Blend and Soften: As the glaze begins to set, use a clean, dry rag to gently buff and blend the edges, creating a more natural, seamless appearance. 5. Add Depth and Variation: For added interest, you can selectively apply a second, slightly darker metallic glaze in certain areas. This will create the illusion of depth and shadows. 6. Seal and Protect: Finish with a clear, satin or semi-gloss topcoat to seal and protect your stunning metallic faux finish.Explore the Charm of a Color Wash Faux Finish
If you're looking for a more subtle, soft-focus effect, a color wash faux finish might be the perfect choice. This technique involves layering translucent, tinted glazes to create a hazy, atmospheric quality.Step-by-Step Guide to Color Wash Faux Finish