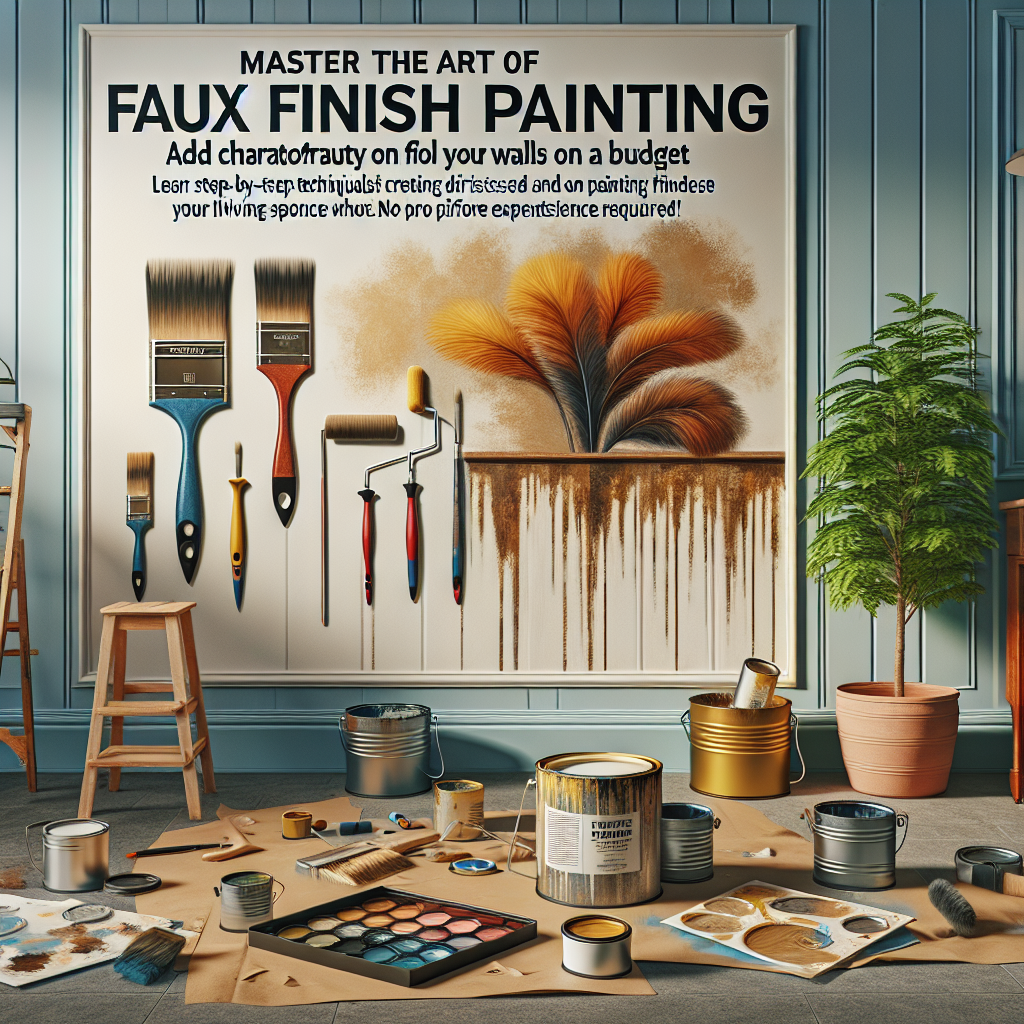
Master the Art of Faux Finish Painting: Transform Your Living Room Walls
Discover Cost-Effective Techniques to Create Stunning Wall Textures and Effects with Paint. No Professional Painters Required, Just Your Creativity and Our Step-by-Step Guide!
Tired of plain, flat walls in your living room? Yearning for a touch of elegance, depth, and personality that standard paint finishes simply can't provide? Faux finish painting might be the answer you've been searching for. These specialized techniques allow you to transform dull surfaces into stunning, one-of-a-kind works of art – all without the need for professional painters or expensive renovations. In this comprehensive guide, we'll walk you through the step-by-step process of mastering faux finish painting for your living room walls. From understanding the fundamentals to executing advanced textures and effects, you'll discover how to unleash your creativity and breathe new life into your space. Get ready to impress your guests and elevate your home's ambiance with these cost-effective, DIY-friendly techniques.The Beauty and Benefits of Faux Finish Painting
Faux finish painting is the art of creating the illusion of various textures, materials, and finishes using just paint. Unlike traditional, flat paint jobs, faux techniques allow you to transform the appearance of your walls, transforming them into stunning focal points that instantly elevate the look and feel of any room. Some of the key benefits of faux finish painting include:- Unique, Custom Appearance: Faux finishes enable you to personalize your living room with one-of-a-kind designs and effects that you simply can't achieve with standard paints. Whether you're going for a rustic, weathered look, a sleek and modern finish, or anything in between, the creative possibilities are endless.
- Cost-Effectiveness: Compared to full-scale renovations or hiring professional painters, faux finish techniques are remarkably budget-friendly. With the right tools and a bit of practice, you can create high-end, designer-inspired looks for a fraction of the cost.
- Increased Home Value: Unique, visually striking wall finishes are known to boost a home's perceived value and appeal. Faux painting can be a smart investment that pays off if you ever decide to sell your property.
- Durability and Washability: Many faux finish techniques result in a durable, washable surface that can withstand the rigors of everyday living, making them ideal for high-traffic areas like living rooms.
Understanding the Fundamentals of Faux Finish Painting
Before diving into the various faux finish techniques, it's important to grasp the underlying principles and key considerations. This knowledge will serve as a solid foundation for your projects and help you achieve professional-looking results.Selecting the Right Paint and Materials
The success of any faux finish project largely depends on the paints and materials you choose. Here are some tips to guide your selection:- Base Paint: Start with a high-quality, low-sheen or eggshell latex paint as your base coat. This provides the ideal foundation for your faux finish effects.
- Specialty Paints: Incorporate specialty paints like glazes, metallic finishes, or textured acrylics to create unique visual and tactile effects.
- Painting Tools: Invest in a variety of painting tools, such as sponges, rags, brushes, and specialty applicators, to execute different faux finish techniques.
- Sealants and Topcoats: Protect your faux finish with a clear sealant or topcoat, ensuring long-lasting durability and washability.
Understanding Color and Undertones
Color plays a crucial role in faux finish painting. Carefully selecting your base and accent colors, as well as understanding their undertones, can make or break the final result.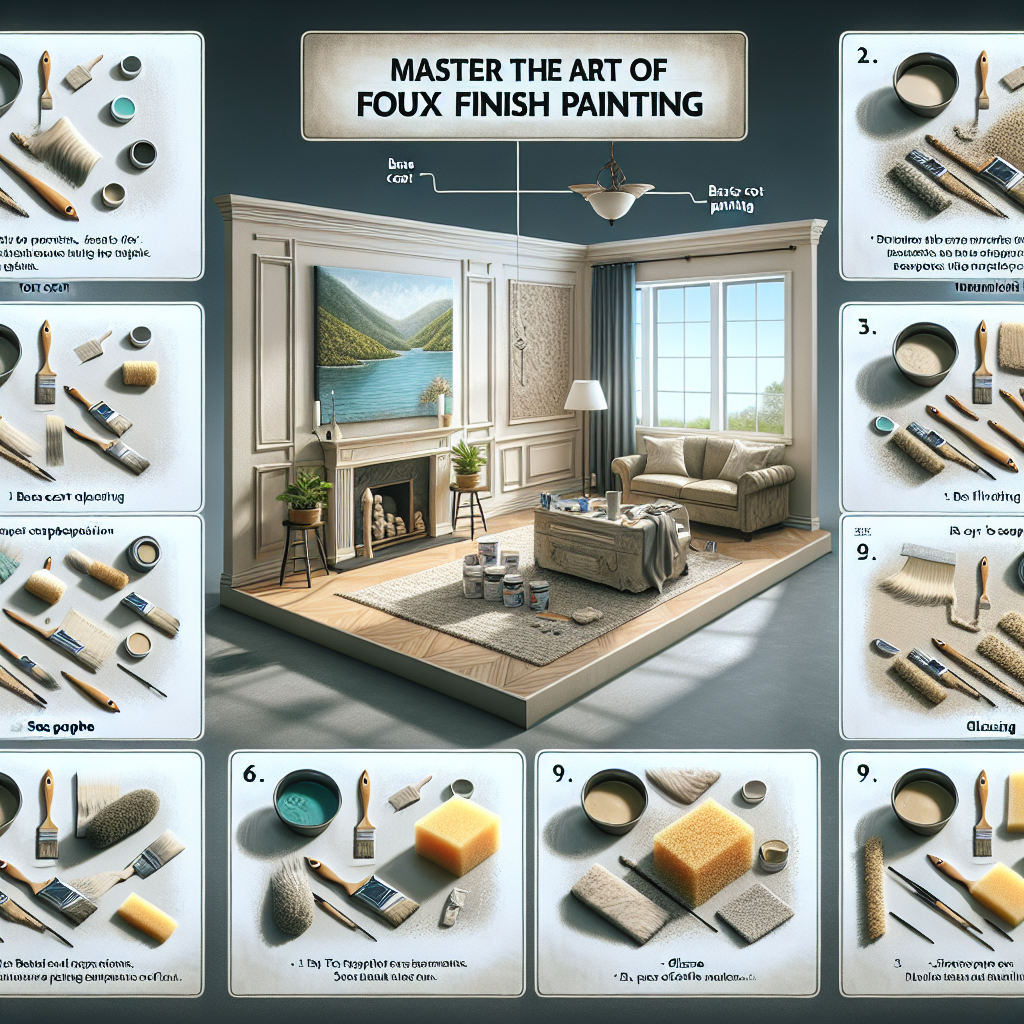
- Complementary Colors: Choose base and accent colors that complement each other, creating a harmonious and visually appealing palette.
- Undertones: Pay close attention to the underlying undertones of your paint colors, as these can significantly impact the overall appearance of your faux finish.
- Color Layering: Layering different colors and hues can add depth, dimension, and visual interest to your faux finishes.
Mastering Painting Techniques
Faux finish painting requires a range of specialized techniques that go beyond the basic brush or roller strokes. Familiarize yourself with the following methods to achieve a wide variety of effects:- Sponging: Using a natural sea sponge, dab and stipple paint onto the wall to create a mottled, textured appearance.
- Rag Rolling: Crumple a rag, dip it in paint, and roll it across the wall to create a subtle, weathered look.
- Glazing: Apply a thin, translucent layer of glaze over your base paint to add depth, sheen, and an aged or antique effect.
- Stippling: Tap a brush or sponge onto the wall to create a random, dotted pattern that mimics the look of plaster or stucco.
- Dragging: Use a paint-loaded rag or brush to create linear, textured effects by dragging it across the wall.
Faux Finish Techniques for Your Living Room Walls
Now that you've grasped the fundamentals, let's dive into some of the most popular and visually stunning faux finish techniques perfect for transforming your living room walls.Venetian Plaster Effect
The Venetian plaster look is a timeless, elegant choice that can instantly elevate the ambiance of your living room. To achieve this sophisticated finish:- Start with a high-quality latex paint in your desired base color and apply it to the walls in a smooth, even coat.
- Once the base coat is dry, mix a glazing medium with a metallic or pearl-based paint, creating a translucent, shimmering topcoat.
- Using a putty knife or drywall knife, apply the glaze mixture to the wall in thin, sweeping strokes, creating a layered, dimensional effect.
- Lightly mist the surface with water and smooth the glaze using a clean, damp rag, working in small sections.
- Allow the glaze to partially dry, then gently buff the surface with a clean, dry cloth to reveal the shimmering, plaster-like finish.
Aged Metallic Finish
For a modern, industrial-inspired vibe, consider an aged metallic faux finish. This technique creates the illusion of weathered, distressed metal on your living room walls.- Start with a dark, moody base color, such as charcoal gray or navy blue, and apply it to the walls.
- Once the base coat is dry, mix a metallic paint, such as silver or bronze, with a glazing medium to create a translucent topcoat.
- Using a rag or sponge, apply the metallic glaze in a random, patchy pattern, allowing some of the base color to peek through.
- Lightly mist the surface with water and gently wipe away some of the glaze using a clean rag, creating a subtly distressed appearance.
- Allow the finish to dry completely, then seal it with a clear, matte topcoat to protect the metallic sheen.
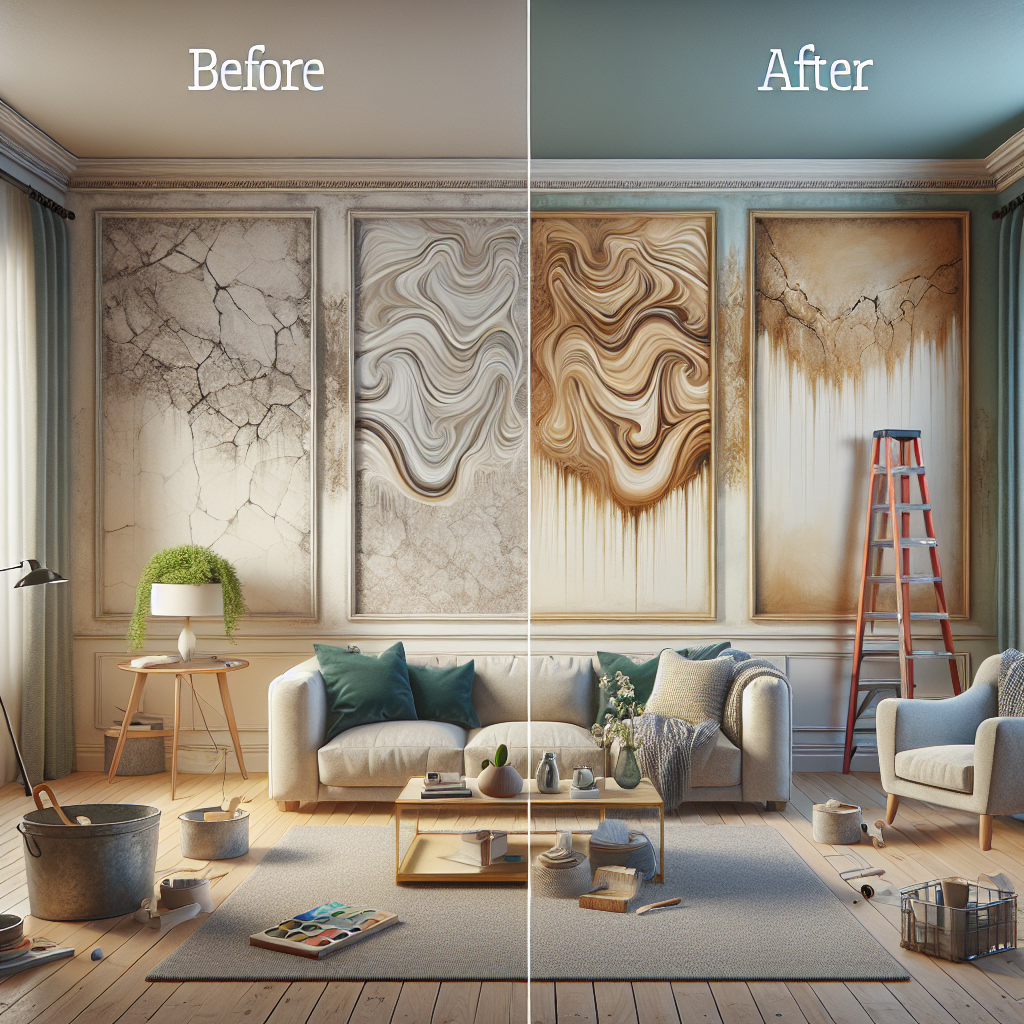
Limewash Effect
Achieve the coveted, time-worn look of limewashed walls with this simple yet stunning faux finish. The result is a soft, muted palette that exudes an old-world, rustic charm.- Start with a matte, neutral base color, such as white, beige, or light gray, and apply it to the walls.
- Mix a limewash solution by combining water and a high-quality white latex paint, creating a thin, translucent consistency.
- Using a wide, flat brush or a limewash applicator, apply the limewash solution to the walls in a haphazard, overlapping pattern.
- Lightly mist the surface with water and gently dab or wipe away some of the limewash using a clean, dry rag, creating a subtly uneven, weathered appearance.
- Allow the limewash to dry completely, then seal the finish with a clear, matte sealer to protect the delicate, chalky texture.
Dry Brush Technique
For a rustic, textured look that adds depth and character to your living room walls, the dry brush technique is a fantastic option.- Start with a medium-toned base color, such as beige or light brown, and apply it to the walls.
- Mix a contrasting accent color, such as a darker brown or gray, with a small amount of water to create a thin, semi-dry consistency.
- Using a stiff-bristled brush, dip it into the accent color mixture and lightly dab and stipple it onto the wall, creating a random, textured pattern.
- Vary the pressure and application to achieve a natural, organic appearance, with some areas more heavily painted than others.
- Allow the dry brush effect to dry completely, then seal the finish with a clear, matte topcoat.
Key Takeaways
Faux finish painting is a powerful tool for transforming the look and feel of your living room walls. By mastering these specialized techniques, you can:- Create unique, one-of-a-kind wall finishes that elevate the aesthetic of your living space
- Achieve high-end, designer-inspired looks without the hefty price tag of professional painters or full-scale renovations
- Boost the perceived value and appeal of your home, potentially increasing its resale value
- Customize your living room to reflect your personal style and taste, from rustic and industrial to elegant and modern
- Enjoy the satisfaction of completing a visually stunning DIY project that will impress your guests and loved ones