Master the Art of Drywall: A Comprehensive Guide to Essential Tools & Techniques
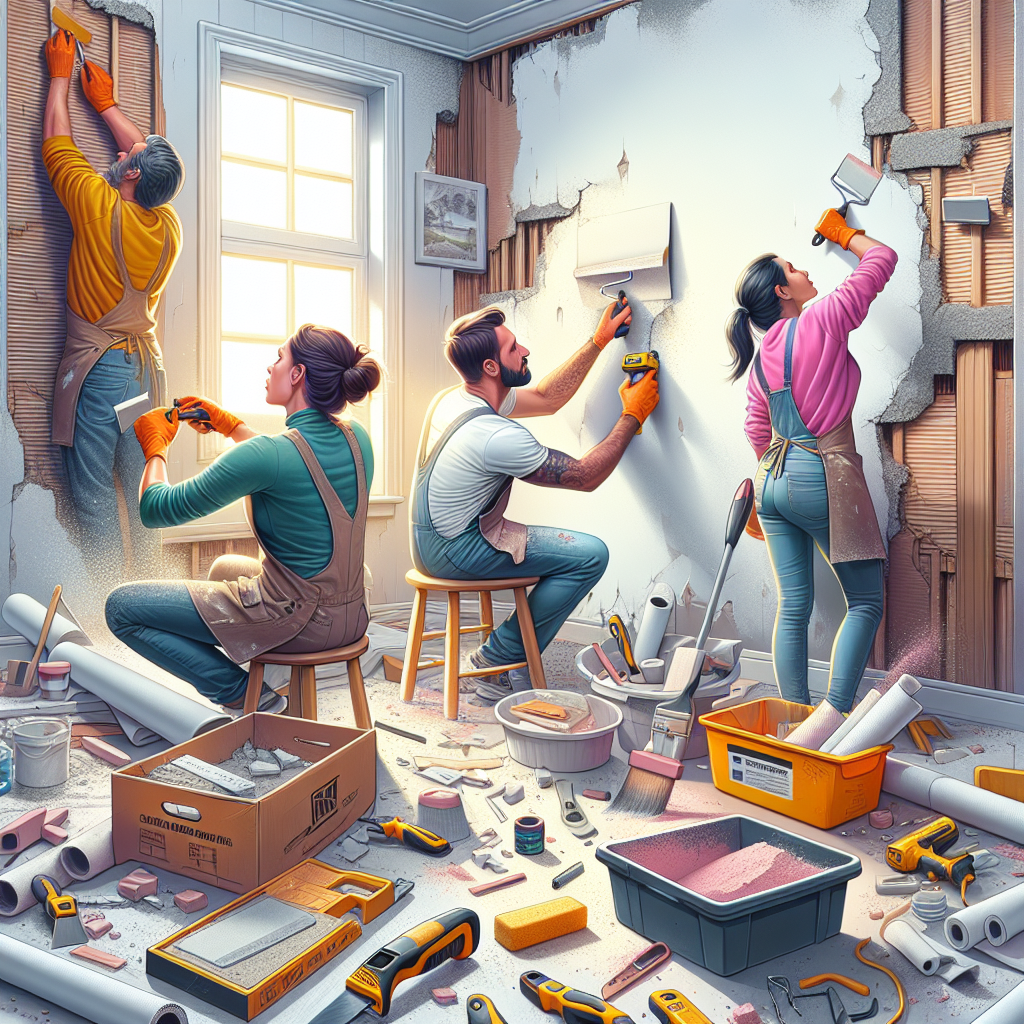
Drywall, also known as sheetrock or gypsum board, is a ubiquitous material in modern construction and home renovation projects. While it may seem like a straightforward material to work with, mastering the art of drywall installation, repair, and finishing can make a significant difference in the quality and longevity of your home improvements. In this comprehensive guide, we'll dive deep into the essential tools, techniques, and best practices to help you save time and money by tackling drywall projects like a pro.Understanding Drywall and Its Components
Drywall is a panel made of gypsum plaster sandwiched between two thick sheets of paper. It is a versatile and cost-effective material that has become the standard for interior wall and ceiling construction in most homes. Drywall comes in a variety of thicknesses, ranging from 1/4-inch to 5/8-inch, with the most common being 1/2-inch. The key components of drywall include:- Gypsum core: The main structural element of the panel, made from a mineral that is fire-resistant and provides thermal and acoustic insulation.
- Paper facing: The outer layers of the panel, made from heavy-duty paper that provides a smooth surface for finishing.
- Tapered edges: The long edges of the drywall panels are tapered, allowing for a seamless joint when the panels are installed.
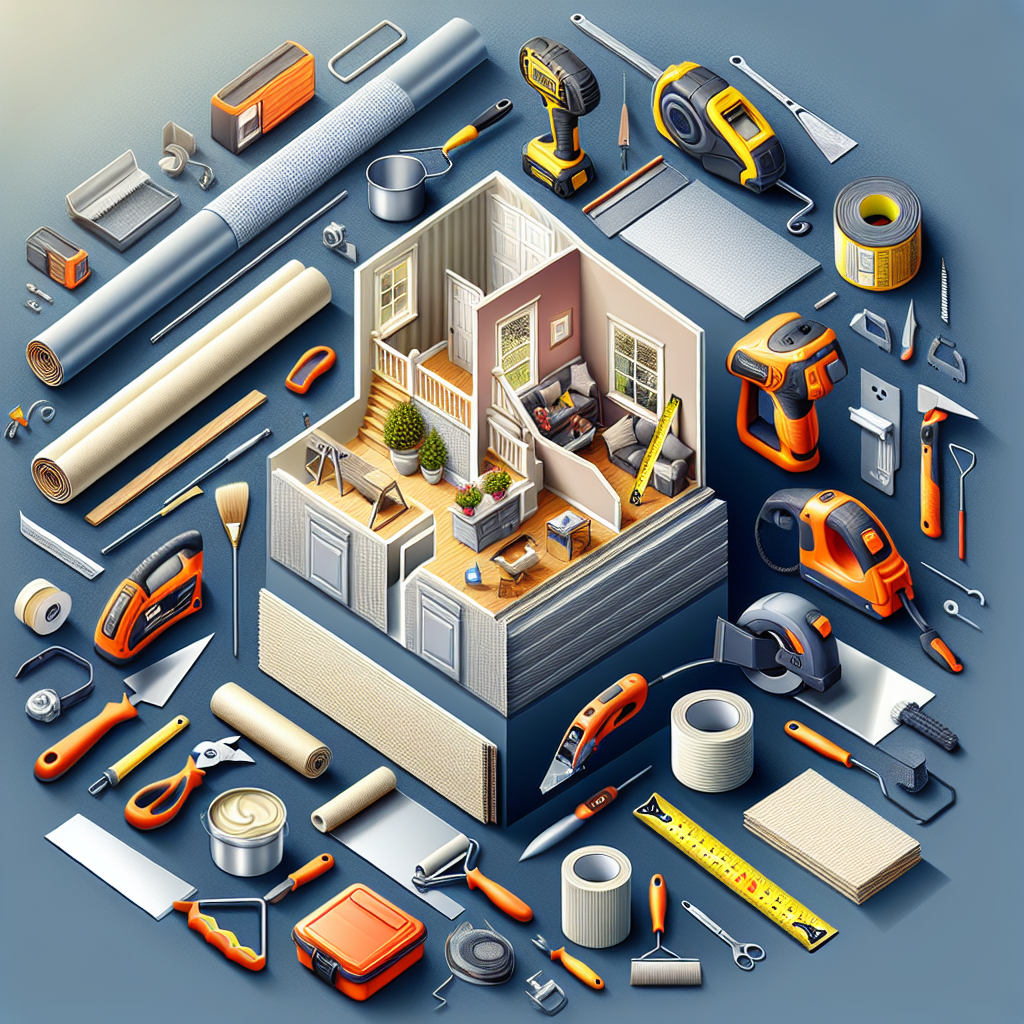
Essential Drywall Tools and Equipment
Tackling drywall projects requires a specific set of tools and equipment. Investing in the right tools can make a significant difference in the quality of your work and the time it takes to complete the job. Here are the essential tools you'll need:Cutting and Measuring Tools
- Utility knife: A sharp utility knife is essential for cleanly cutting drywall panels to size.
- Drywall T-square: This tool helps you measure and mark accurate cuts on the drywall panels.
- Drywall saw: A specialized saw with fine teeth designed for cutting drywall, especially in tight spaces.
Fastening and Installation Tools
- Drywall screwdriver or screw gun: Used to securely fasten the drywall panels to the wall framing or ceiling joists.
- Hammer: For driving in drywall nails, which can be used as an alternative to screws.
- Nail setter: A tool used to sink drywall nails flush with the surface, preventing dimples.
Finishing Tools
- Drywall knives: Available in various sizes, these flexible metal blades are used for applying and smoothing joint compound.
- Drywall sanding pole: A long handle with a sanding head, allowing you to reach and smooth large areas efficiently.
- Drywall sanding screen: A flexible mesh sanding screen that contours to curved surfaces and corners.
Protective Gear
- Safety glasses: Protect your eyes from dust and debris during cutting and sanding.
- Dust mask or respirator: Reduce your exposure to harmful drywall dust.
- Work gloves: Protect your hands from cuts and abrasions when handling drywall panels.

Drywall Installation: Step-by-Step Guide
Properly installing drywall is the foundation for a smooth and seamless finish. Follow these step-by-step instructions to ensure a successful drywall installation:Measure and Cut the Panels
- Measure the wall or ceiling area where the drywall will be installed, taking into account any obstructions or openings.
- Use a drywall T-square to mark the drywall panels, allowing for a 1/4-inch gap around the perimeter.
- Cut the drywall panels to size using a utility knife or drywall saw, ensuring clean, straight cuts.
Prepare the Wall or Ceiling
- Ensure the wall or ceiling framing is properly installed and secured, with studs or joists spaced 16 inches apart.
- Check for any electrical outlets, light fixtures, or other obstructions that will need to be accommodated.
- Clean the surface to remove any dust, debris, or loose materials that could affect the drywall adhesion.
Install the Drywall Panels
- Begin by securing the drywall panels to the wall or ceiling, starting from the top and working your way down.
- Use drywall screws or nails to fasten the panels, spacing them approximately 12 inches apart along the studs or joists.
- Stagger the panel joints to prevent them from aligning, and ensure a tight fit between the panels.
- For ceilings, use panels that are perpendicular to the ceiling joists for added stability.
Address Gaps and Seams
- Fill any gaps or joints between the drywall panels using joint compound, also known as "mud."
- Apply a thin layer of joint compound over the screw or nail heads, ensuring a smooth surface.
- Use drywall tape (either paper or mesh) to reinforce the joints and seams, embedding it into the joint compound.
- Apply additional layers of joint compound, allowing each layer to dry completely before sanding and applying the next.
Drywall Finishing: Achieving a Flawless Surface
The finishing process is crucial for achieving a smooth, seamless, and professional-looking drywall installation. Follow these steps to ensure a flawless finish:Sanding and Priming
- Use a drywall sanding pole and sanding screen to lightly sand the entire surface, removing any visible ridges or bumps.
- Wipe away any dust with a clean cloth or damp sponge, ensuring the surface is clean and ready for priming.
- Apply a thin, even coat of drywall primer to the entire surface, following the manufacturer's instructions.
Texturing (Optional)
- If desired, apply a drywall texture to the primed surface using a spray-on or roll-on texture compound.
- Choose a texture pattern that suits your personal style and the overall design of the room.
- Follow the manufacturer's instructions for proper application and drying times.
Final Painting
- Once the primer or texture is fully dry, apply a high-quality interior paint in your desired color and finish.
- Use a roller for large, flat surfaces and a brush for cutting in along edges and corners.
- Apply at least two coats of paint, allowing the recommended drying time between each coat.
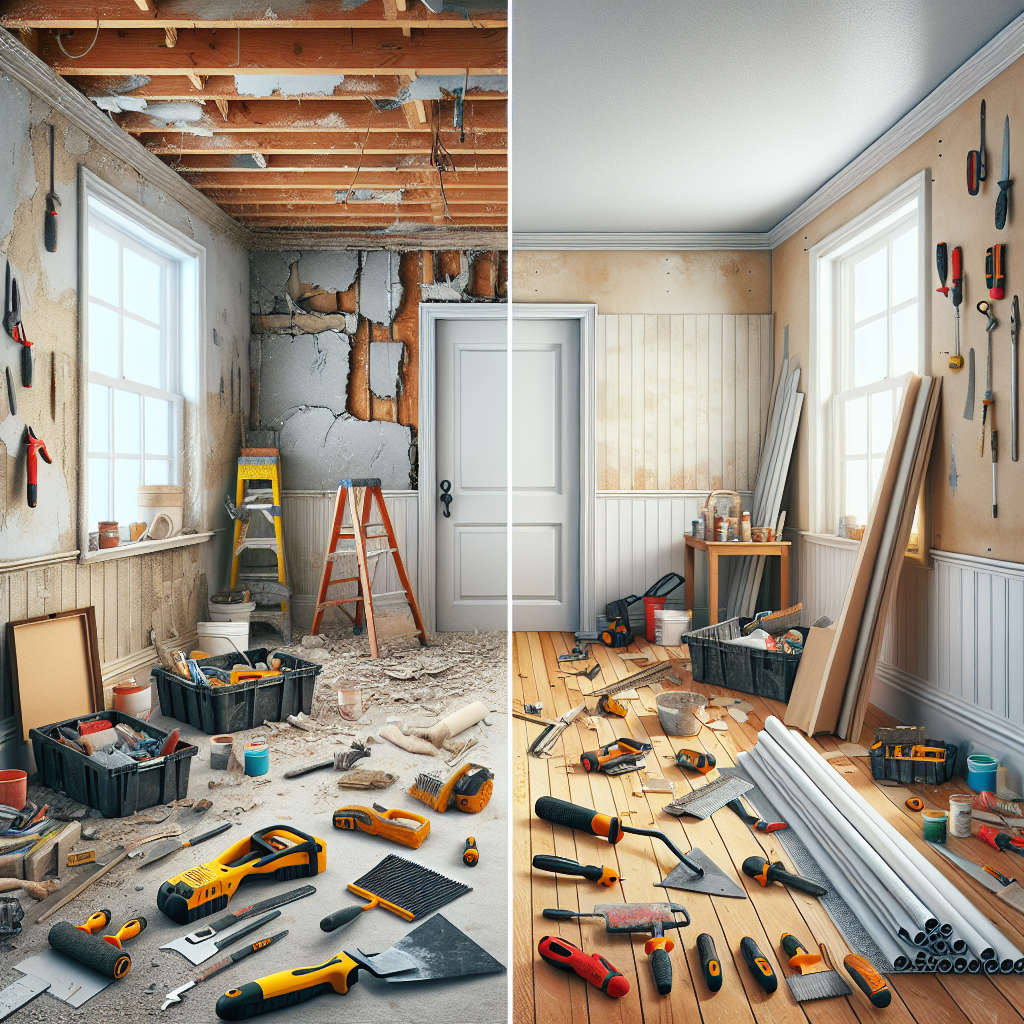
Drywall Repair: Techniques for a Seamless Fix
Inevitably, drywall will sustain damage over time, whether it's from accidental holes, cracks, or other types of wear and tear. Knowing how to effectively repair drywall can save you time and money, allowing you to maintain the integrity and aesthetics of your walls and ceilings. Here are the key steps for repairing drywall:Assessing the Damage
- Identify the type and extent of the damage, whether it's a small hole, a larger opening, or a crack.
- Determine the best repair method based on the size and location of the damaged area.
- Gather the necessary tools and materials, such as joint compound, drywall tape, and replacement panels (if needed).
Preparing the Damaged Area
- If dealing with a hole, use a utility knife to clean and square the edges, creating a clean, even surface.
- For cracks, use a utility knife to widen the crack slightly, creating a V-shaped groove that can be filled with joint compound.
- Remove any loose debris or dust from the damaged area to ensure a proper bond for the repair materials.
Repairing Small Holes and Cracks
- Apply a thin layer of joint compound over the damaged area, feathering the edges to blend with the surrounding drywall.
- Embed drywall tape over the seam or crack, pressing it firmly into the joint compound.
- Apply additional layers of joint compound, allowing each layer to dry completely before sanding and adding the next.
- Sand the repaired area until it's flush with the surrounding drywall, being careful not to damage the existing surface.
Repairing Larger Openings
- Cut a replacement drywall panel to size, slightly larger than the damaged area.
- Secure the replacement panel to the wall framing using drywall screws or adhesive.
- Apply joint compound over the seams, tape the joints, and follow the same finishing steps as above.
- For ceiling repairs, use a drywall lift or have a helper hold the replacement panel in place while you secure it.
Key Takeaways
- Drywall is a versatile and cost-effective material for interior wall and ceiling construction, but mastering its installation and finishing is crucial for a professional-looking result.
- Investing in the right tools, including cutting, fastening, and finishing tools, can significantly improve the quality and efficiency of your drywall projects.
- Proper installation techniques, such as measuring, cutting, and securing the drywall panels, are the foundation for a smooth and seamless finish.
- The finishing process, including sanding, priming, and painting, is essential for achieving a flawless, professional-looking drywall surface.
- Knowing how to effectively repair drywall can save you time and money, allowing you to maintain the integrity and aesthetics of your walls and ceilings.