Discover how to effortlessly upgrade your home with affordable, energy-efficient smart lighting solutions. No need for an electrician - our step-by-step guide makes it easy for any homeowner to install and integrate smart lighting systems.
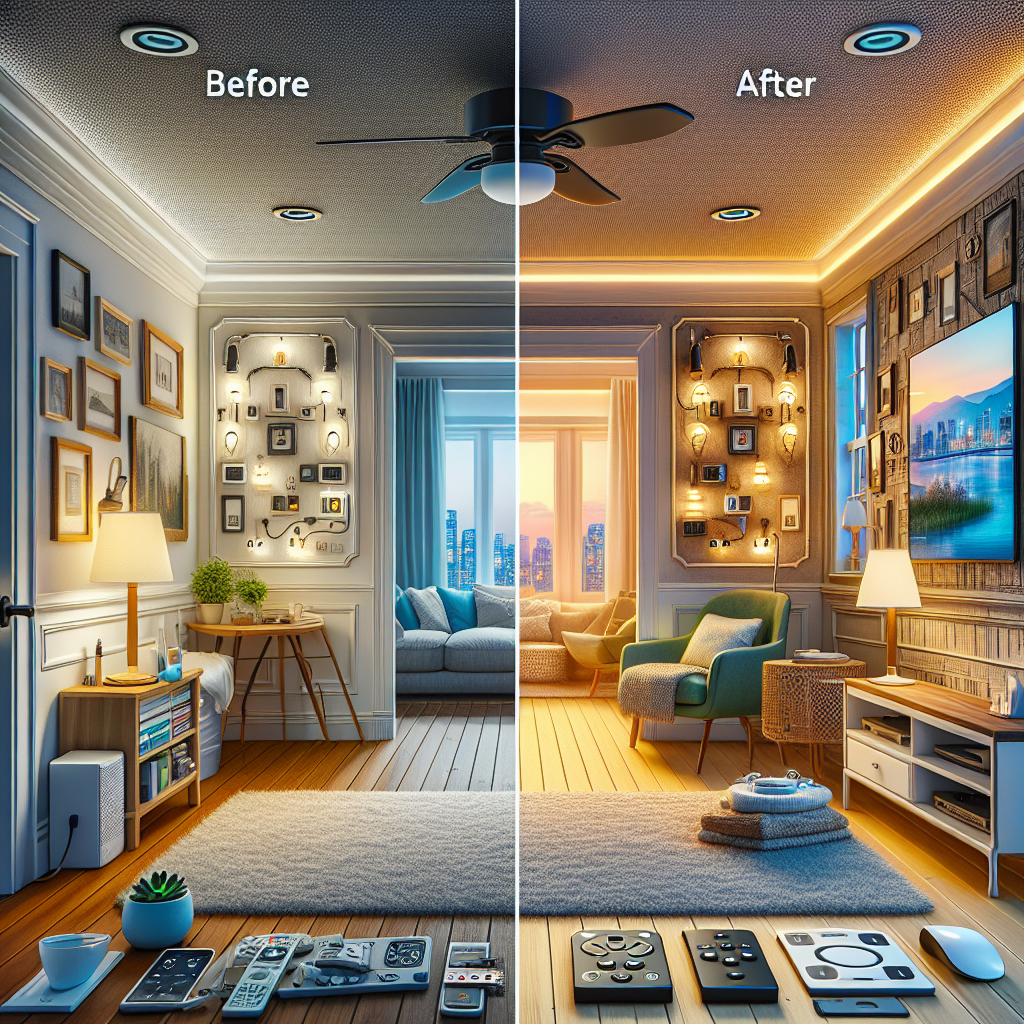
Lighting is one of the most impactful yet overlooked elements in home design. It can completely transform the ambiance, functionality, and energy efficiency of a space. But traditional lighting solutions often come with high upfront costs, complicated installation, and limited flexibility. That's where smart home lighting steps in. With the rise of affordable, user-friendly smart bulbs, switches, and sensors, homeowners can now upgrade their lighting without breaking the bank or hiring an electrician. In this comprehensive guide, we'll show you how to master the art of DIY smart home lighting for less than $100.Why Smart Lighting is a Game-Changer for Homeowners
Smart lighting offers a host of benefits that make it a game-changer for DIY home improvement projects:Unparalleled Convenience and Control
Smart bulbs and switches can be controlled remotely via smartphone apps or voice commands. This allows you to adjust brightness, turn lights on/off, or even set schedules and routines - all from the palm of your hand. No more walking across the room to flip a switch!Energy Efficiency and Cost Savings
Many smart lighting solutions use energy-efficient LED technology, which can reduce energy consumption by up to 80% compared to traditional incandescent bulbs. This translates to lower electricity bills and a more sustainable home. Some smart lights even integrate motion sensors to automatically turn off when a room is empty.Customizable Ambiance
Smart bulbs often offer a wide range of color temperatures and hues, enabling you to set the perfect mood for any occasion. From warm, cozy lighting for a night in to vibrant colors for a party, the possibilities are endless. You can even sync your lighting to your music, TV, or smart home routines.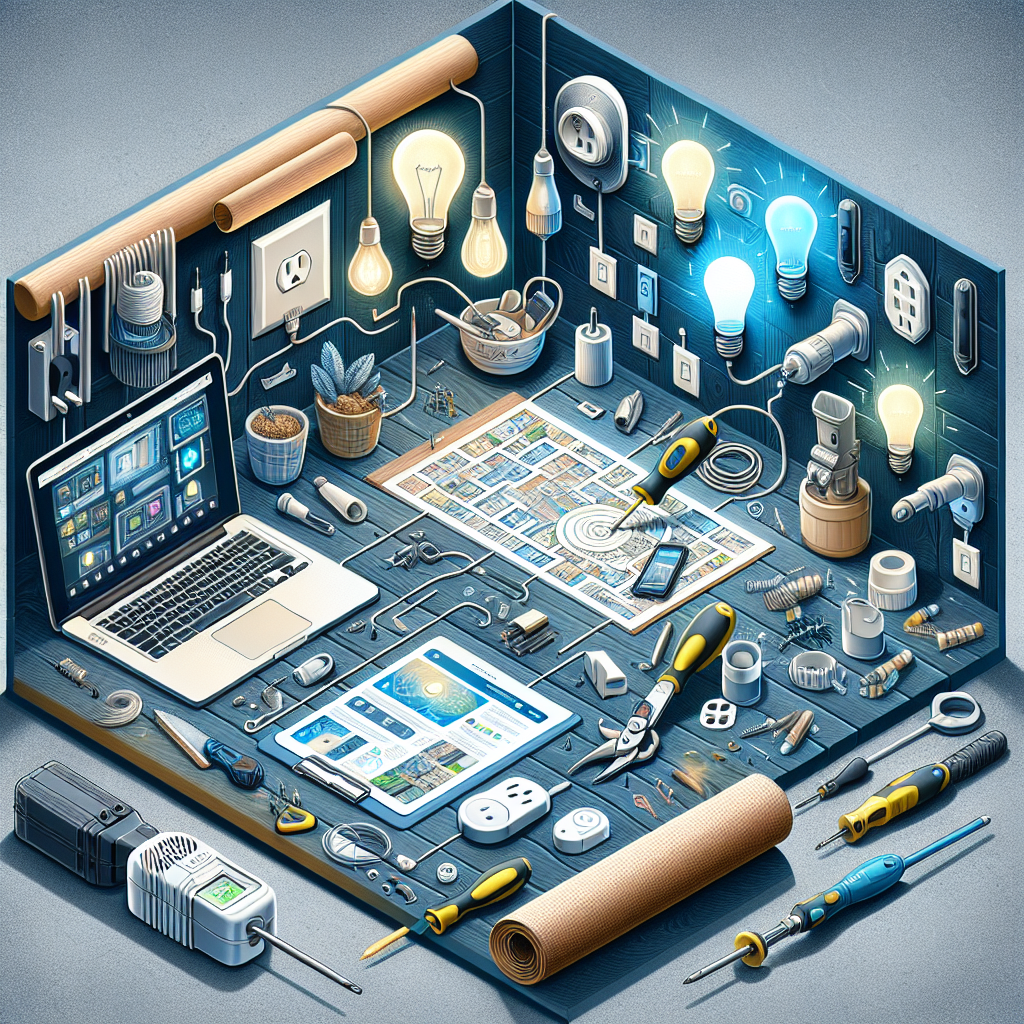
Easy DIY Installation
Unlike hardwired lighting fixtures, smart bulbs and switches require minimal technical know-how to install. Many can simply be screwed into existing sockets or easily replace old switches, making them a hassle-free upgrade for any homeowner.How to Get Started with DIY Smart Home Lighting
Ready to transform your home with affordable smart lighting? Here's a step-by-step guide to getting started:Step 1: Assess Your Lighting Needs
Begin by evaluating your current lighting setup and identifying areas that could benefit from smart lighting upgrades. Consider factors like:- Room size and layout
- Lighting usage patterns (e.g., how often lights are turned on/off)
- Desired ambiance and functionality (e.g., task lighting, accent lighting, mood lighting)
- Existing electrical wiring and fixtures
Step 2: Choose Your Smart Lighting Components
The main smart lighting components you'll need are:- Smart Bulbs: These screw into existing light sockets and can be controlled via app or voice commands. Popular options include Philips Hue, LIFX, and Treatlife.
- Smart Switches: These replace traditional light switches, allowing you to control hardwired lighting fixtures remotely. Examples include Lutron Caseta, Kasa Smart, and Wemo.
- Smart Sensors: Motion sensors, daylight sensors, and presence detectors can automatically turn lights on/off based on activity or ambient light levels.
- Smart Plugs: These allow you to control non-smart lamps and other devices. Brands like TP-Link Kasa and Wyze Plug are affordable options.
- Smart Home Hub: While not strictly required, a central smart home hub (e.g., Amazon Echo, Google Nest, or Samsung SmartThings) can help integrate all your smart lighting devices for unified control.
Step 3: Plan Your Smart Lighting Layout
Once you've selected your smart lighting components, map out where you'll place each device. Consider factors like:- Lighting coverage and placement to maximize functionality
- Proximity to power sources and Wi-Fi connectivity
- Integration with existing light switches and fixtures
- Aesthetic appeal and blend with your home's decor
Step 4: Install and Configure Your Smart Lighting
With your plan in place, it's time to start installing. The process will vary depending on the specific products, but generally involves:- Replacing old light bulbs or switches with smart versions
- Connecting smart devices to your home's Wi-Fi network
- Downloading the corresponding mobile apps and creating accounts
- Pairing and configuring all smart lighting components
- Setting up schedules, routines, and other smart features
Optimizing Your DIY Smart Lighting Setup
Leverage Automation and Routines
Smart home platforms allow you to create customized lighting routines and automation based on factors like time of day, motion detection, or integration with other smart devices. For example, you could have your lights gradually brighten in the morning to simulate sunrise, or turn off automatically when you leave home.Experiment with Lighting Scenes and Schedules
Smart bulbs give you the freedom to set the perfect lighting for any occasion, whether it's a cozy movie night, a lively dinner party, or a productive home office. Experiment with different color temperatures, brightness levels, and schedules to find what works best.Integrate with Voice Assistants
Many smart lighting devices are compatible with popular voice assistants like Amazon Alexa, Google Assistant, and Apple HomeKit. This allows you to control your lights using simple voice commands, adding an extra layer of convenience.Monitor and Optimize Energy Usage
Smart home apps often provide detailed analytics on your lighting energy consumption. Use this data to identify opportunities to further optimize your setup and reduce your carbon footprint.Expand Your Smart Home Ecosystem
Once you've mastered smart lighting, consider integrating other smart home devices like security cameras, thermostats, or appliances. This creates a seamless, interconnected system that enhances convenience, efficiency, and home automation.Key Takeaways
- Smart home lighting offers unparalleled convenience, energy efficiency, and customizable ambiance for DIY home improvement projects.
- With affordable smart bulbs, switches, and sensors, you can upgrade your lighting without the need for an electrician.
- Start by assessing your lighting needs, choosing the right smart components, planning your layout, and following step-by-step installation instructions.
- Optimize your smart lighting setup by leveraging automation, experimenting with scenes and schedules, integrating with voice assistants, and monitoring energy usage.
- Smart lighting is just the beginning - consider expanding your smart home ecosystem to unlock even more convenience and efficiency.