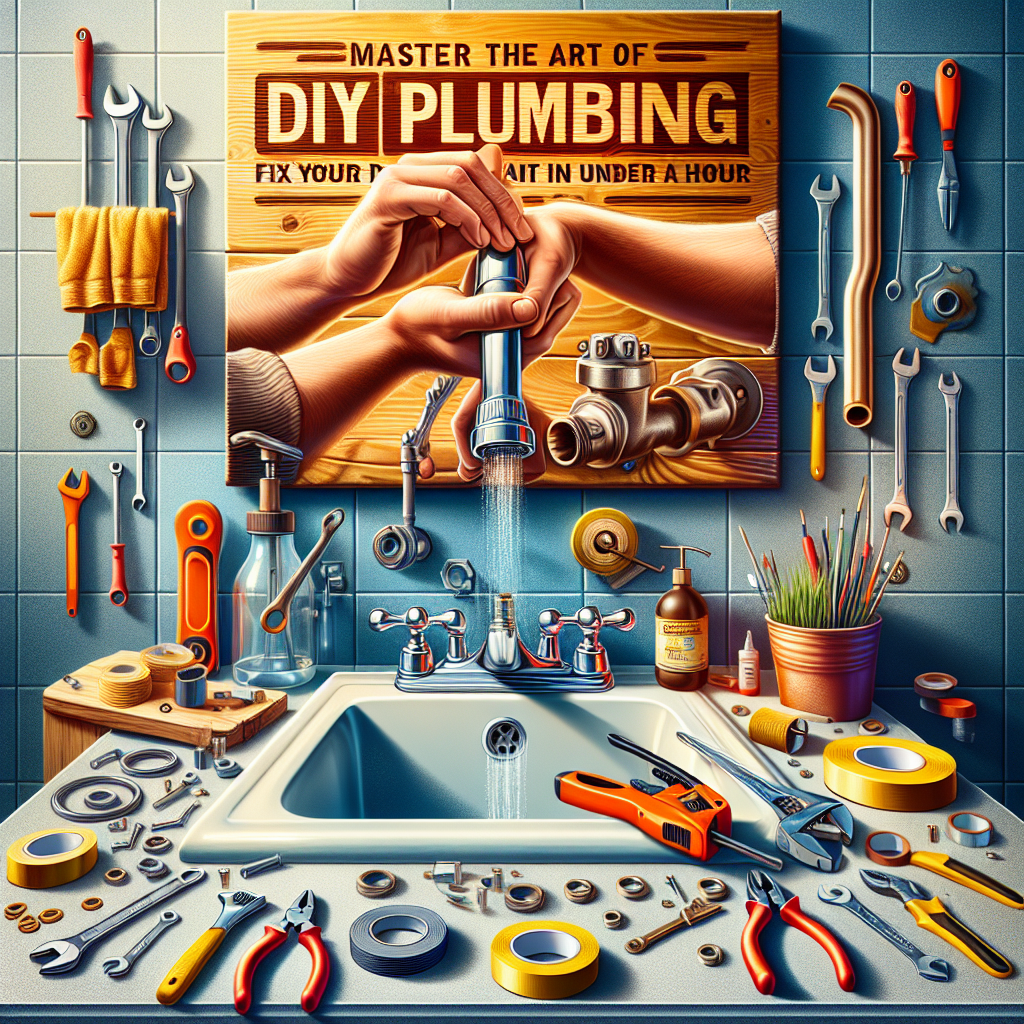
Uncover Cost-Effective Solutions to Common Plumbing Issues, Learn How to Identify and Fix Leaks, and Save Money on Professional Repair Fees. No Previous Plumbing Experience Required!
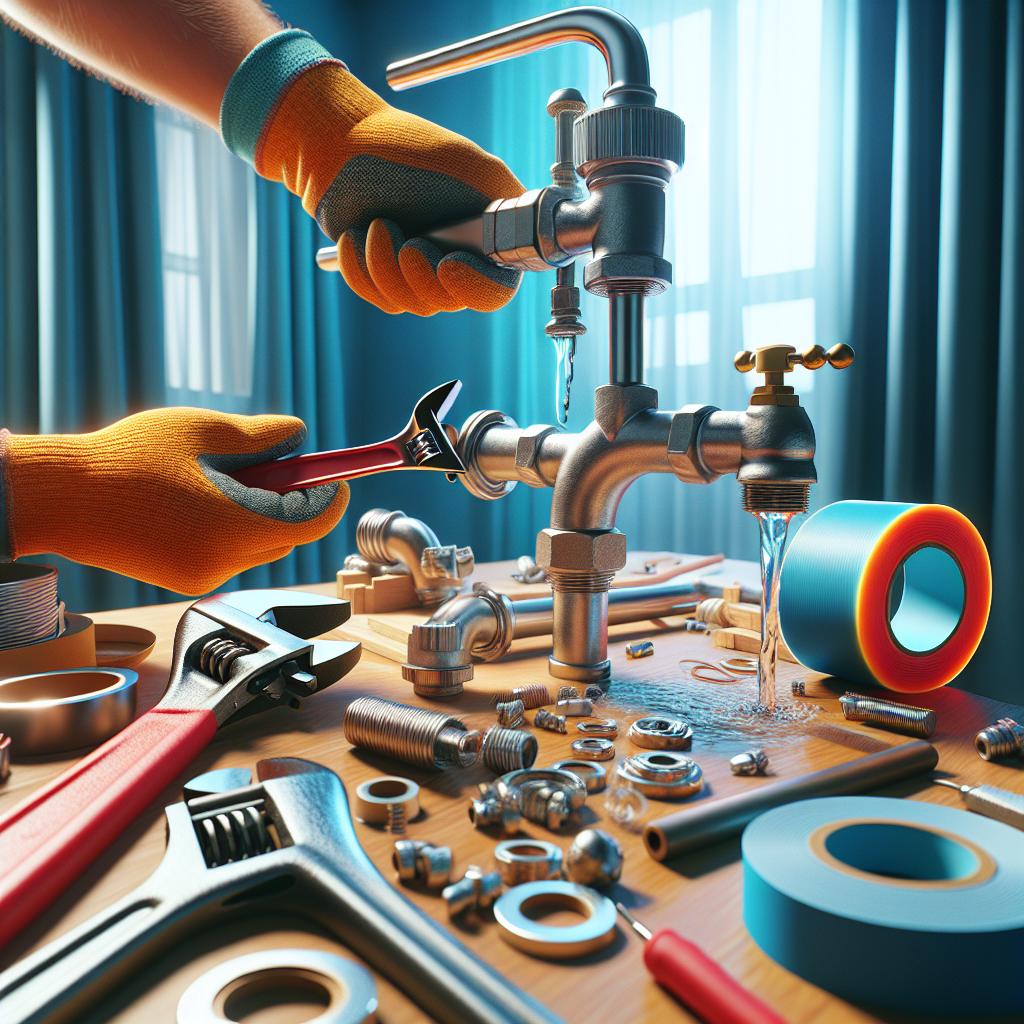
Plumbing issues can be one of the most daunting and expensive home maintenance challenges for homeowners. Burst pipes, clogged drains, and leaky faucets can quickly turn into major problems, costing hundreds or even thousands of dollars to repair. However, with the right knowledge and a little bit of DIY know-how, many common plumbing problems can be fixed without the need for a professional plumber. In this comprehensive guide, we'll walk you through the most effective techniques for identifying and repairing common plumbing leaks. You'll learn how to diagnose the source of the problem, gather the necessary tools and materials, and complete the repair safely and effectively - all while saving a significant amount of money compared to hiring a professional. Whether you're a seasoned DIY enthusiast or a complete beginner, this article will provide you with the expertise and confidence to tackle plumbing projects around your home. Let's dive in and master the art of DIY plumbing!Understanding Common Plumbing Leaks
Plumbing leaks can occur in a variety of locations throughout your home's water supply and drainage systems. Some of the most common types of leaks include:Faucet Leaks
Dripping or leaking faucets are one of the most prevalent plumbing issues. These leaks can be caused by worn washers, faulty seals, or mineral buildup within the faucet mechanism.Pipe Leaks
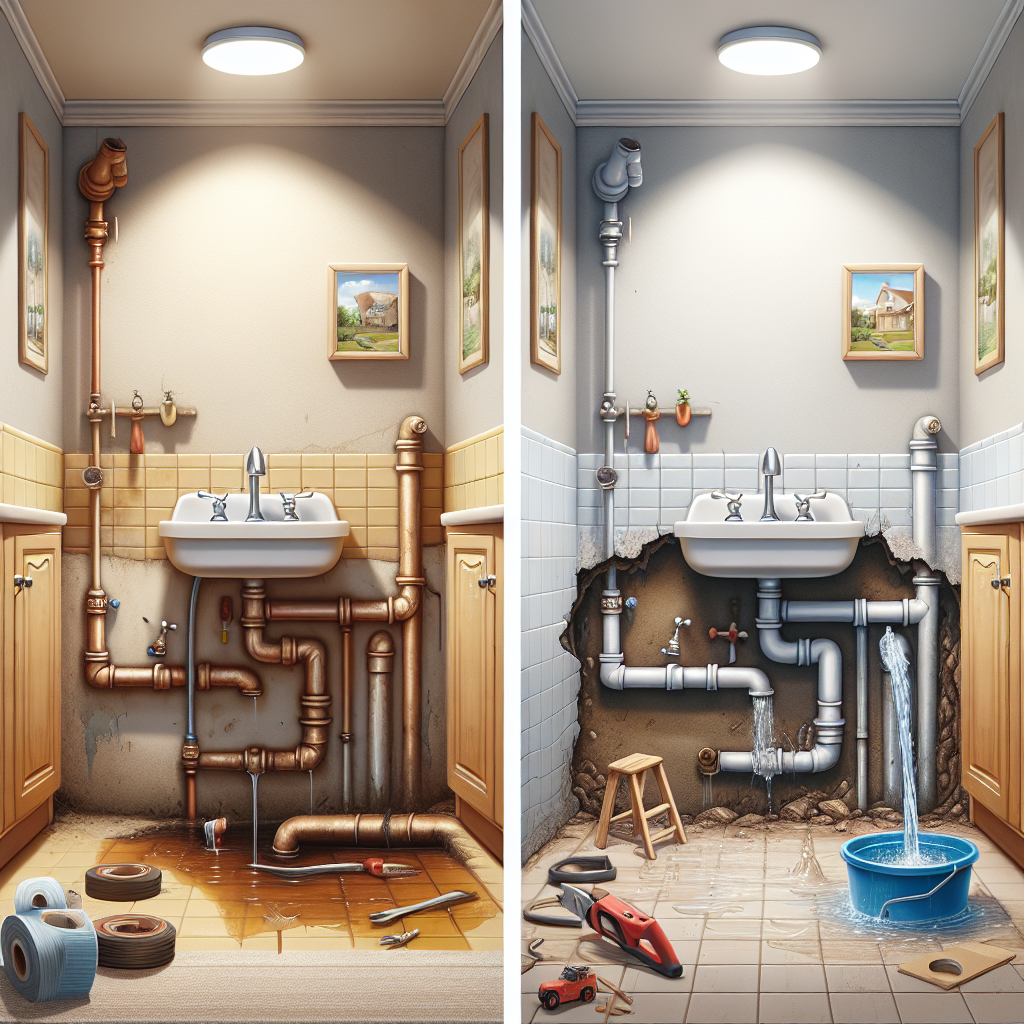
Cracks, holes, or loose connections in the pipes that carry water throughout your home can lead to leaks. These leaks can occur in both supply lines (bringing water into the home) and drain pipes (carrying wastewater out).Toilet Leaks
Leaks around the base of the toilet are often caused by a worn wax ring or a crack in the toilet itself. Water can also leak from the tank into the bowl if the fill valve or flapper mechanism is malfunctioning.Appliance Leaks
Appliances like washing machines, dishwashers, and water heaters have their own water supply lines and drainage connections, which can be susceptible to leaks over time. Understanding the different types of plumbing leaks and their potential causes is the first step in being able to effectively diagnose and repair them. By familiarizing yourself with the common problem areas, you'll be better equipped to identify the source of the leak and determine the appropriate course of action.Tools and Materials Needed for DIY Plumbing Leak Repair
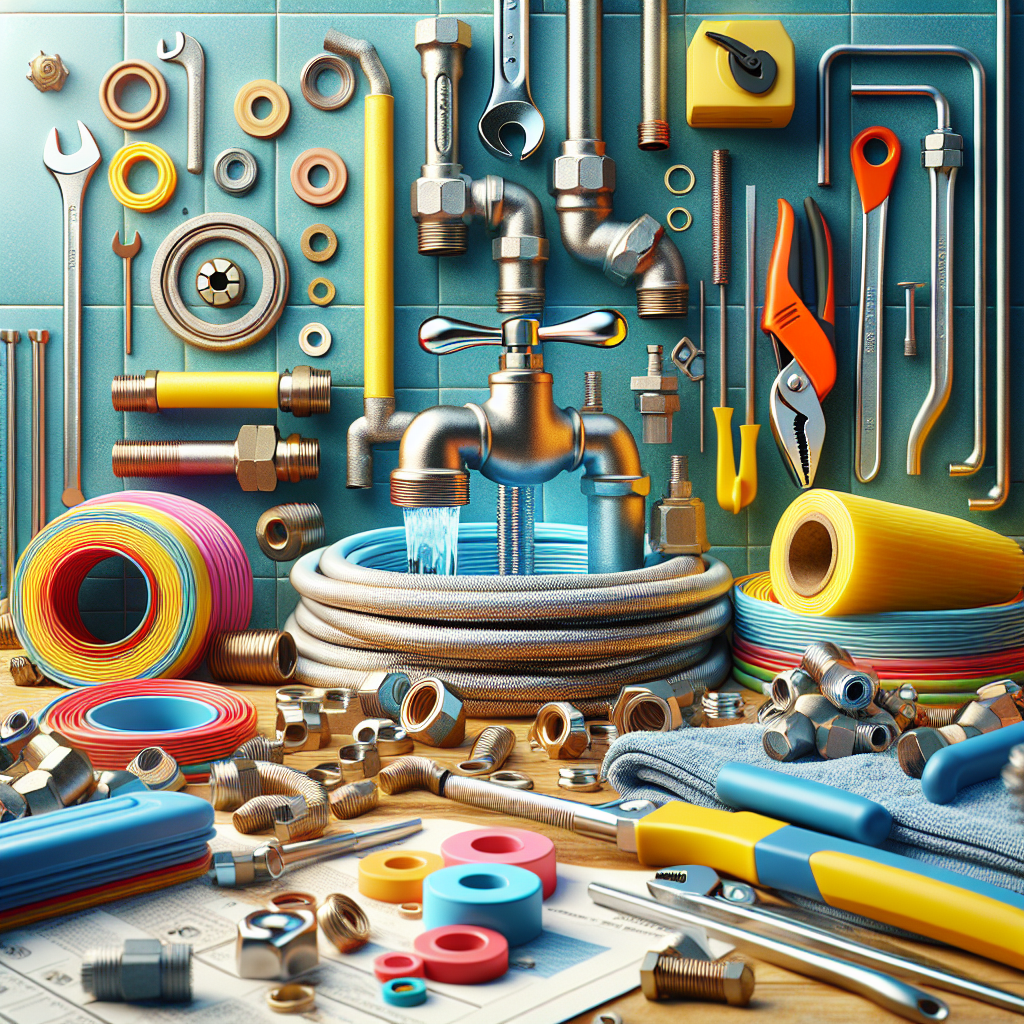
Before you can tackle a plumbing leak, you'll need to gather the right tools and materials for the job. While the specific requirements may vary depending on the type of leak, here are some essential items that should be part of your DIY plumbing toolkit:Tools:
- Plumber's wrench or basin wrench
- Adjustable wrench or pliers
- Slip-joint pliers
- Flashlight or inspection mirror
- Bucket or container to catch water
- Utility knife or scissors
- Teflon tape
- Putty knife or scraper
- Shop vacuum (for wet/dry cleanup)
Materials:
- Replacement washers, o-rings, or seals
- Pipe repair clamps or sleeves
- Epoxy putty or plumber's putty
- Plumber's flux and solder (for copper pipes)
- PVC or ABS cement (for plastic pipes)
- Rag or paper towels
- Cleaning supplies (e.g., vinegar, baking soda, pipe cleaner)

Diagnosing and Locating the Source of a Plumbing Leak
The first step in fixing a plumbing leak is to accurately identify the source. This can sometimes be a challenge, as leaks can occur in hidden or hard-to-reach areas. Here are some techniques to help you locate the source of the leak:Visual Inspection
Carefully examine the area around the suspected leak for any signs of water damage, moisture, or dripping. Look for stains, discoloration, or mold growth on walls, ceilings, or floors. This can help you pinpoint the general location of the leak.Moisture Detection
Use a moisture meter or infrared camera to scan the area and detect any hidden pockets of moisture. This can be especially helpful for finding leaks behind walls or under floors.Dye Testing
For hard-to-find leaks, you can use a dye tablet or liquid dye that is designed to mix with water and make the leak visible. Flush the dye through the plumbing system and then inspect the area for any colored traces.Listening for Leaks
In some cases, you may be able to hear the sound of running or dripping water. Use a stethoscope or simply press your ear against the wall or floor to try and pinpoint the source of the noise.Isolating the Leak
If you're still having trouble identifying the source, try shutting off the water supply to specific areas of your home one by one. This can help you narrow down the location of the leak. Once you've located the leak, you can then move on to the repair process. Remember to take note of the exact location, type of pipe or fixture involved, and any other relevant details to ensure a successful fix.Repairing Common Plumbing Leaks
Now that you've identified the source of the leak, it's time to tackle the repair. The specific steps will vary depending on the type of leak, but here are some general guidelines for common plumbing issues:Faucet Leaks
- Turn off the water supply to the faucet and open it to relieve pressure.
- Remove the faucet handle, trim ring, and cartridge or valve stem.
- Replace any worn washers, o-rings, or seals.
- Clean the faucet body and reassemble the components.
- Turn the water back on and check for any remaining leaks.
Pipe Leaks
- Locate the exact source of the leak, which may require cutting away drywall or insulation.
- Turn off the water supply to the affected pipe.
- For small holes or cracks, apply epoxy putty or use a pipe repair clamp.
- For larger leaks, you may need to cut out the damaged section and replace it with a new piece of pipe, using appropriate fittings and joining methods (e.g., soldering, PVC cement).
- Turn the water back on and check for any remaining leaks.
Toilet Leaks
- Identify the source of the leak, which could be at the base, around the tank, or from the fill valve/flapper mechanism.
- Turn off the water supply to the toilet and flush to empty the tank.
- For base leaks, replace the wax ring or tighten the mounting bolts.
- For tank leaks, replace the fill valve, flapper, or other internal components as needed.
- Reconnect the water supply, flush the toilet, and check for any remaining leaks.
Appliance Leaks
- Locate the source of the leak, which may be at the water supply line, drain connection, or within the appliance itself.
- Turn off the water supply and disconnect the appliance from the plumbing system.
- Replace any worn hoses, fittings, or seals as needed.
- Reconnect the appliance, turn the water back on, and test for leaks.
Cost-Saving Considerations for DIY Plumbing Repairs
One of the primary benefits of tackling plumbing leaks yourself is the potential for significant cost savings. Hiring a professional plumber can be expensive, with hourly rates often ranging from $50 to $150 or more, plus the cost of parts and materials. By doing the work yourself, you can avoid these high labor costs and only pay for the necessary supplies. Here are some additional cost-saving tips to keep in mind:Identifying and Fixing the Problem Early
The sooner you can address a plumbing leak, the less damage it will cause and the lower the overall repair costs will be. Catching and fixing a small leak early can prevent it from turning into a much larger, more expensive problem down the line.Purchasing Parts and Materials Strategically
Take the time to research and compare prices for the specific parts and materials you need. Shopping at hardware stores, plumbing supply houses, or even online retailers can help you find the best deals. Also, consider buying in bulk if you anticipate needing the same types of parts for future repairs.Reusing and Repurposing Components
In some cases, you may be able to reuse existing parts or repurpose components from other fixtures. For example, you could use a washer from an unused faucet to fix a leaky one.Prioritizing Essential Repairs
If you're dealing with multiple plumbing issues, focus on addressing the most critical problems first. Tackle smaller, less urgent leaks later when you have more time and resources available.Maintaining Plumbing Systems Proactively
Regular maintenance and preventative care can help you avoid costly plumbing emergencies in the first place. Simple tasks like cleaning drains, inspecting pipes, and replacing worn washers can go a long way in keeping your home's plumbing system in top condition. By implementing these cost-saving strategies, you can drastically reduce the financial burden of plumbing repairs and keep your home running smoothly without breaking the bank.Key Takeaways
- Plumbing leaks are a common and often expensive problem for homeowners, but many can be fixed with basic DIY skills.
- Understanding the different types of plumbing leaks and their potential causes is the first step in effectively diagnosing and repairing the issue.
- Gather the right tools and materials, including plumber's wrenches, fittings, and sealants, to have everything you need on hand.
- Carefully inspect the area, use moisture detection techniques, and isolate the leak to pinpoint the exact source of the problem.
- Follow step-by-step instructions to repair faucet leaks, pipe leaks, toilet leaks, and appliance leaks safely and effectively.
- Implement cost-saving strategies like early problem identification, strategic parts purchasing, and proactive maintenance to save money on professional plumbing fees.