Master DIY Plumbing: Fix Common Leaks in Your Home Without a Plumber
A Step-by-Step Guide to Identifying and Repairing Common Household Leaks
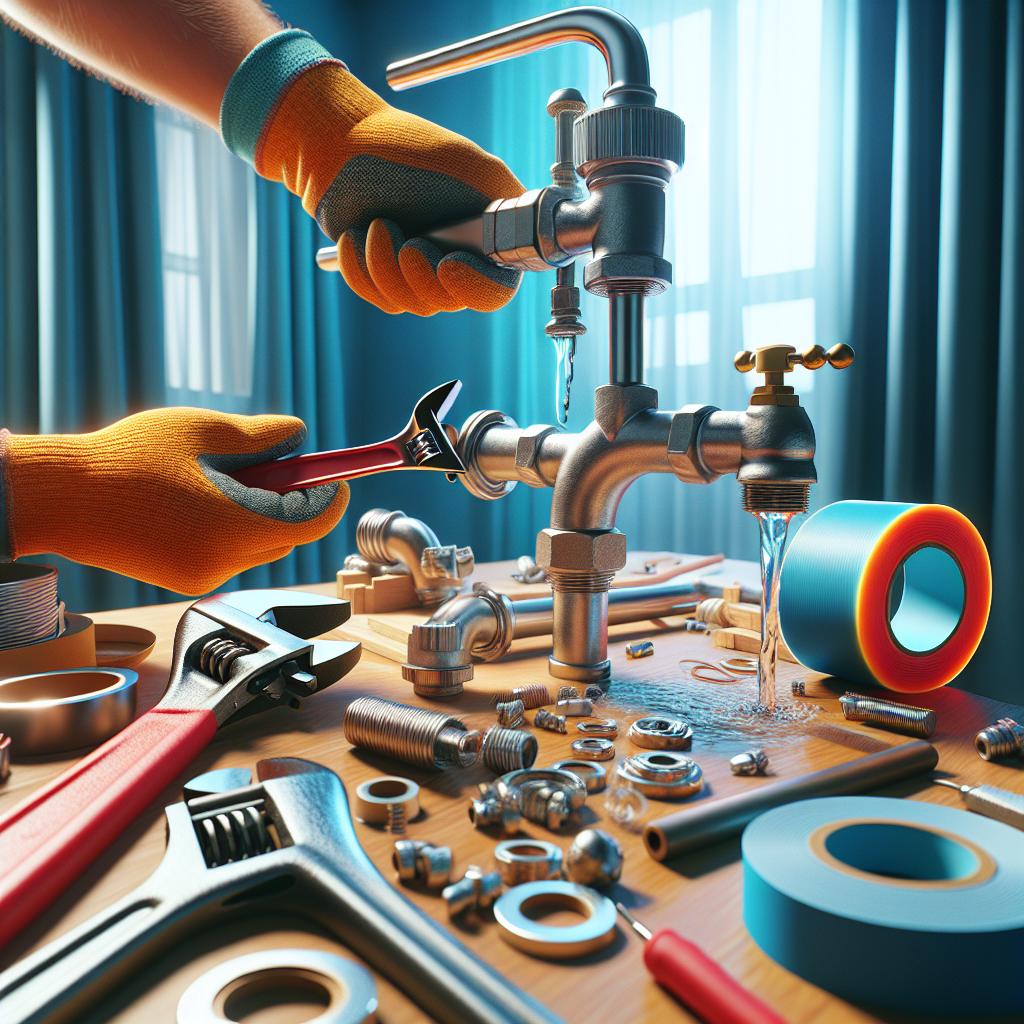
Leaks in your home can be a major headache - not to mention costly if left unattended. Whether it's a dripping faucet, a leaky pipe, or a problem with your toilet, these seemingly minor issues can lead to significant water damage, mold growth, and skyrocketing utility bills if not addressed promptly. The good news is that many common household leaks can be fixed with some basic DIY plumbing skills. In this comprehensive guide, we'll walk you through the steps to identify, diagnose, and repair a variety of leak types - all without having to call in an expensive professional plumber. By the end of this article, you'll have the knowledge and confidence to tackle plumbing repairs like a pro, saving yourself hundreds or even thousands of dollars in the process. Let's dive in!Identifying Common Household Leaks
The first step in fixing a leak is to accurately identify the source. While some leaks may be obvious, others can be trickier to pinpoint. Here are some of the most common household leaks and how to spot them:Dripping Faucets
A dripping faucet is one of the most typical plumbing issues homeowners face. This is usually caused by a worn-out washer or O-ring within the faucet itself. You may notice water dripping from the faucet head or spout, or hear a constant dripping sound, especially when the faucet is turned off.Leaky Pipes
Leaks in your home's plumbing system can occur in various places, including under sinks, behind walls, or even underground. Signs of a leaky pipe may include damp spots on walls or floors, puddles of water, mold growth, or a sudden spike in your water bill.Running Toilet
If your toilet is running continuously even when not in use, there's likely an issue with the flapper valve or other internal components. This can lead to water being constantly refilled in the tank, wasting both water and money.Leaking Appliances
Appliances like washing machines, dishwashers, and refrigerators with ice makers can also be prone to leaks. Look for pooling water around the appliance or dampness on the floor.
Foundation Cracks
Cracks in your home's foundation can allow groundwater to seep in, leading to flooding, mold, and other structural issues. These types of leaks are often difficult to detect until the problem becomes more severe.Sewer Line Leaks
Issues with your home's sewer line, such as clogs or breaks, can cause sewage to back up or leak into your yard or basement. Signs may include gurgling sounds in the plumbing, slow drains, or a distinct sewage odor. Once you've identified the source of the leak, you can move on to the next step: diagnosing and repairing the problem.Diagnosing and Repairing Common Household Leaks
Now that you know where the leak is coming from, it's time to take a closer look and determine the best way to fix it. Here are the steps to diagnose and repair some of the most common household leaks:Dripping Faucets
- Turn off the water supply to the faucet by locating the shut-off valve underneath the sink or behind the faucet.
- Remove the faucet handle and use pliers or a basin wrench to unscrew the faucet stem or cartridge.
- Inspect the washers, O-rings, and springs, and replace any worn or damaged components.
- Apply a small amount of plumber's grease to the new parts before reassembling the faucet.
- Turn the water back on and check for any remaining drips.
Leaky Pipes
- Locate the source of the leak, which may require some exploratory work behind walls or cabinets.
- Turn off the water supply to that section of the plumbing system.
- Use a pipe wrench or basin wrench to disassemble the affected pipe fitting or joint.
- Replace any worn washers, gaskets, or O-rings, and apply plumber's putty or Teflon tape to create a watertight seal.
- Reassemble the pipe and turn the water back on, checking for any remaining leaks.
Running Toilet
- Flush the toilet to observe the inner workings of the tank.
- Check the flapper valve for wear and ensure it's creating a proper seal when closed.
- Inspect the fill valve and adjust or replace it if necessary.
- Clean the flush valve seat and ensure the chain connecting the flapper to the flush handle has the right amount of slack.
- Test the toilet by flushing it several times to confirm the issue has been resolved.
Leaking Appliances
- Unplug the appliance and locate the water supply line, typically a flexible hose or rigid copper pipe.
- Check the connection points for any signs of wear, cracks, or looseness.
- Tighten any loose fittings or replace the supply line if it's damaged.
- For built-in appliances, you may need to remove the unit to access the plumbing connections.
- Test the appliance by turning the water back on and checking for any remaining leaks.
Foundation Cracks
- Identify the source of the leak, which may require some excavation around the foundation.
- Use a concrete patching compound or epoxy sealant to fill and seal any cracks or gaps.
- Consider installing a french drain or other drainage system to divert groundwater away from the foundation.
- Monitor the area for any recurring leaks or water infiltration.
Sewer Line Leaks
- Use a plumbing snake or camera to inspect the sewer line and identify the location of the clog or break.
- For minor clogs, use a plunger or auger to clear the blockage.
- For more significant issues, you may need to excavate and replace the damaged section of the sewer line.
- Consider installing a backflow preventer to prevent sewage from backing up into your home.
Cost-Saving Tips for DIY Plumbing Repairs
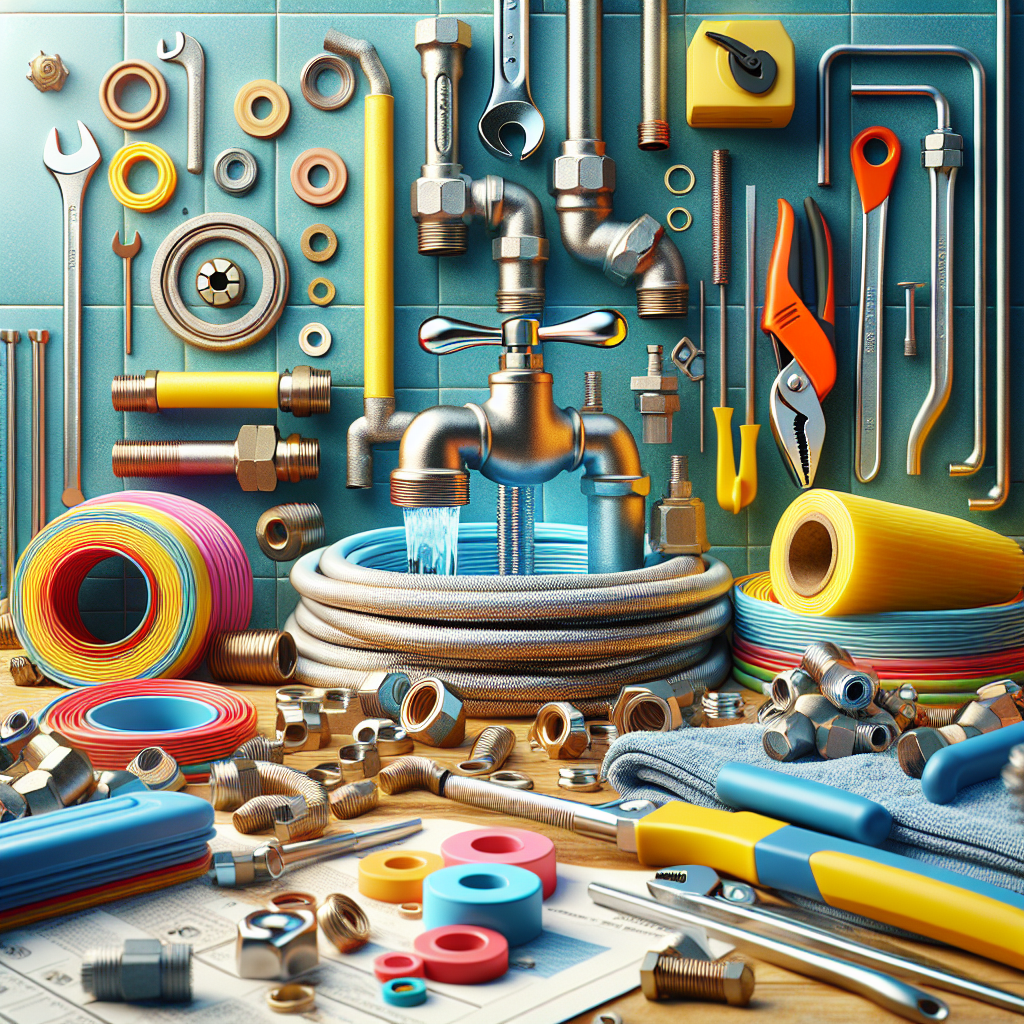
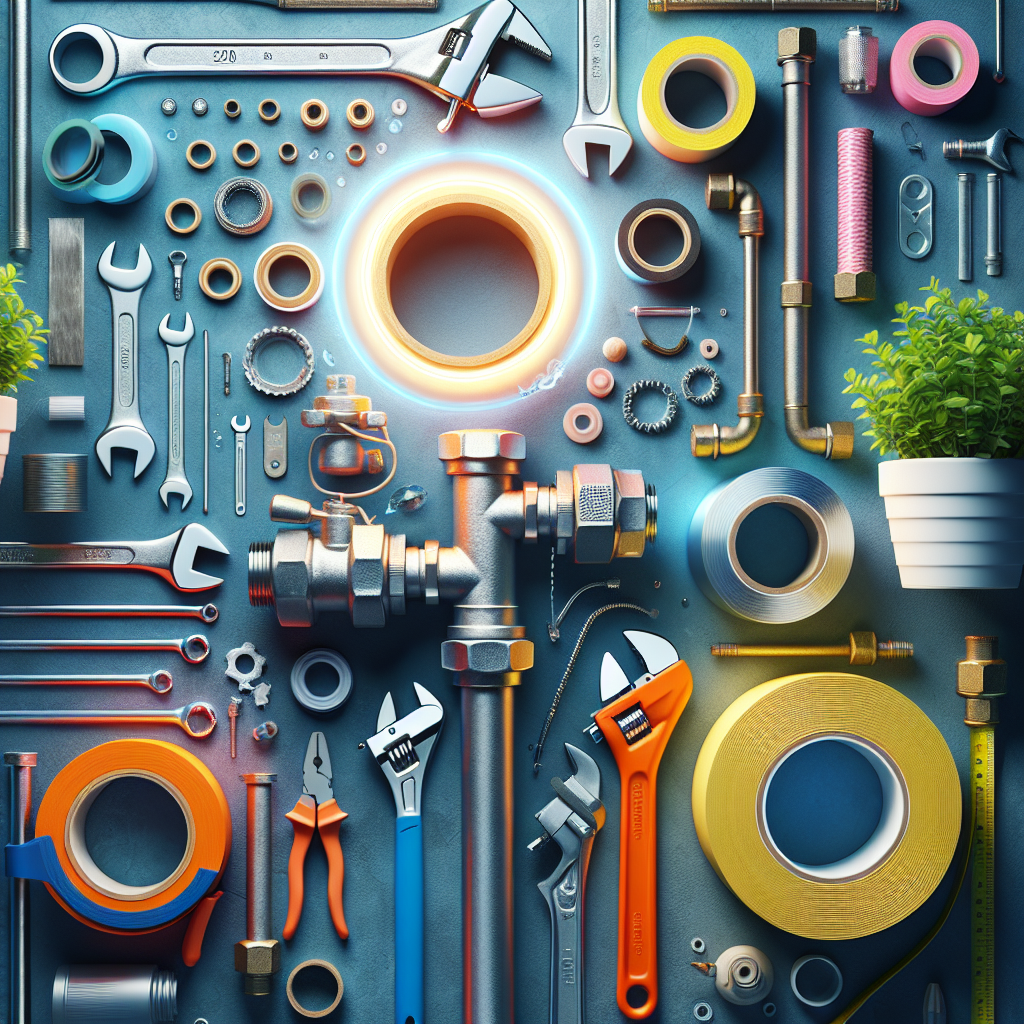
One of the primary benefits of learning to fix common household leaks yourself is the potential for significant cost savings. Here are some tips to help you save money on your DIY plumbing repairs:- Buy quality tools and materials. While it may be tempting to go for the cheapest options, investing in high-quality plumbing tools and supplies can save you time and money in the long run. Look for durable, well-made products that will last.
- Shop around for parts. Compare prices online and at local hardware stores to find the best deals on replacement washers, O-rings, faucet cartridges, and other necessary components.
- Utilize online tutorials and guides. Take advantage of the wealth of DIY plumbing resources available on the internet, including step-by-step instructions, troubleshooting tips, and video demonstrations.
- Tackle smaller issues yourself. Don't be afraid to try fixing minor leaks or clogs on your own before calling in a professional plumber, who may charge premium rates for even simple fixes.
- Schedule regular maintenance. Staying on top of preventative plumbing maintenance, such as cleaning drains and inspecting pipes, can help you avoid more costly repairs down the line.
Key Takeaways
- Household leaks can be a significant source of water damage, mold, and wasted money if left unattended.
- Identifying the source of a leak, whether it's a dripping faucet, leaky pipe, or issue with an appliance, is the first step to fixing the problem.
- With some basic DIY plumbing skills and the right tools, you can diagnose and repair many common household leaks without the need for a professional plumber.
- Investing in quality plumbing supplies, comparing prices, and utilizing online resources can help you save money on your DIY plumbing projects.
- Regular plumbing maintenance is key to preventing future leaks and costly repairs.