Master DIY Plumbing: Fix a Leaky Faucet in Less Than an Hour
Save Hundreds on Plumber Fees by Learning to Tackle the Most Common Household Plumbing Issue
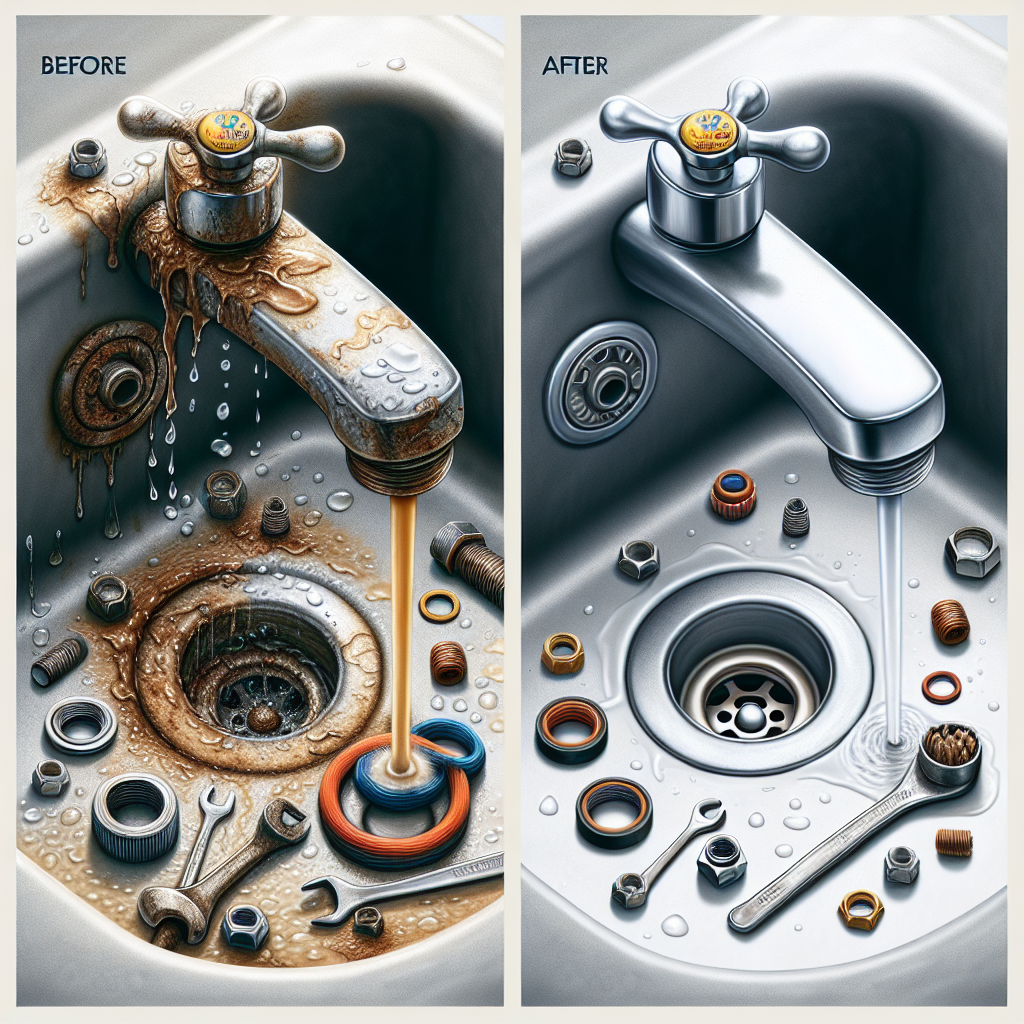
As a homeowner, few things are as frustrating as a pesky leaky faucet. Not only can it waste gallons of water and drive up your utility bills, but it can also lead to water damage and mold if left unchecked. Traditionally, homeowners have relied on professional plumbers to fix these seemingly simple problems, often shelling out hundreds of dollars in the process. However, the reality is that fixing a leaky faucet is a relatively straightforward DIY project that most homeowners can tackle with a little guidance and the right tools. In this comprehensive guide, we'll walk you through the step-by-step process of identifying the leak, gathering the necessary equipment, and completing the repair with confidence and ease - all in under an hour. By the end of this article, you'll have the skills and knowledge to become a DIY plumbing expert, saving you time, money, and the hassle of calling in a professional every time a faucet starts to drip.Identifying the Leak: Where's the Problem Hiding?
The first step in fixing a leaky faucet is to determine the source of the problem. Faucet leaks can occur for a variety of reasons, from worn-out washers to faulty seals and corroded parts. By accurately diagnosing the issue, you'll be able to target the right components and complete the repair efficiently. Start by turning on the faucet and carefully observing where the water is coming from. Is it dripping from the spout, the base of the faucet, or somewhere in between? This will help you identify the specific part that needs to be addressed. Next, turn off the water supply to the faucet by locating the shut-off valve underneath the sink or behind the faucet. This will allow you to disassemble the fixture without making a mess. Once the water is turned off, gently try to wiggle the faucet handle - if it's loose, the problem is likely with the internal components. If the leak is coming from the base of the faucet, the issue may be with the washers, o-rings, or seals. A drip from the spout could indicate a problem with the valve seats and springs, while leaks around the handle often signal a worn-out stem.Gathering the Right Tools and Materials
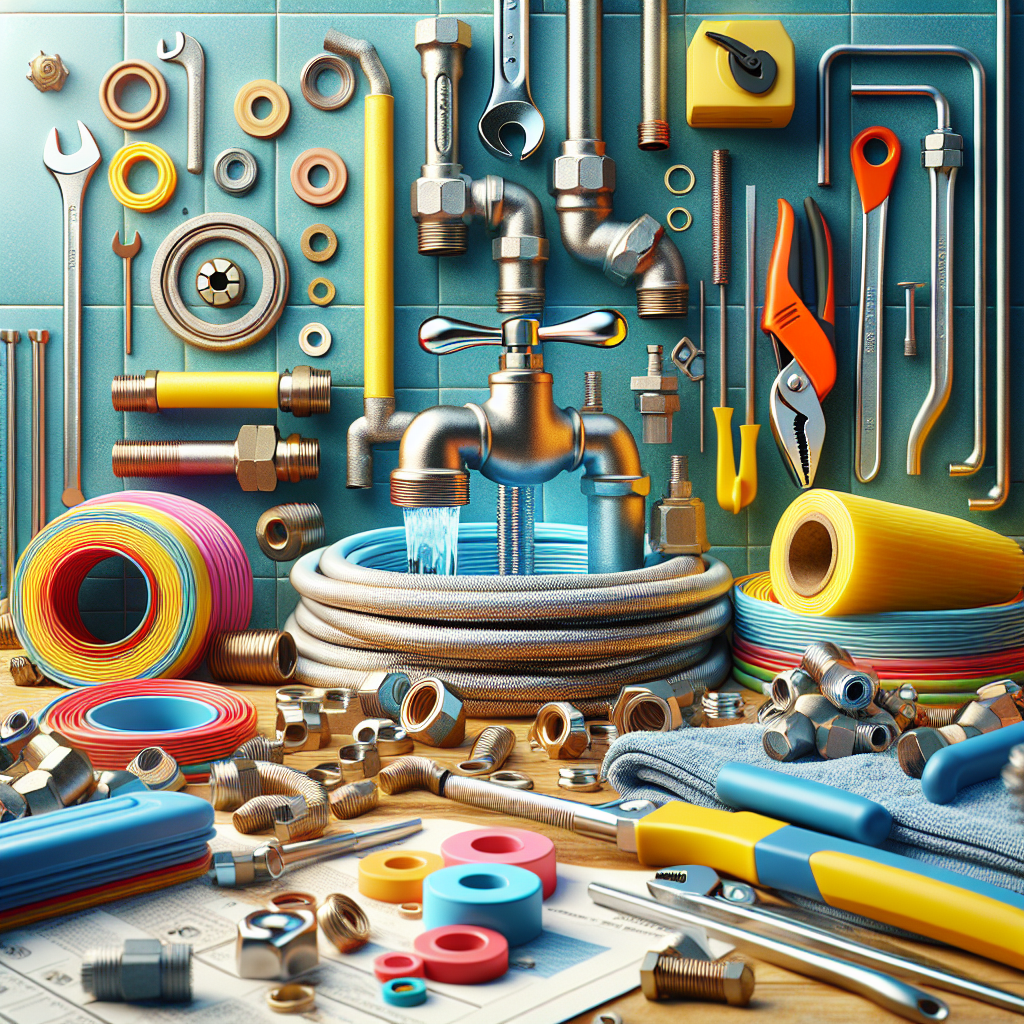
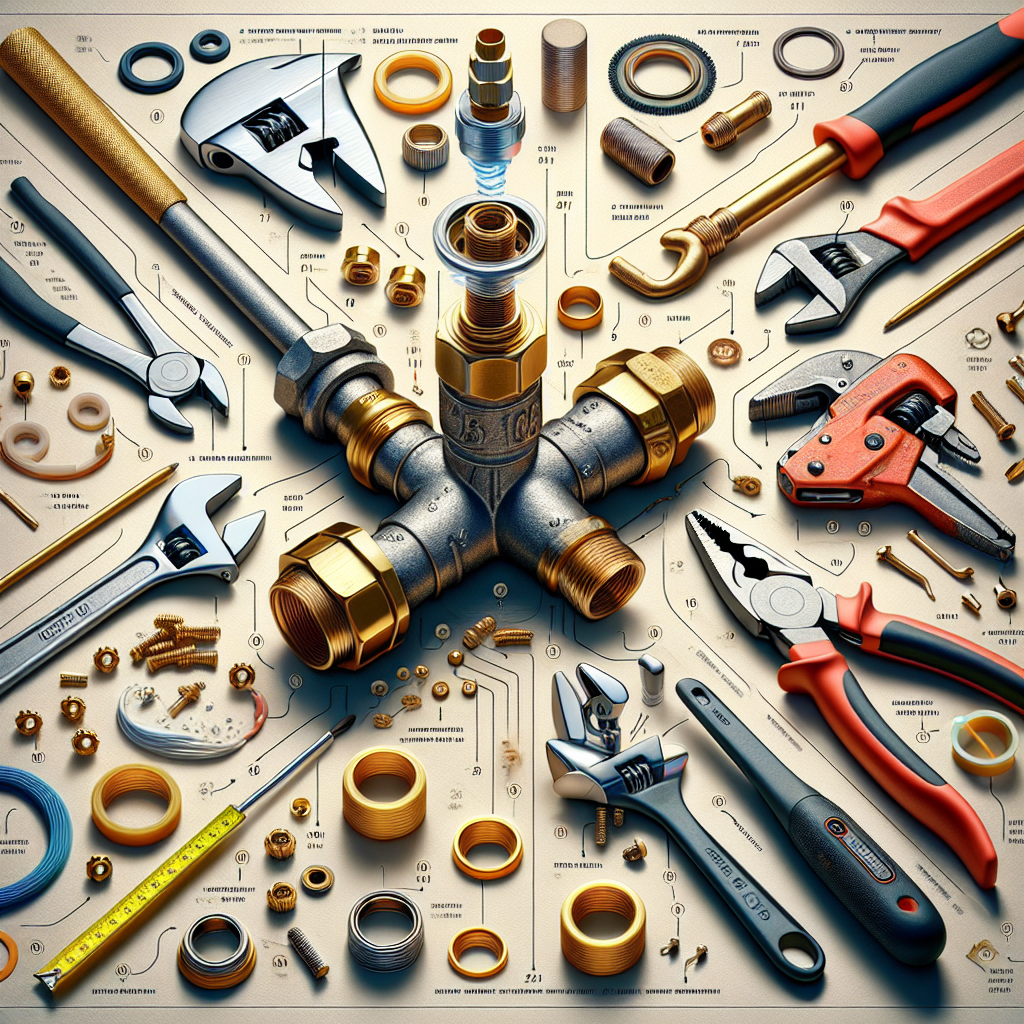
Before you start disassembling your faucet, it's essential to have the necessary tools and materials on hand. This will ensure a smooth repair process and minimize the risk of unexpected delays or additional trips to the hardware store.Tools Needed:
- Basin wrench (for accessing the faucet nuts)
- Pliers or channel-lock pliers
- Flathead and Phillips screwdrivers
- Penetrating oil (such as WD-40) for stuck or corroded parts
- Bucket or container to catch water
Replacement Parts:
- Faucet washers
- O-rings
- Faucet stem (if necessary)
- Faucet cartridge (if applicable)
Disassembling the Faucet: A Step-by-Step Guide
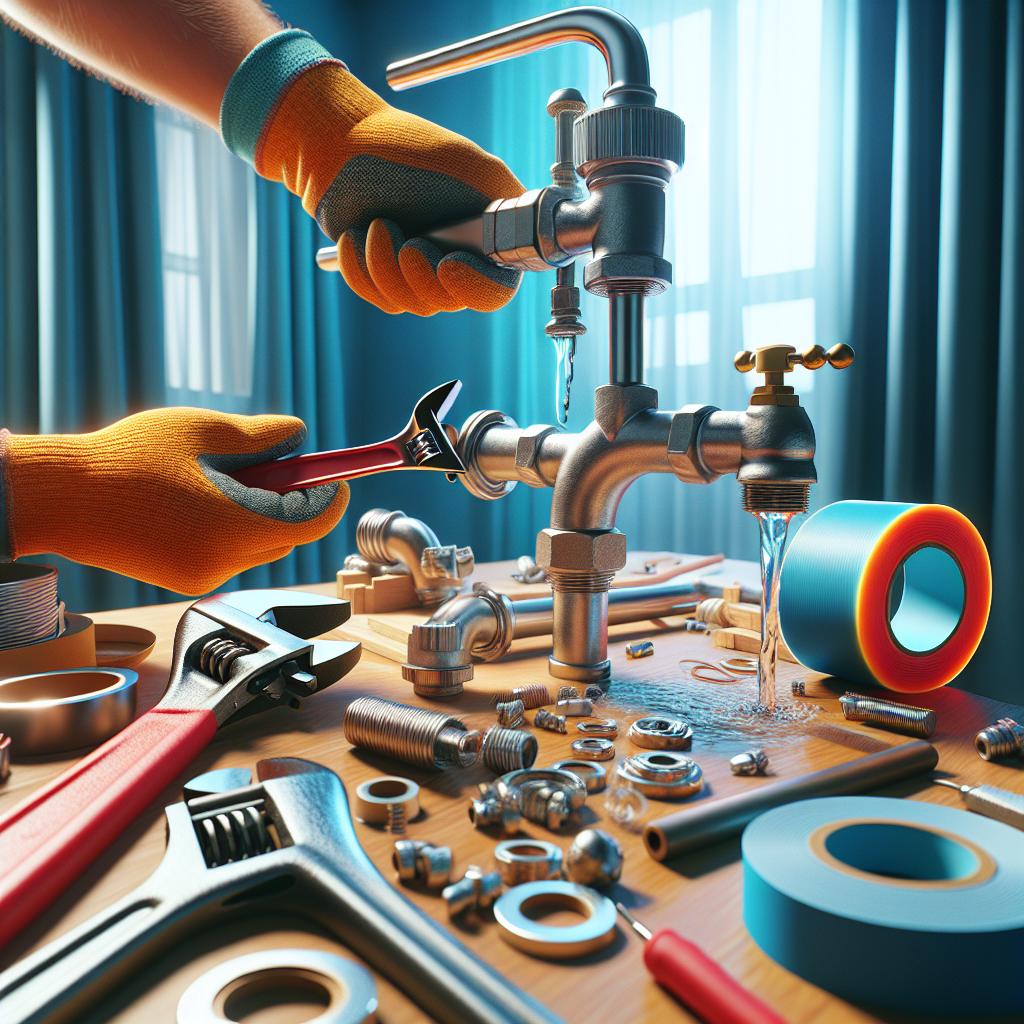
With your tools and materials ready, it's time to dive into the faucet disassembly process. Follow these steps carefully to access the problematic components and prepare for the repair:Step 1: Remove the Faucet Handle
Start by removing the faucet handle. This is typically done by locating a small set screw or cap on the handle and loosening it with a screwdriver or Allen wrench. Once the handle is free, set it aside.Step 2: Access the Faucet Stem
Underneath the handle, you'll find the faucet stem - the main component that controls the flow of water. Depending on your faucet model, you may need to use a basin wrench to loosen and remove the stem.Step 3: Inspect the Washers and O-rings
With the stem exposed, closely examine the washers and o-rings for signs of wear, cracks, or deterioration. These are common culprits for leaks and will need to be replaced if they're in poor condition.Step 4: Remove the Faucet Cartridge (if applicable)
Some modern faucets use a single-piece cartridge instead of a traditional stem. If this is the case for your faucet, you'll need to carefully remove the cartridge by unscrewing it or prying it out with pliers.Step 5: Clean the Faucet Components
Once you've accessed the problematic parts, use a clean cloth or paper towel to wipe away any built-up grime, mineral deposits, or corrosion. This will help ensure a proper seal and smooth operation once the faucet is reassembled.Repairing the Leaky Faucet
With the faucet disassembled and the problematic components identified, it's time to tackle the repair. Follow these steps to get your faucet back in working order:Step 1: Replace the Washers and O-rings
If the washers and o-rings are worn or damaged, remove and replace them with new components. Make sure to get the correct size and shape to ensure a proper fit.Step 2: Replace the Faucet Stem or Cartridge
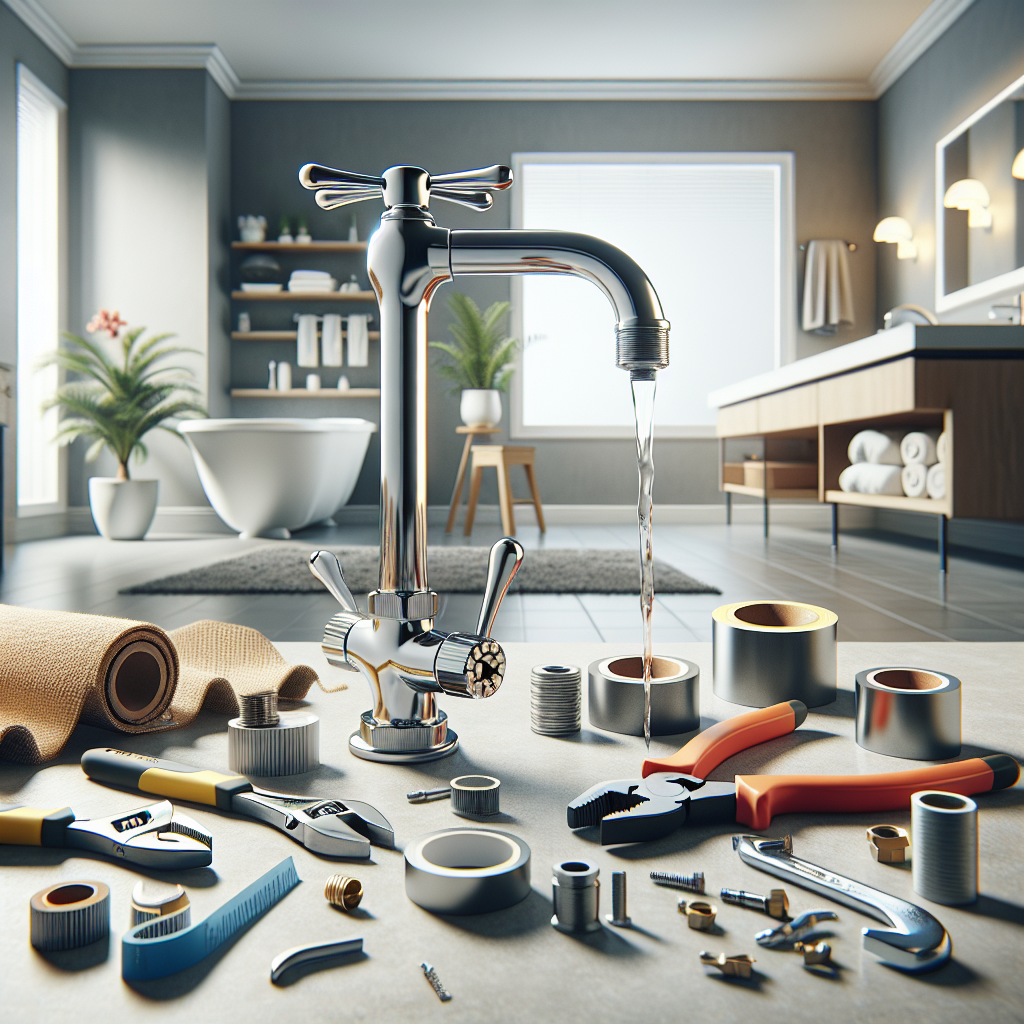
If the stem is the source of the leak, replace it with a new one. Carefully insert the new stem, making sure it's properly aligned and secured. For cartridge-style faucets, simply swap out the old cartridge with a new one.Step 3: Reassemble the Faucet
Carefully put the faucet back together, reversing the disassembly steps. Make sure all the components are properly aligned and tightened down. Turn the water supply back on and check for any remaining leaks.Step 4: Adjust the Faucet (if necessary)
If the faucet is still dripping or not functioning correctly, you may need to make some minor adjustments. This could involve tightening the packing nut, adjusting the faucet stem, or fine-tuning the cartridge.Cost-Saving Tips and Considerations