Prepare the Painting Surface
Proper surface preparation is key to getting a smooth, even paint finish. Start by thoroughly cleaning the walls or other surfaces you'll be painting. Use a degreaser or TSP substitute to remove any dirt, grease, or grime that could interfere with paint adhesion.Sand Glossy Surfaces
If you're painting over a previously glossy or semigloss finish, lightly sand the surface to dull the sheen and help the new paint adhere better. Use a fine-grit sandpaper (220-grit or higher) and go with the grain of the wood or drywall. Wipe away any dust when finished.Patch Holes and Cracks
Use joint compound or spackling paste to fill in any nail holes, cracks, or other imperfections in the surface. Let the filler dry completely, then lightly sand it flush with the surrounding area.Apply a Primer Coat
Priming the surface is an essential step that helps the topcoat paint go on smoothly and evenly. Use a high-quality latex or oil-based primer that's compatible with your chosen paint type. Primer not only improves paint adhesion but also helps mask stains and discoloration.Choose the Right Painting Tools
Investing in the right tools can make a big difference in the quality of your paint job. While it may be tempting to go the cheap route, high-quality brushes, rollers, and other accessories are worth the extra cost.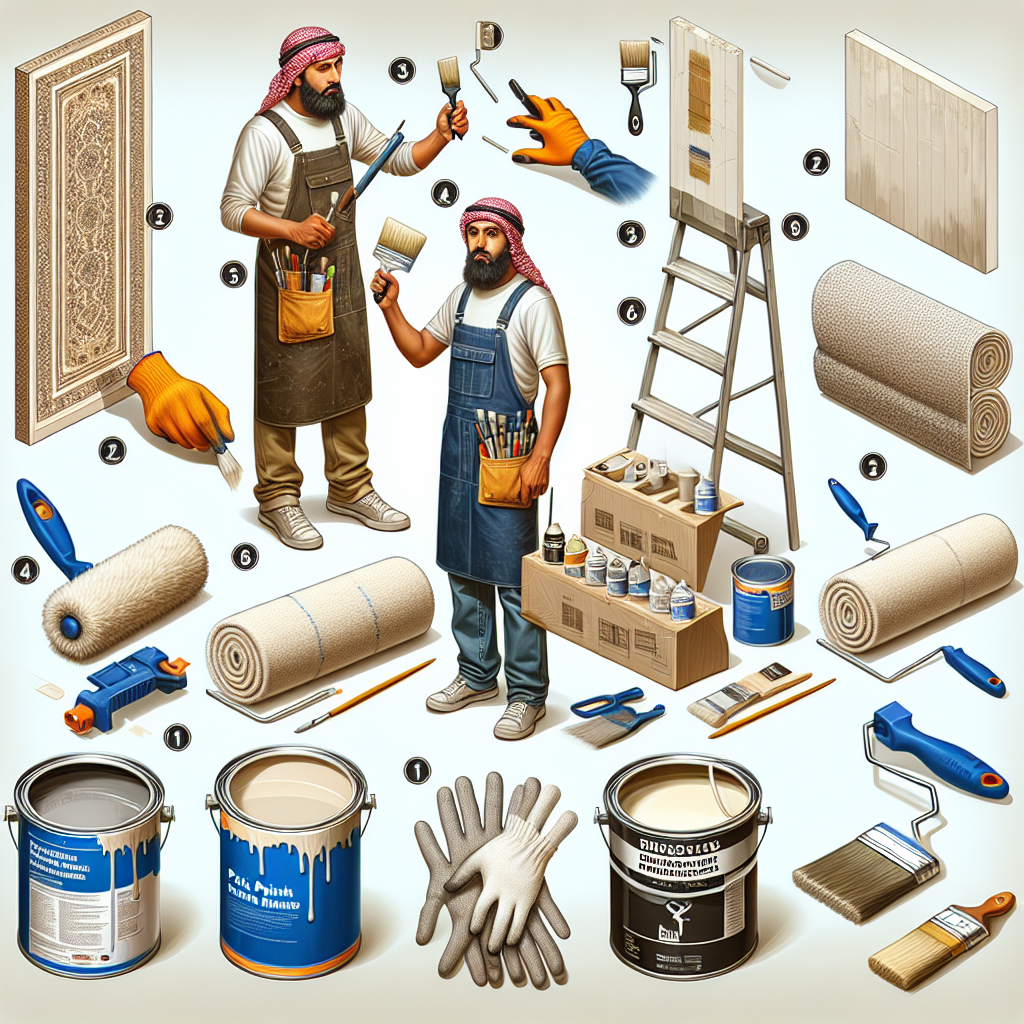
Brushes
For trim, edges, and other detailed work, use a good-quality angled sash brush made with synthetic bristles. Look for one with a comfortable, sturdy handle that's about 2-3 inches wide. Avoid cheaper brushes with loose, stiff bristles that leave visible brush strokes.Rollers
When it comes to painting large, open areas, a high-density foam or microfiber roller cover works best. Choose a 3/8- or 1/2-inch nap length for walls and ceilings, and a 1/4-inch nap for smooth surfaces like cabinets or furniture. Pair your roller with a heavy-duty metal roller frame for best results.Other Tools
In addition to brushes and rollers, you'll also need:- Paint trays and liners
- Paint edger or angled sash brush for cutting in
- Paint scraper or putty knife for removing old paint
- Painter's tape for crisp, clean edges
- Drop cloths or plastic sheeting to protect floors and furniture
Master Paint Application Techniques
Now that you've prepped the surface and gathered your tools, it's time to start painting. Use these expert techniques to achieve a professional-looking finish.Cutting In
Begin by "cutting in" the edges and corners using a high-quality angled sash brush. This involves painting a 2-3 inch border around the perimeter of the room, along baseboards, around window and door frames, and anywhere the roller can't easily reach. Take your time and use steady, even brush strokes to create crisp, clean lines.Rolling the Walls
Once the cutting in is complete, use a high-density foam or microfiber roller to paint the main wall areas. Apply the paint in 3-4 foot wide sections, working in a "W" or "M" pattern to ensure even coverage. Overlap each pass slightly and maintain a "wet edge" to prevent lap marks.Avoid Drips and Splatters
To minimize drips and messy splatters, don't overload your roller. Dip it into the paint tray only about halfway up the nap, then roll it back and forth a few times to distribute the paint evenly. When painting ceilings or trim, use a light touch and keep the roller slightly tilted to avoid drips.Maintain a Steady Pace
Work at a steady, unhurried pace, taking care not to let the paint dry too quickly. This will help you achieve a smooth, uniform finish without visible brush or roller marks. If the paint starts to dry before you can cover an area, lightly mist it with water to reactivate it.
Address Common Painting Challenges
Even with the best preparation and technique, you may still encounter a few problems. Here's how to handle some of the most common painting pitfalls:Streaks and Lap Marks
Streaks and lap marks are often caused by uneven paint application or drying. To avoid them, maintain a "wet edge" as you roll, overlapping each pass slightly. Work quickly and in small sections to keep the paint wet. You can also try adding a paint extender or flow improver additive to the paint, which helps it level out better.Roller Marks and Texture
Visible roller marks or an uneven, stippled texture can ruin an otherwise smooth paint job. To minimize this, use the right roller cover nap length for the surface and apply the paint using the proper "W" or "M" pattern. Avoid pressing too hard with the roller, and keep it well-loaded with paint.Drips and Splatters
Drips and splatters are messy and time-consuming to clean up. Prevent them by avoiding overloading your roller, cutting in carefully, and keeping a light touch when painting ceilings, trim, and other vertical surfaces. Use painter's tape to protect adjacent areas, and have a damp rag on hand to quickly wipe up any drips as they happen.Key Takeaways
Painting like a pro takes preparation, the right tools, and attention to technique. By following these expert tips, you can achieve a beautiful, long-lasting paint finish without the hassle of drips, streaks, and sloppy messes:- Thoroughly prepare the surface by cleaning, sanding, and priming
- Invest in high-quality brushes, rollers, and other painting accessories
- Master cutting in, rolling technique, and maintaining a wet edge
- Work at a steady, unhurried pace to avoid common painting pitfalls
- Address challenges like streaks, roller marks, and drips as they occur