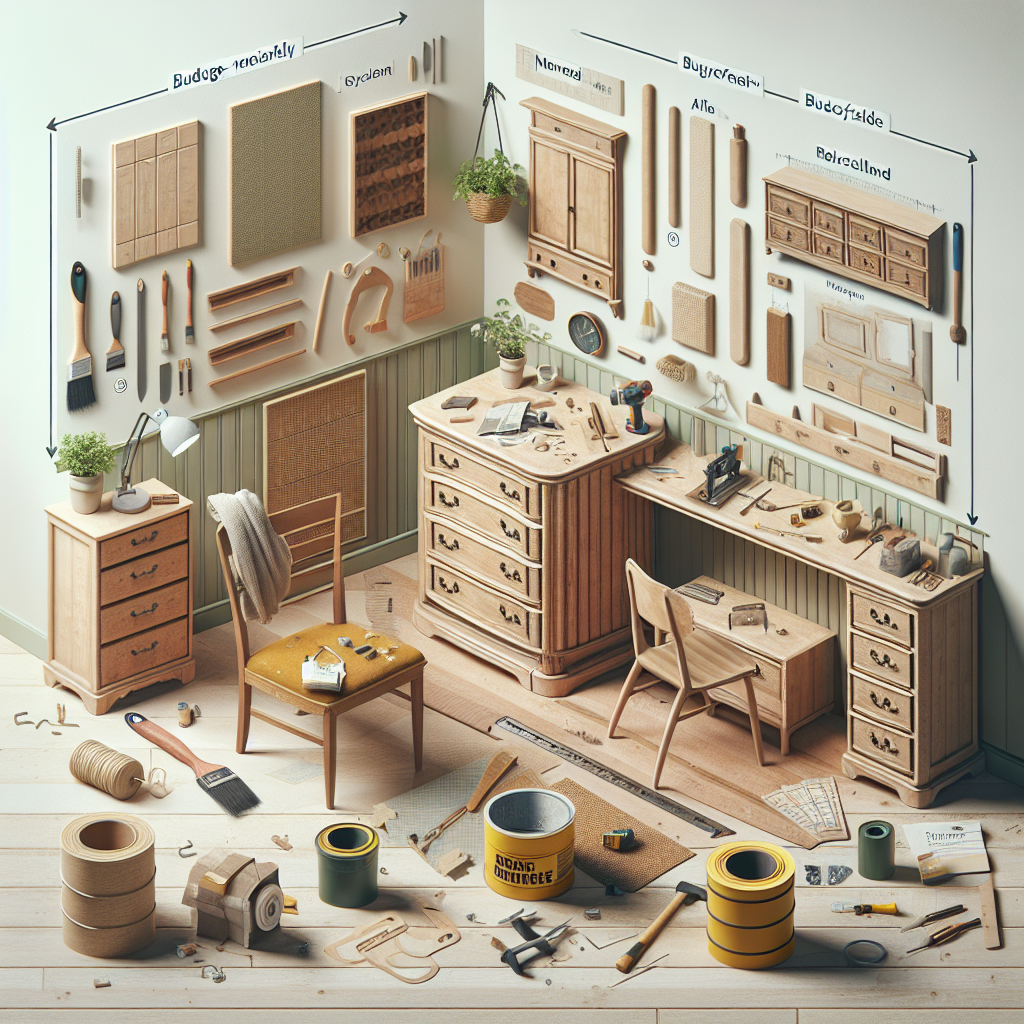
Gather the Right Tools and Supplies
Before you dive into the assembly process, take the time to ensure you have all the necessary tools and supplies on hand. This not only prevents frustrating interruptions but also helps streamline the overall workflow.Essential Tools for Furniture Assembly
- Screwdrivers: Both flathead and Phillips head screwdrivers in various sizes to accommodate different fasteners
- Allen Wrenches: A set of hex keys in the sizes specified by the manufacturer
- Hammer: A lightweight hammer can be useful for gently tapping pieces into place
- Pliers: Needle-nose pliers are great for gripping small parts and hardware
- Utility Knife: Helps with cutting and trimming materials as needed
- Cordless Drill: A power tool that can speed up the assembly process (just be careful not to overtighten screws)
Additional Supplies to Have on Hand
- Glue: Wood glue or all-purpose adhesive can help reinforce joints and connections
- Lubricant: Silicone-based lubricants can make it easier to insert screws and bolts
- Protective Pads: Cardboard, towels, or furniture sliders to prevent scratches and dents on floors and surfaces
- Flashlight: Helpful for illuminating tight spaces and hard-to-see areas during assembly
- Cleaning Supplies: A microfiber cloth and all-purpose cleaner to wipe down the furniture after assembly
Thoroughly Inspect the Parts and Hardware
One of the most common frustrations with flat-pack furniture is missing or damaged parts. Before you begin the assembly, take the time to carefully unpack and inspect all the components.Verify the Parts List
- Lay out all the pieces and hardware and cross-reference them against the provided parts list.
- Make sure you have the correct number and size of each piece.
- Check for any visible damage, such as scratches, dents, or bent parts.
- If you discover any issues, contact the manufacturer or retailer immediately to request replacements.
Organize the Parts for Easy Access
- Sort the pieces by type, size, or intended location on the furniture.
- Group fasteners, screws, and other small hardware together in separate containers or compartments.
- This will make it easier to locate the specific parts you need during the assembly process.
Read the Instructions Thoroughly
While it may be tempting to jump right into the assembly, taking the time to carefully read through the instructions can save you a lot of headaches down the line. Pay close attention to the following: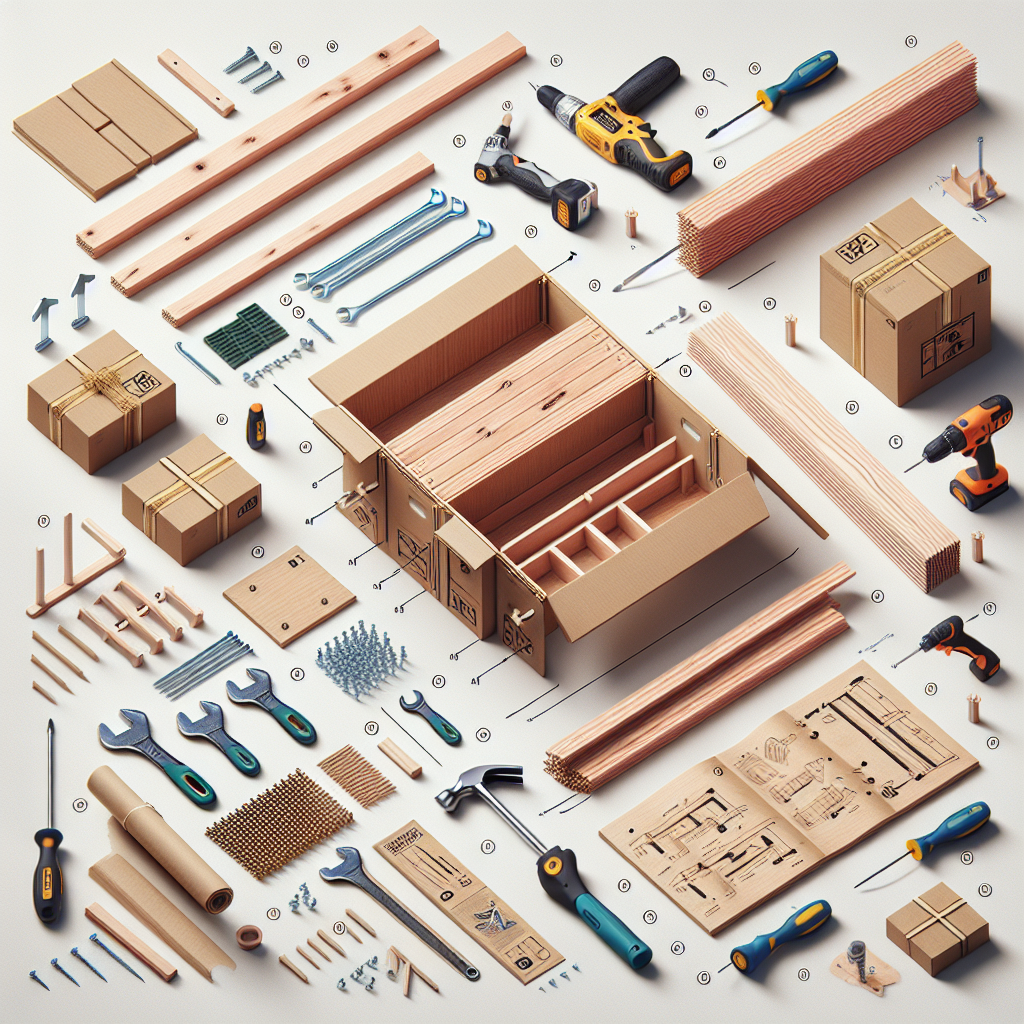
Understand the Step-by-Step Process
- Read through the instructions step by step, even if you think you know what to do.
- Look for any specific order of assembly or part placement that the manufacturer recommends.
- Review any diagrams or illustrations to ensure you're interpreting the instructions correctly.
Identify Any Special Techniques
- Some flat-pack furniture may require unique assembly methods, such as aligning grooves, inserting cam locks, or using specific tools.
- Be sure to follow any specialized instructions carefully to avoid potential issues.
Pay Attention to Hardware Placement
- Note the orientation and positioning of screws, bolts, and other fasteners.
- Incorrect hardware placement can lead to wobbly or unstable furniture.
- If you're unsure about the right way to insert a fastener, consult the instructions or reach out to the manufacturer for clarification.
Prepare the Assembly Area
Having a clean, organized, and well-lit workspace can make the furniture assembly process much smoother. Take the time to set up your area for success:Choose a Suitable Location
- Select a flat, sturdy surface, such as a table or the floor, that can support the weight of the furniture.
- Ensure the area is well-lit and free of clutter or potential hazards.
- If assembling on a carpeted floor, consider using a large piece of cardboard or a tarp to protect the surface.
Protect Surfaces and Floors
- Use furniture sliders, towels, or other protective materials to safeguard your floors and tables from scratches and dents.
- This is especially important for delicate surfaces like hardwood or stone.
Create a Organized Workspace
- Keep your tools and hardware within easy reach to avoid constantly searching for them.
- Use small containers or trays to sort and contain the various screws, bolts, and other fasteners.
- Have a designated area to place assembled pieces, ensuring they don't get mixed up or damaged.
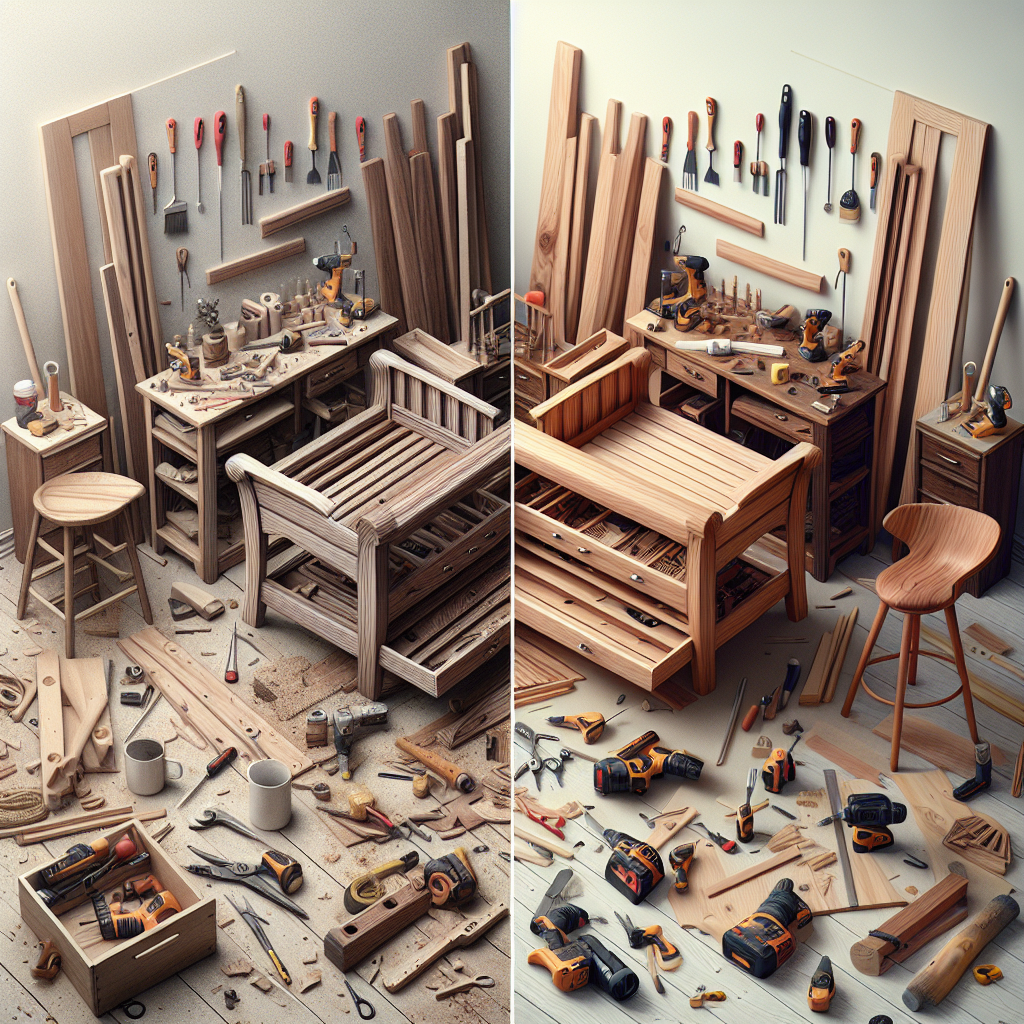
Assemble in a Logical Order
Once you've completed the preparatory steps, it's time to start the actual assembly process. Approach the task methodically to ensure a smooth and successful outcome.Start with the Foundation
- Begin by assembling the base or framework of the furniture, as this will provide a stable foundation for the rest of the structure.
- Pay close attention to how the legs, supports, or other core components fit together, following the manufacturer's instructions closely.
- Double-check that these initial pieces are properly aligned and securely fastened before moving on.
Work in Sections
- Rather than tackling the entire assembly at once, break down the process into manageable sections or sub-assemblies.
- This allows you to focus on one area at a time, reducing the risk of mixing up parts or skipping important steps.
- As you complete each section, carefully fit it into the larger structure, ensuring a tight and stable connection.
Tighten Fasteners Gradually
- When inserting screws, bolts, or other fasteners, avoid fully tightening them right away.
- Instead, start by lightly securing the connections, then go back and tighten them fully once the entire piece is assembled.
- This helps account for any slight adjustments or alignment issues that may arise during the process.
Troubleshoot Common Issues
Even with the best preparation and attention to detail, unexpected challenges can still arise during furniture assembly. Here are some common problems and solutions to help you navigate them:Misaligned or Damaged Parts
- If a piece doesn't seem to fit correctly, double-check the instructions and verify that you have the right component.
- Gently tap or maneuver the part into place, being careful not to force it and risk further damage.
- If the issue persists, contact the manufacturer for a replacement part.
Stripped Screw Holes
- If a screw repeatedly strips the hole it's going into, try using a slightly larger screw or inserting a small wooden toothpick or matchstick into the hole to provide more grip.
- As a last resort, you may need to drill a new hole in a slightly different location and use a different fastener.
Wobbly or Unstable Structure
- Check that all fasteners are properly tightened and that the furniture is resting on a level surface.
- Apply wood glue to key joints and connections to reinforce the structure.
- Consider adding additional support, such as brackets or braces, if the manufacturer provides them.
Key Takeaways
Mastering the art of flat-pack furniture assembly requires patience, attention to detail, and a bit of know-how. By following these expert-backed hacks, you can transform the once-daunting task into a seamless and even enjoyable experience:- Gather the right tools and supplies to ensure a smooth assembly process.
- Thoroughly inspect all parts and hardware before starting to avoid frustrating interruptions.
- Read the instructions carefully and pay close attention to any specialized techniques or hardware placement.
- Prepare a clean, organized workspace to keep your assembly area clutter-free and protected.
- Approach the assembly in a logical order, starting with the foundation and working in manageable sections.
- Be prepared to troubleshoot common issues, such as misaligned parts or stripped screw holes.