The Appeal of Floating Shelves
Floating shelves have become a popular home decor trend for good reason. These sleek, minimalist shelving units offer a clean, modern look that seamlessly integrates into any room. Rather than bulky, obtrusive shelving units, floating shelves create the illusion of items effortlessly suspended on the wall, drawing the eye upward and creating an airy, uncluttered aesthetic. But the appeal of floating shelves goes beyond just their visual appeal. These versatile storage solutions can be used throughout the home - in the living room to display decor and books, in the kitchen for spices and cookbooks, in the bathroom for toiletries, or in the bedroom for photos and knickknacks. And with a DIY-friendly installation process, floating shelves are a project that even novice DIYers can tackle with confidence.What You'll Need
To install floating shelves, you'll need just a few basic tools and materials:Tools:
- Stud finder
- Level
- Drill
- Drill bits (including a masonry bit if installing into concrete/brick)
- Screwdriver
- Hammer
- Pencil
- Measuring tape
Materials:
- Floating shelf brackets
- Wood boards or pre-made floating shelves
- Screws (length will depend on wall material)
- Wall anchors (if not securing directly into studs)
- Wood glue (optional)
Choosing the Right Floating Shelves
The first step in any floating shelves DIY project is selecting the right shelves for your space and needs. Floating shelves come in a wide variety of sizes, materials, and styles to suit different decor preferences and storage requirements.Size and Dimensions
When it comes to size, consider the available wall space you have and how much weight the shelves will need to support. Typical floating shelf depths range from 6-12 inches, with lengths varying from 12 inches up to 6 feet or more for larger rooms. Make sure to measure the space carefully and select shelves that fit proportionally.Shelf Material
The most common materials for floating shelves are wood, MDF, and laminate. Wood shelves offer a natural, organic look that can be stained or painted to match your decor. MDF and laminate provide a more budget-friendly option with a sleek, modern aesthetic. You can also find floating shelves made from materials like metal, glass, or even reclaimed wood for a more unique, industrial-inspired look.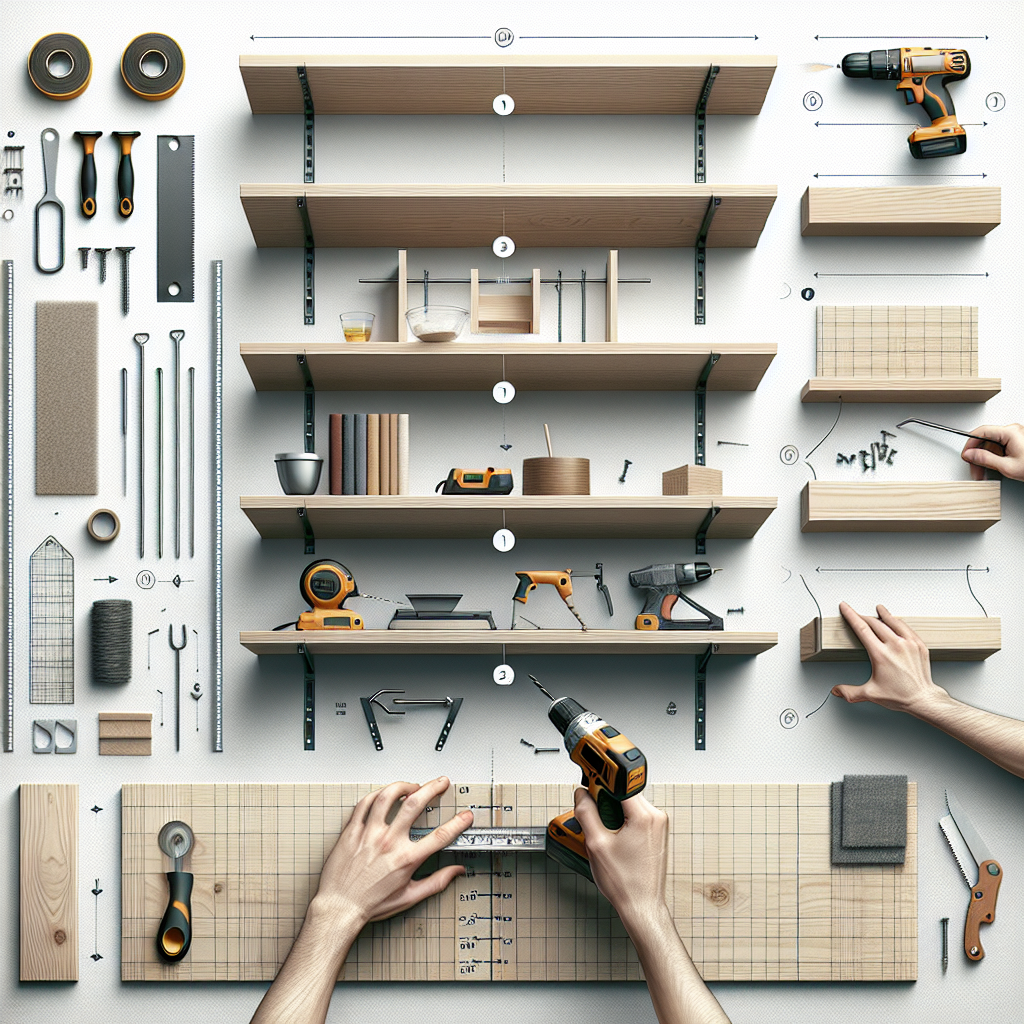
Shelf Thickness
Shelf thickness is another important consideration. Thinner shelves (1/2 to 3/4 inch) create a more minimalist, low-profile look, while thicker shelves (1 to 2 inches) provide more substantial support and visual weight. The thickness you choose will depend on your design preferences and the items you plan to store on the shelves.Bracket Style
Floating shelf brackets come in a variety of styles, from simple L-shaped brackets to more decorative options with intricate metalwork. The bracket style you select should complement the overall aesthetic you're going for. More streamlined brackets work well for a modern, minimalist look, while ornate brackets add visual interest to traditional or farmhouse-style decor.
Step-by-Step Floating Shelves Installation
Once you've selected your floating shelves, the installation process is straightforward. Here's a step-by-step guide:
1. Mark the Shelf Placement
Use a measuring tape and level to mark where you want to install the shelves on the wall. Make sure to locate and mark the wall studs, as this is where you'll want to secure the bracket screws for maximum support.
2. Install the Shelf Brackets
Hold the bracket in place and use a pencil to mark the screw hole locations. Drill pilot holes into the wall, then secure the brackets using the appropriate screws for your wall material (typically 2-3 inch wood screws for studs or wall anchors for drywall).
3. Attach the Shelf to the Brackets
Apply a small amount of wood glue to the top of the brackets, then carefully set the shelf in place. Press down firmly to adhere the shelf to the brackets. You can also use screws to further secure the shelf, pre-drilling holes as needed.
4. Level and Adjust
Use a level to ensure the shelf is perfectly straight, making any necessary adjustments by tapping the shelf with a hammer. Double-check that the shelf is securely in place before adding any decor or items.
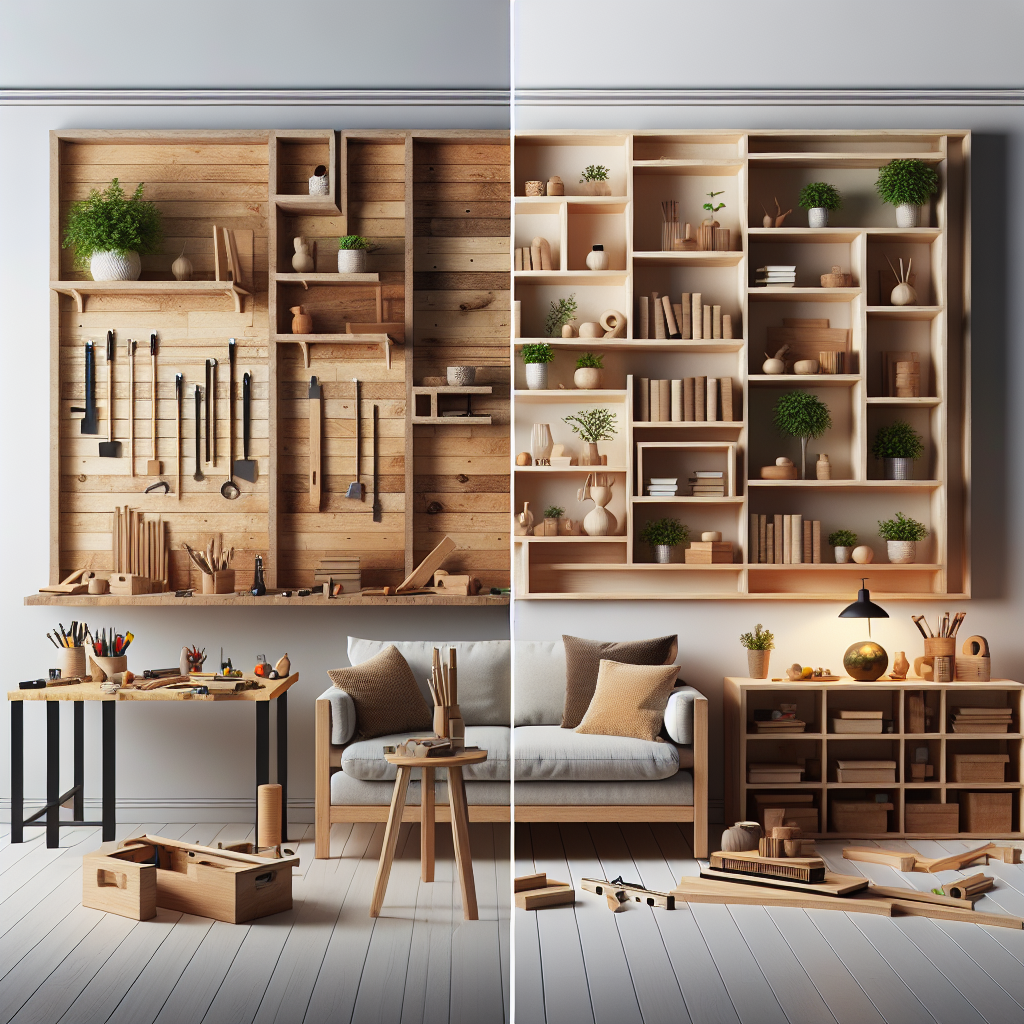
5. Accessorize and Style
Once the shelves are installed, it's time to style them to your liking. Arrange decorative items, plants, books, or other accessories in a visually appealing way. Experiment with different configurations and heights to create depth and visual interest.
Tips for a Successful Floating Shelves Project
Here are some additional tips to help ensure your floating shelves DIY project is a success:
Consider Weight Capacity
Make sure to select shelf brackets and hardware that can support the weight of the items you plan to store. Overloading the shelves can cause them to sag or even detach from the wall.
Use Proper Wall Anchors
If you can't secure the brackets directly into wall studs, make sure to use the appropriate wall anchors for your wall material (drywall, concrete, brick, etc.). This will provide a sturdy, secure hold.
Space Shelves Appropriately
For a cohesive, visually appealing look, space your floating shelves at consistent intervals, typically 12-24 inches apart vertically. Stagger the horizontal placement for added visual interest.
Conceal Mounting Hardware
Many floating shelf brackets have a design that allows you to conceal the mounting screws for a cleaner, more seamless appearance. Take advantage of this feature during installation.
Customize with Paint or Stain
If you're using unfinished wood shelves, take the opportunity to customize them with paint or stain in a color that complements your existing decor.
Install Lighting (Optional)
For an extra touch of style, consider installing small, recessed LED lights underneath the shelves to highlight your decor and create a warm, inviting ambiance.
Key Takeaways
Floating shelves offer a modern, minimalist storage solution that can be easily DIY-ed with just a few basic tools. By carefully selecting the right shelf size, material, and bracket style to suit your space and decor, you can create a stylish, functional storage system that requires minimal effort to install. With some thoughtful planning and expert-level techniques, you can elevate your home with the simple addition of custom floating shelves.