The Scourge of Squeaky Floors and Why They Matter
Squeaky floors are one of the most common home repair issues homeowners face. Not only are they an annoyance that disrupts the peace and quiet of your home, but they can also be indicative of larger structural problems. Unaddressed, those squeaks and creaks can worsen over time, leading to costly repairs down the line. Fortunately, there are a variety of quick and cost-effective solutions to silence those pesky floor noises. In this comprehensive guide, we'll walk you through the most effective DIY methods to fix squeaky floors, from identifying the root cause to implementing the right remedies. Whether you're dealing with hardwood, laminate, or even concrete floors, you'll learn practical techniques to restore the tranquility to your home.Causes of Squeaky Floors: Diagnosis is Key
Before you can fix a squeaky floor, it's important to understand what's causing the problem in the first place. Squeaks can arise from a variety of issues, each requiring a slightly different approach. Let's explore the most common culprits:Subfloor Movement
One of the leading causes of squeaky floors is movement or separation between the subfloor and the floor joists underneath. This can happen due to natural wood shrinkage, poor installation, or even structural settling over time. As the subfloor shifts, it rubs against the joists, creating that telltale squeak.Loose Floorboards
Another frequent source of squeaks is loose, warped, or damaged floorboards. When the boards aren't securely fastened to the subfloor, they can move independently, leading to irritating noises. This is especially common in older homes with hardwood floors.Moisture Damage
Excess moisture can also wreak havoc on floors, causing the wood to swell, warp, and become loose. This is a particular problem in basements, bathrooms, or other damp areas of the home. If left unchecked, moisture can lead to more severe structural issues beyond just squeaky floors.Hardware Issues
Sometimes, the culprit is as simple as worn-out or poorly installed fasteners, such as nails, screws, or staples. As these hardware elements loosen over time, they allow the floor to shift and create unwanted noises.Identifying the Squeaky Spot
Before you can fix a squeaky floor, you need to locate the source of the problem. Here are some tips to help you pinpoint the squeaky area: 1. Listen Carefully: Walk around your home, focusing on the areas where you hear the squeaks. Pay attention to any patterns or specific spots that seem worse than others. 2. Use a Broom Handle: Gently tap the floor with the handle of a broom or other long object. The spot that creates the loudest squeak is likely the culprit.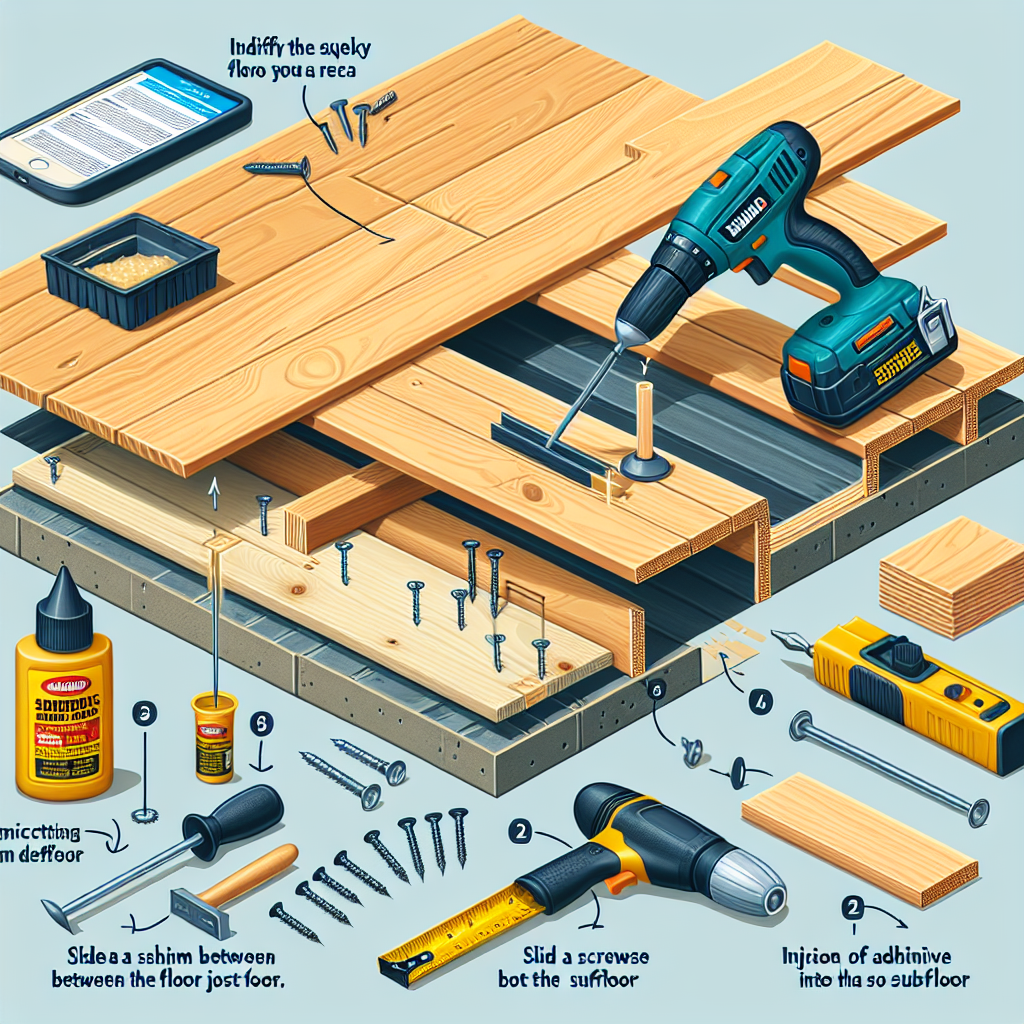
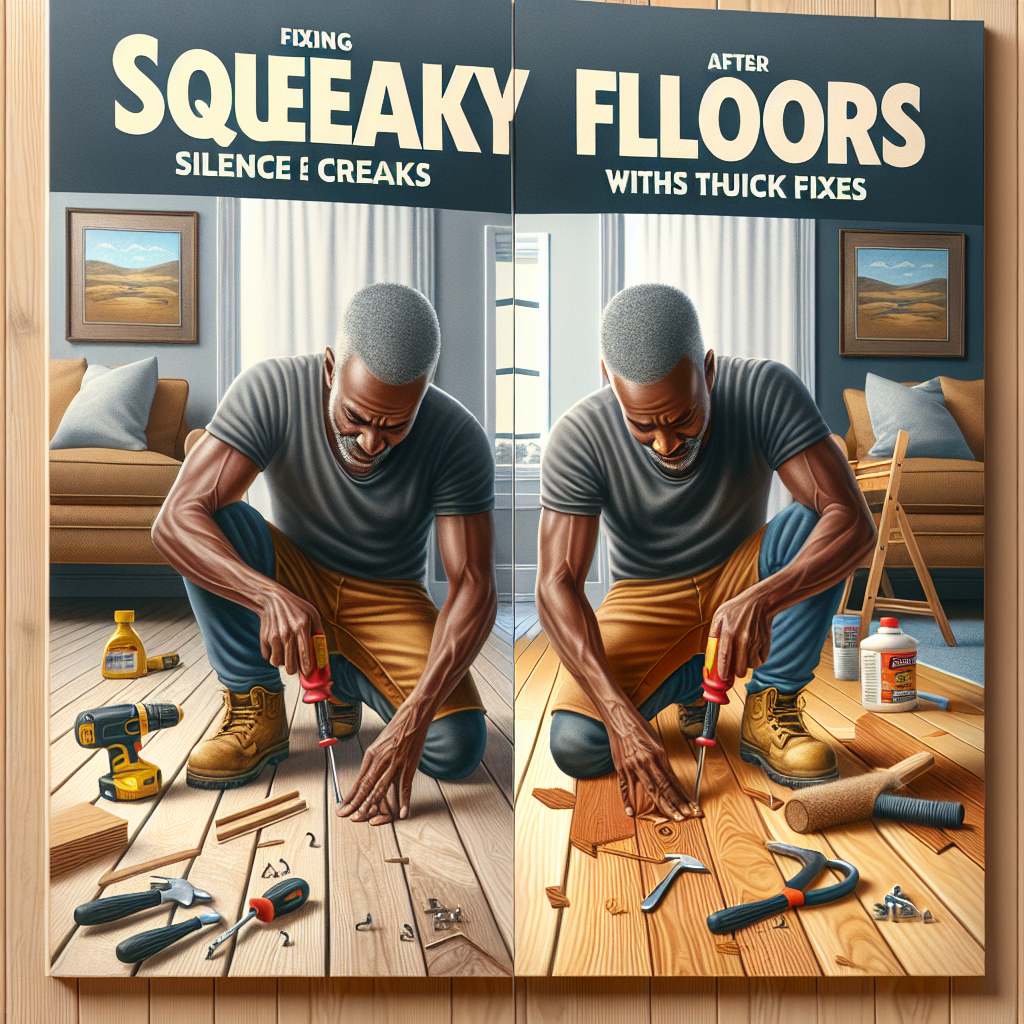
Fixing Squeaky Floors: DIY Solutions
Now that you know what's causing your squeaky floors, it's time to put your DIY skills to the test. Here are some of the most effective methods to silence those creaks:Tightening Fasteners
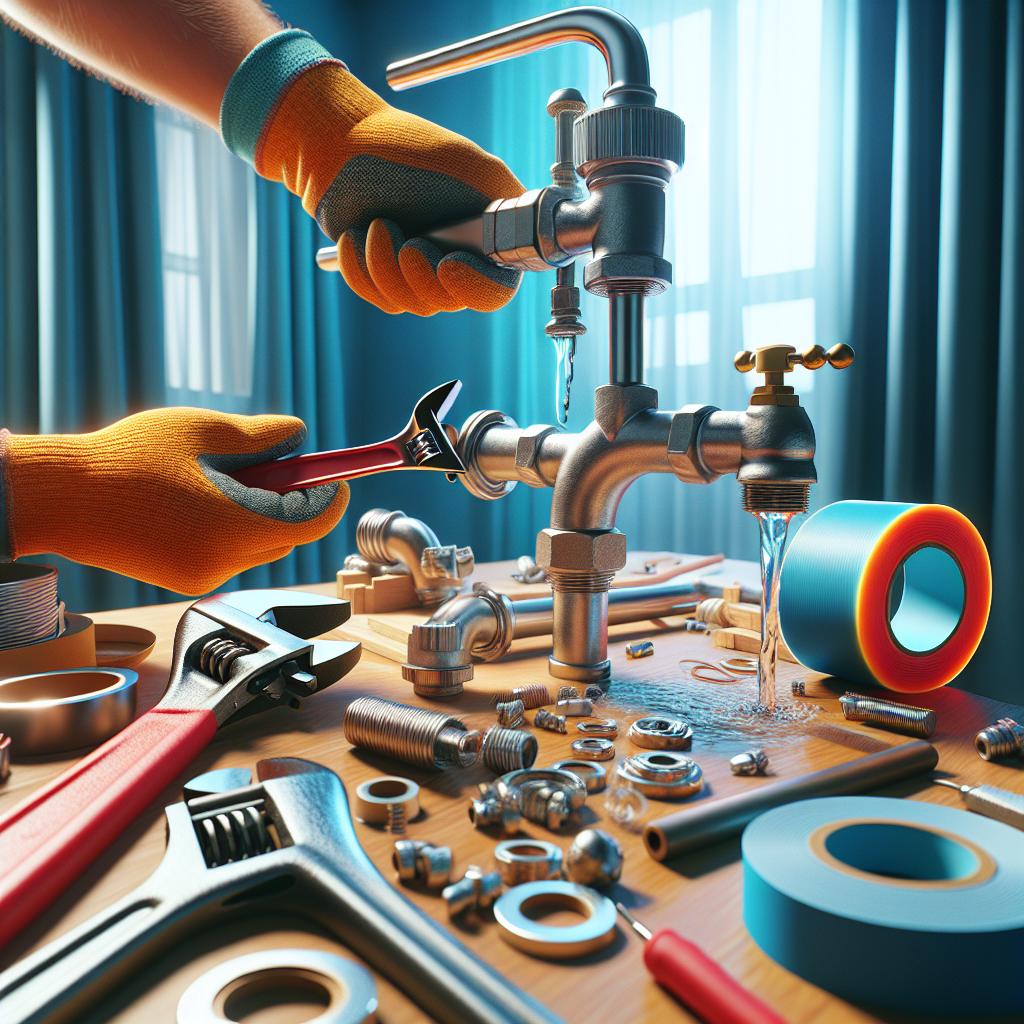
If the squeaks are caused by loose nails, screws, or staples, the solution is often as simple as re-securing the hardware. Here's how to do it: 1. Locate the squeaky area and use a stud finder to identify the joist underneath. 2. Carefully drive new screws or finish nails through the floorboard and into the joist, angling them slightly to avoid splitting the wood. 3. For added stability, you can also try using construction adhesive between the floorboard and the subfloor. 4. If the existing fasteners are stripped or damaged, replace them with new ones.Applying Lubricant
In some cases, a simple application of lubricant can quiet a squeaky floor. Try spraying a silicone-based lubricant or powdered graphite into the gap between the floorboard and the subfloor. This can help reduce friction and prevent further squeaks.Shimming the Subfloor
If the problem is caused by subfloor movement, you can try shimming the gap between the subfloor and the floor joists. Here's how: 1. Locate the squeaky area and identify the joist underneath. 2. Use a pry bar or putty knife to gently lift the floorboard and create a gap. 3. Cut shims (small wedges) from wood or plastic and insert them into the gap, tapping them in until the floorboard is securely supported. 4. Apply construction adhesive to the shims and subfloor for a long-lasting fix.Reinforcing with Screws
For more stubborn squeaks, you may need to reinforce the connection between the floorboard and the subfloor using screws. This involves drilling pilot holes and then driving in screws at an angle to firmly secure the two surfaces together. 1. Locate the squeaky area and use a stud finder to identify the joist underneath. 2. Drill pilot holes through the floorboard and into the joist, angling the holes slightly. 3. Insert 2-inch to 3-inch wood screws into the pilot holes, tightening them until the floorboard is secure. 4. If necessary, you can also apply construction adhesive for added stability.Replacing Damaged Boards
In some cases, the only way to fix a squeaky floor is to replace the damaged or warped floorboards. This is a more involved process, but it can be an effective long-term solution. Here's how to do it: