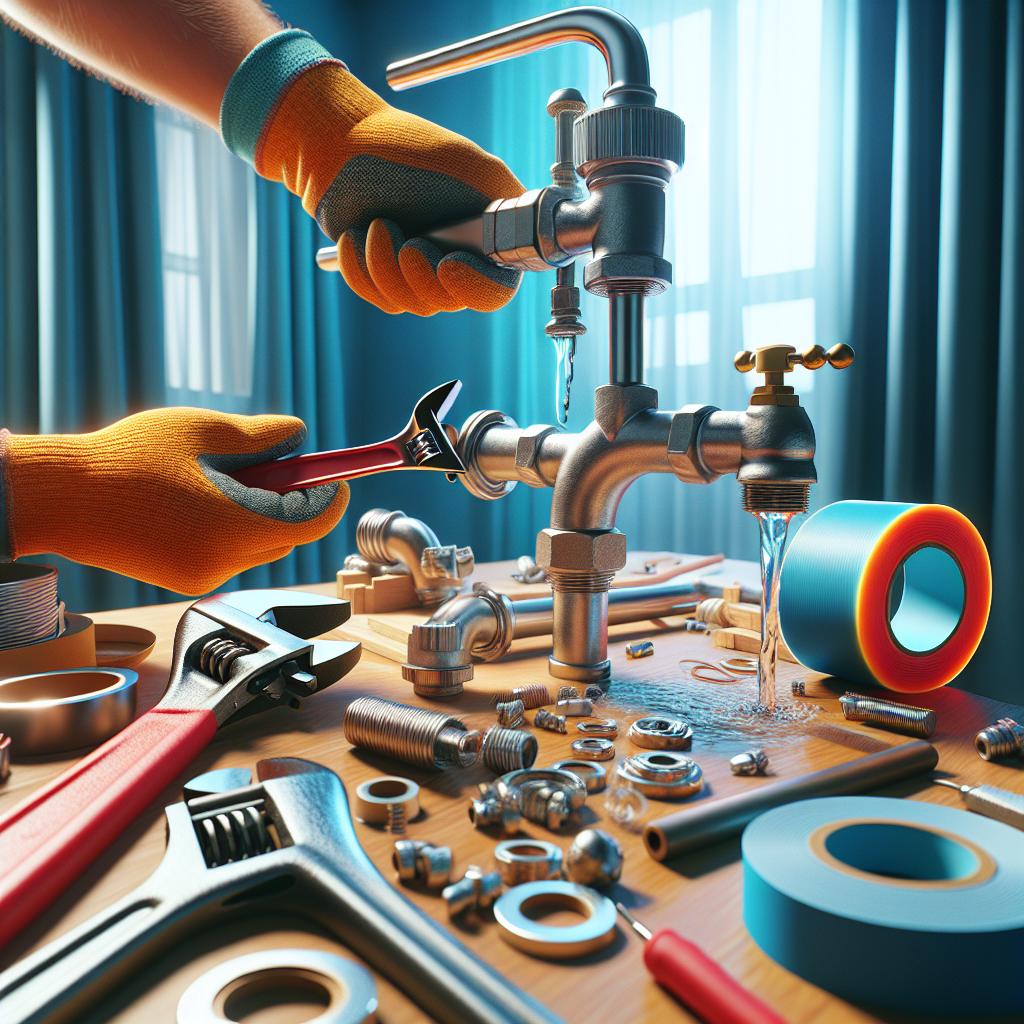
Fix a Leaky Faucet Like a Pro: Step-by-Step Repair Without a Plumber
A leaky faucet is one of the most common plumbing issues homeowners face, and it's also one of the easiest to fix - if you have the right tools and knowledge. In today's AI-powered home repair landscape, there are smart solutions that can guide you through the entire faucet repair process, helping you save time, money, and the hassle of calling a professional plumber.Understanding the Causes of a Leaky Faucet
Before we dive into the step-by-step repair process, it's essential to understand the common causes of a leaky faucet. The most frequent culprits are:Worn Washers
The washers inside the faucet, which create a seal to prevent water from leaking, can become worn down over time due to constant use. This results in the faucet dripping or leaking.Corroded or Damaged Seats and Springs
The faucet's internal components, such as the seats and springs, can become corroded or damaged, leading to water leaks.Loose Faucet Handles
If the faucet handle is not tightened properly, it can cause the internal components to become misaligned, resulting in leaks.Mineral Buildup
Hard water can lead to mineral buildup inside the faucet, interfering with the proper functioning of the internal components and causing leaks. Understanding the root cause of the leak is crucial for selecting the right repair approach and ensuring a long-lasting solution.Preparing for the Faucet Repair
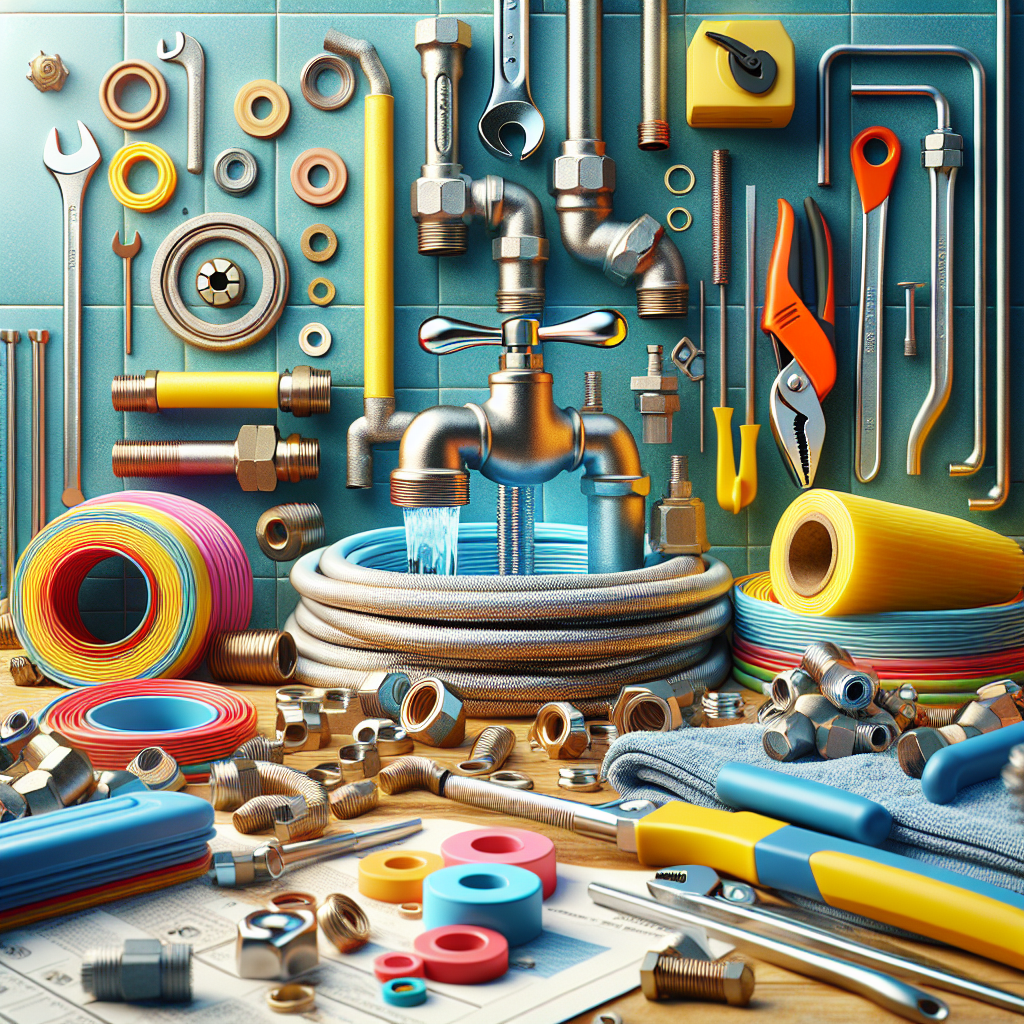
Before you begin the repair process, make sure you have the following tools and materials:- Faucet repair kit - This kit typically includes replacement washers, springs, and other components specific to your faucet model.
- Plumber's basin wrench - This tool helps you access and tighten the faucet nuts.
- Adjustable wrench - Used for loosening and tightening the faucet components.
- Needle-nose pliers - Helpful for removing small parts and accessing tight spaces.
- Bucket or towels - To catch any water that may spill during the repair process.

Step-by-Step Faucet Repair Guide
Now, let's walk through the step-by-step process of fixing a leaky faucet without the need for a professional plumber.1. Turn Off the Water Supply
Locate the shut-off valves under the sink or behind the faucet, and turn them clockwise to shut off the water supply. If you can't find the shut-off valves, you may need to turn off the main water supply to your home.2. Disassemble the Faucet
Remove the faucet handle by unscrewing or prying it off, depending on your faucet model. Next, use the basin wrench to loosen and remove the faucet nut that secures the faucet to the sink.3. Inspect and Replace the Washers
Once the faucet is removed, take a close look at the internal components. Locate the washers, which are typically made of rubber or plastic, and inspect them for signs of wear or damage. If the washers are worn, replace them with new ones from your faucet repair kit.4. Clean the Faucet Seat and Springs
Examine the faucet seat and springs, and use a small brush or toothpick to remove any mineral buildup or debris. If the seats or springs are severely corroded, you may need to replace them as well.5. Reassemble the Faucet
Carefully replace the internal components, making sure they are properly aligned. Tighten the faucet nut with the basin wrench, and then reattach the faucet handle.6. Turn the Water Supply Back On
Slowly turn the shut-off valves counterclockwise to restore the water supply. Check for any leaks and make any necessary adjustments.7. Test the Repaired Faucet
Turn on the faucet and let the water run for a few minutes to ensure there are no drips or leaks. If the faucet is still leaking, you may need to repeat the repair process or consult a professional plumber.Troubleshooting Common Faucet Repair Issues
While the step-by-step process outlined above should resolve most leaky faucet problems, you may encounter some challenges along the way. Here are a few common issues and how to address them:Stuck or Corroded Parts
If you encounter difficulty removing the faucet handle or other components due to corrosion or mineral buildup, try soaking the parts in white vinegar for 30 minutes to an hour. This can help loosen the stuck components.
Mismatched Replacement Parts
Make sure the replacement parts you purchase are compatible with your specific faucet model. Consult the manufacturer's information or use a repair kit designed for your faucet type.Persistent Leaks
If the faucet continues to leak after you've completed the repair, it's possible that the issue is more complex, such as a problem with the faucet's internal seals or the valve cartridge. In such cases, you may need to replace the entire faucet or consult a professional plumber.Embracing AI-Powered Home Repair Solutions
In the age of smart home technology, there are AI-powered tools and apps that can significantly simplify the faucet repair process. For example, some AI-based home repair platforms can:- Provide step-by-step video tutorials tailored to your specific faucet model
- Offer virtual assistance to guide you through the repair process in real-time
- Recommend the exact replacement parts you need based on your faucet's make and model
- Detect the underlying cause of the leak using computer vision and sensor data
- Suggest preventative maintenance tips to avoid future leaks