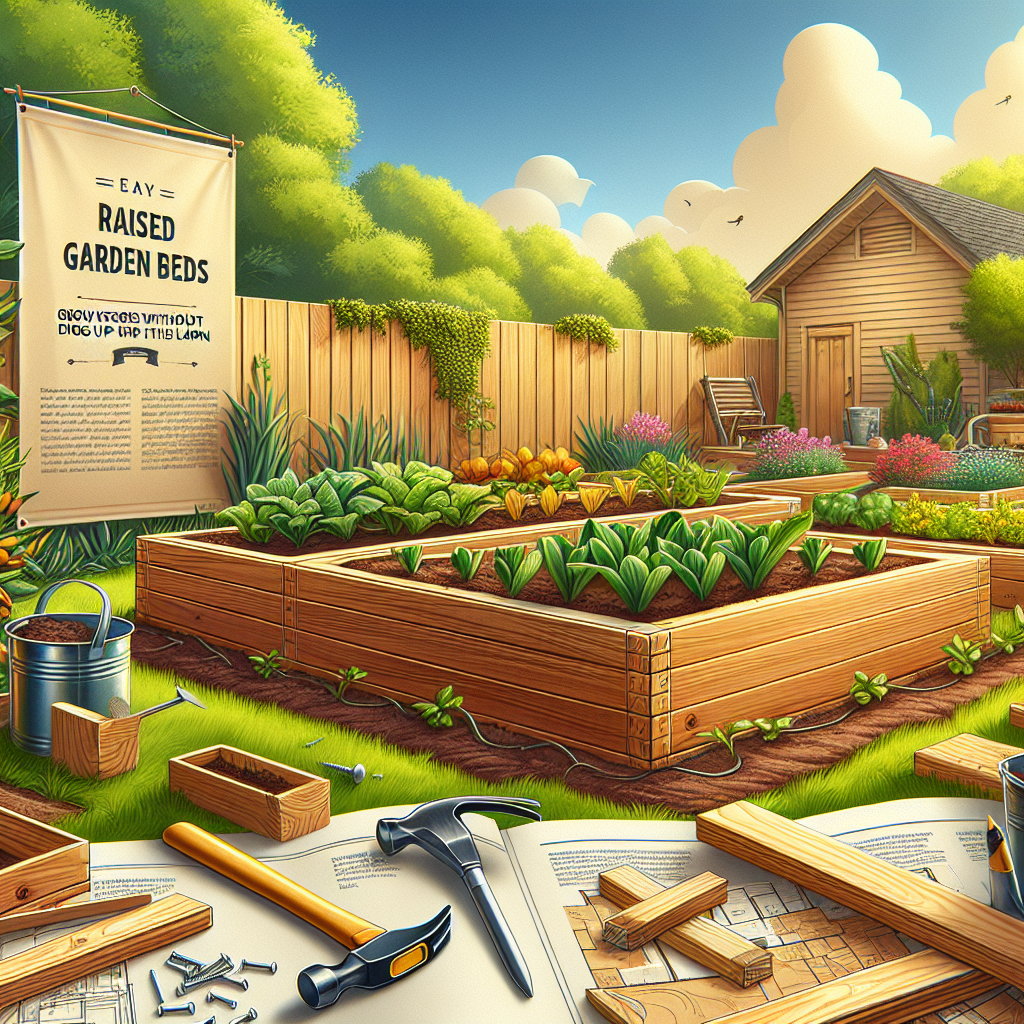
The Benefits of Raised Garden Beds
Raised garden beds offer a multitude of advantages over traditional in-ground vegetable gardens. By elevating your planting area, you can enjoy better soil quality, improved drainage, easier access, and reduced weed growth - all without having to dig up your existing lawn. Raised beds are particularly well-suited for growing a wide variety of vegetables, herbs, and even some fruits. One of the primary benefits is the ability to control the soil composition. By filling your raised bed with a premium potting mix or custom garden soil blend, you can create the ideal growing environment for your plants, free of compaction, rocks, and other obstacles found in native soil. This leads to healthier root systems, higher yields, and a longer growing season.Choosing the Right Raised Bed Materials
When it comes to constructing your raised garden beds, you have several material options to consider. The most common choices include:Untreated Wood
Untreated woods like cedar, redwood, or pressure-treated pine make excellent, long-lasting raised bed frames. These materials are naturally rot-resistant and durable enough to withstand the elements for years. Just be sure to use untreated wood if you plan to grow edible plants.Galvanized Steel
Galvanized steel raised beds are a popular choice for their sleek, modern appearance and impressive durability. Steel beds are highly weather-resistant and won't rot, warp, or crack over time. They are also low-maintenance and easy to assemble.Composite Lumber
Composite materials like recycled plastic and wood fibers offer an eco-friendly, long-lasting alternative to traditional wood. Composite raised beds are weather-resistant, low-maintenance, and come in a variety of natural-looking finishes.Concrete Blocks
Sturdy concrete blocks can also be used to construct raised garden beds. This budget-friendly option is easy to assemble and provides a stable, non-rotting structure. Just be aware that the porous nature of concrete can make it more challenging to maintain consistent soil moisture levels.Determining the Ideal Bed Size
When planning your raised garden beds, it's important to choose the right dimensions to suit your available space and gardening needs. Most experts recommend keeping the width between 3-4 feet to ensure easy access from all sides without having to step into the bed. The length can vary based on your available space, but try to limit it to 8-12 feet to avoid having to strain to reach the center. As for the depth, a minimum of 8-12 inches is ideal to provide sufficient room for root growth and healthy soil volume. However, if you plan to grow deep-rooted crops like carrots or parsnips, you may want to consider a deeper 16-24 inch bed.Preparing the Planting Area
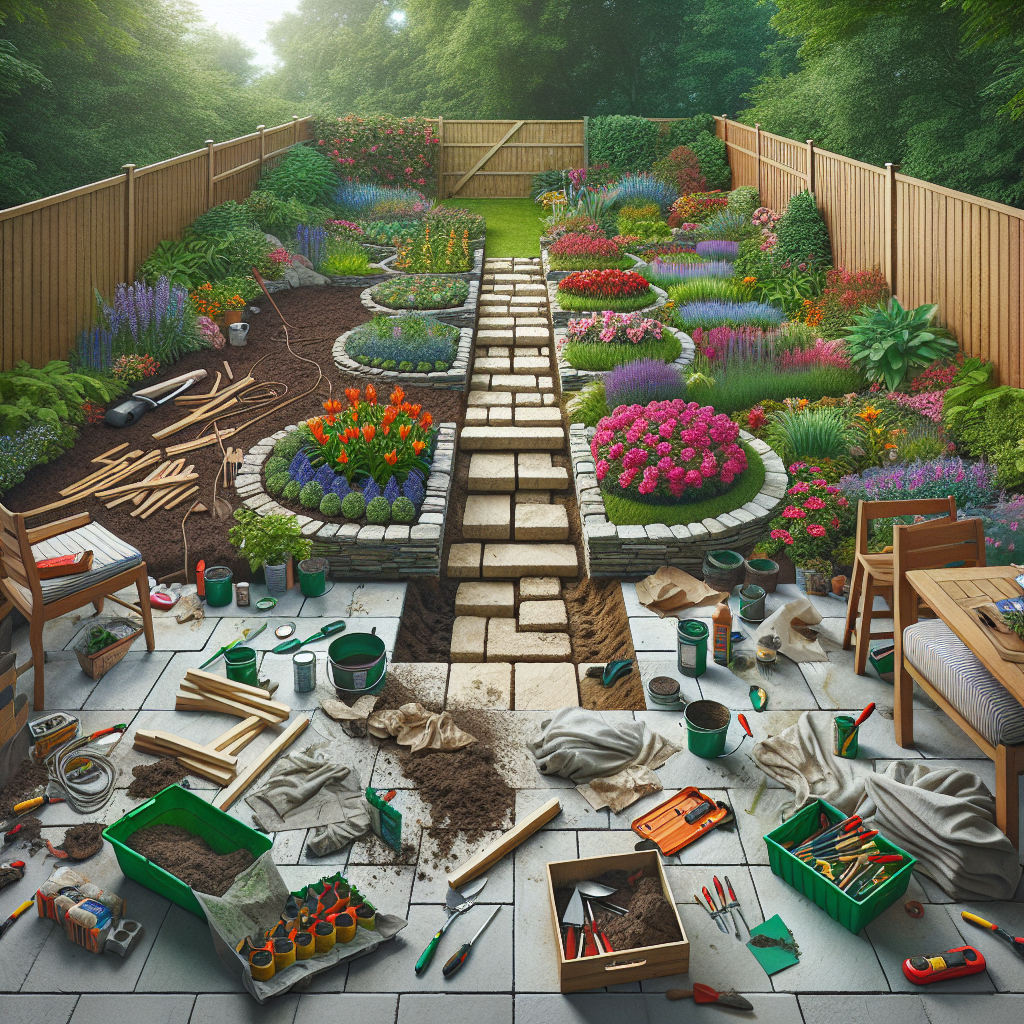
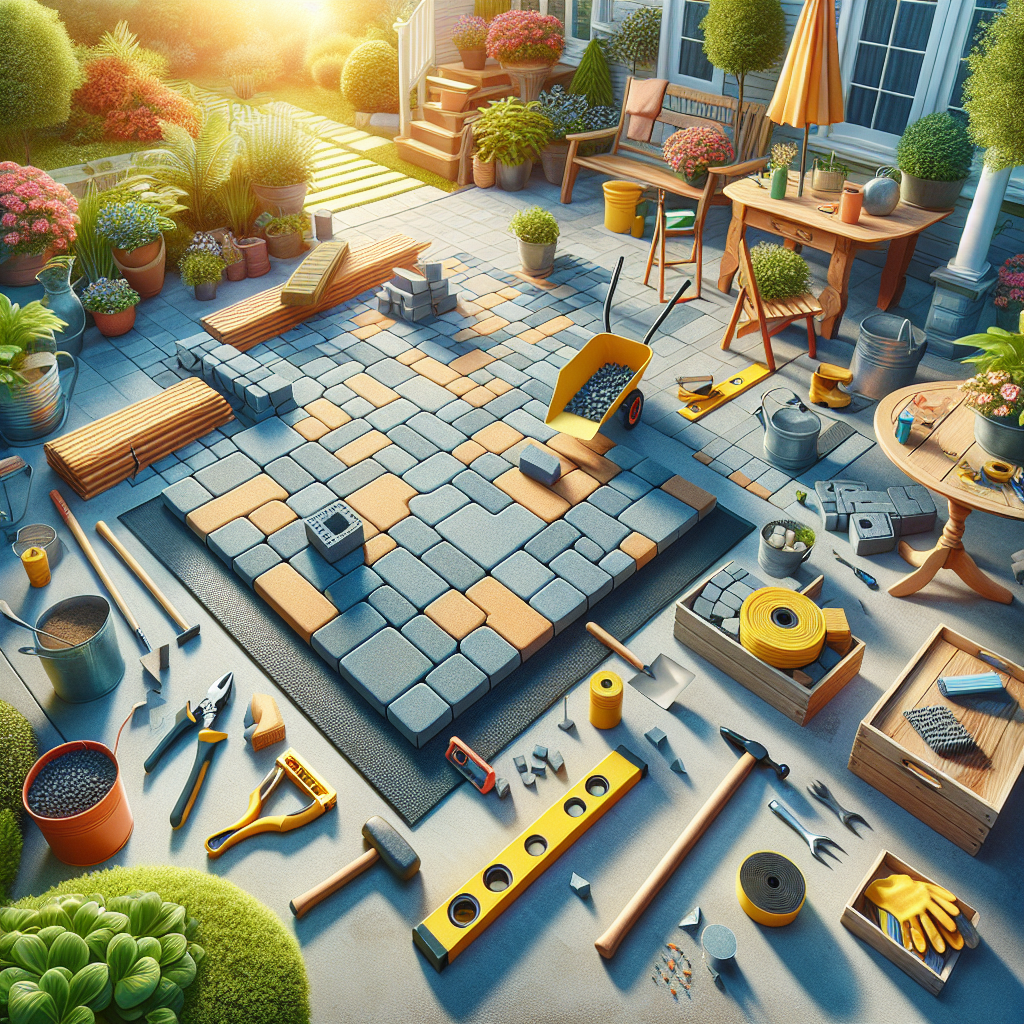
Before assembling your raised beds, you'll need to prepare the underlying planting area. Start by clearing any existing grass, weeds, or debris from the designated spot. This will help prevent unwanted growth from encroaching into your beds.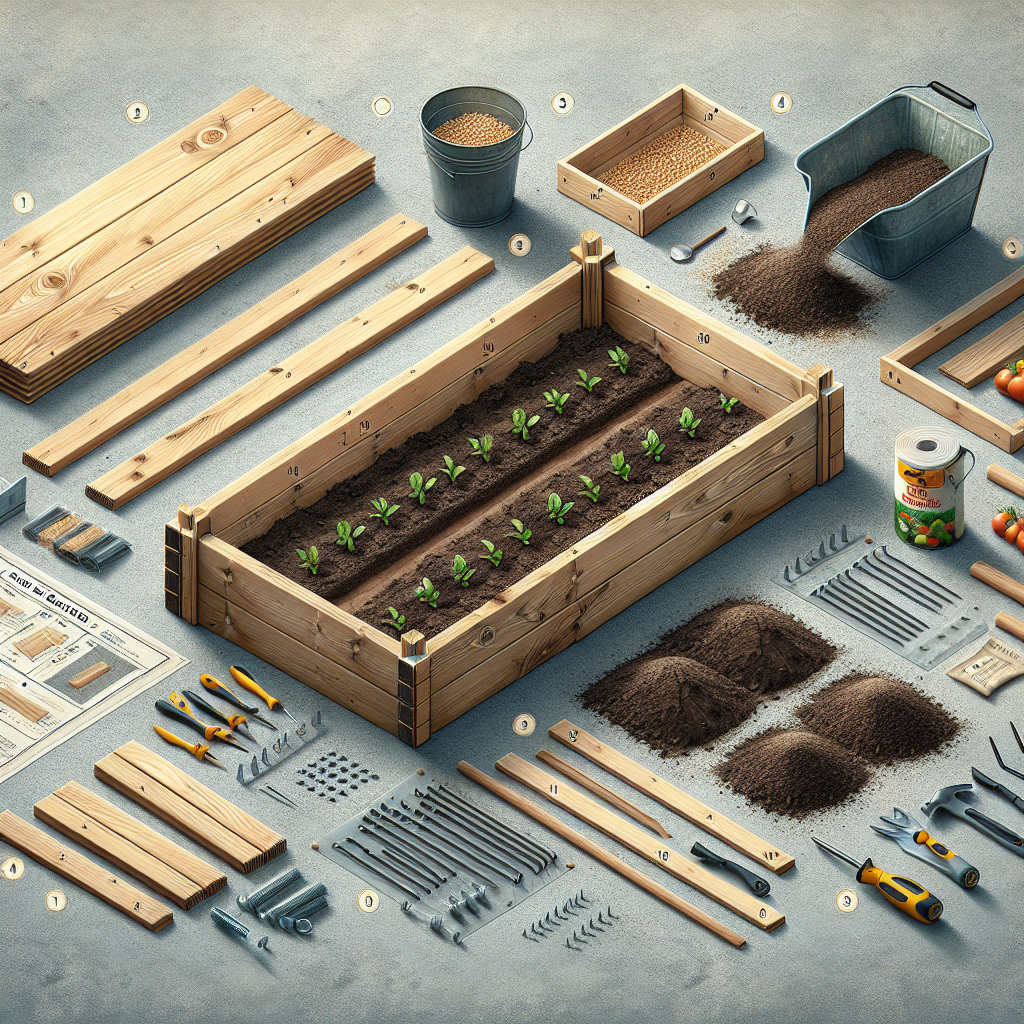
Constructing the Raised Beds
Once you've selected your preferred raised bed material and prepared the planting area, it's time to start building. The actual construction process will vary slightly depending on the type of bed you choose, but the general steps are as follows:Wooden Raised Beds
1. Measure and cut your wood boards to the desired length. 2. Secure the boards together, either by screwing, nailing, or interlocking the corners. 3. Line the interior of the bed with a landscape fabric or heavy-duty plastic liner to prevent soil from leaching out. 4. Place the assembled raised bed frame in your prepared planting area and level it as needed.Galvanized Steel Raised Beds
1. Unfold the steel panels and arrange them in your desired bed shape. 2. Interlock the corner brackets or connectors to secure the panels together. 3. Place the assembled bed frame in your prepared area and ensure it's level.Tip:
For both wood and steel beds, consider adding a few inches of gravel or crushed stone in the bottom of the frame to improve drainage before filling with soil.Filling Your Raised Beds
Once your raised bed frame is in place, it's time to fill it with the perfect growing medium. The key is to use a high-quality potting mix or custom garden soil blend that is light, nutrient-rich, and free of weeds and pests. A common DIY soil mix recipe includes:- 40% compost
- 40% vermiculite or perlite
- 20% topsoil or peat moss
Planting Your Raised Garden Beds
With your raised beds constructed and filled, you're now ready to start planting! Depending on your climate and growing season, you can either sow seeds directly into the soil or transplant seedlings or starter plants.