Automate Your Home on a Budget: A Comprehensive Guide to DIY Smart Lighting Setup
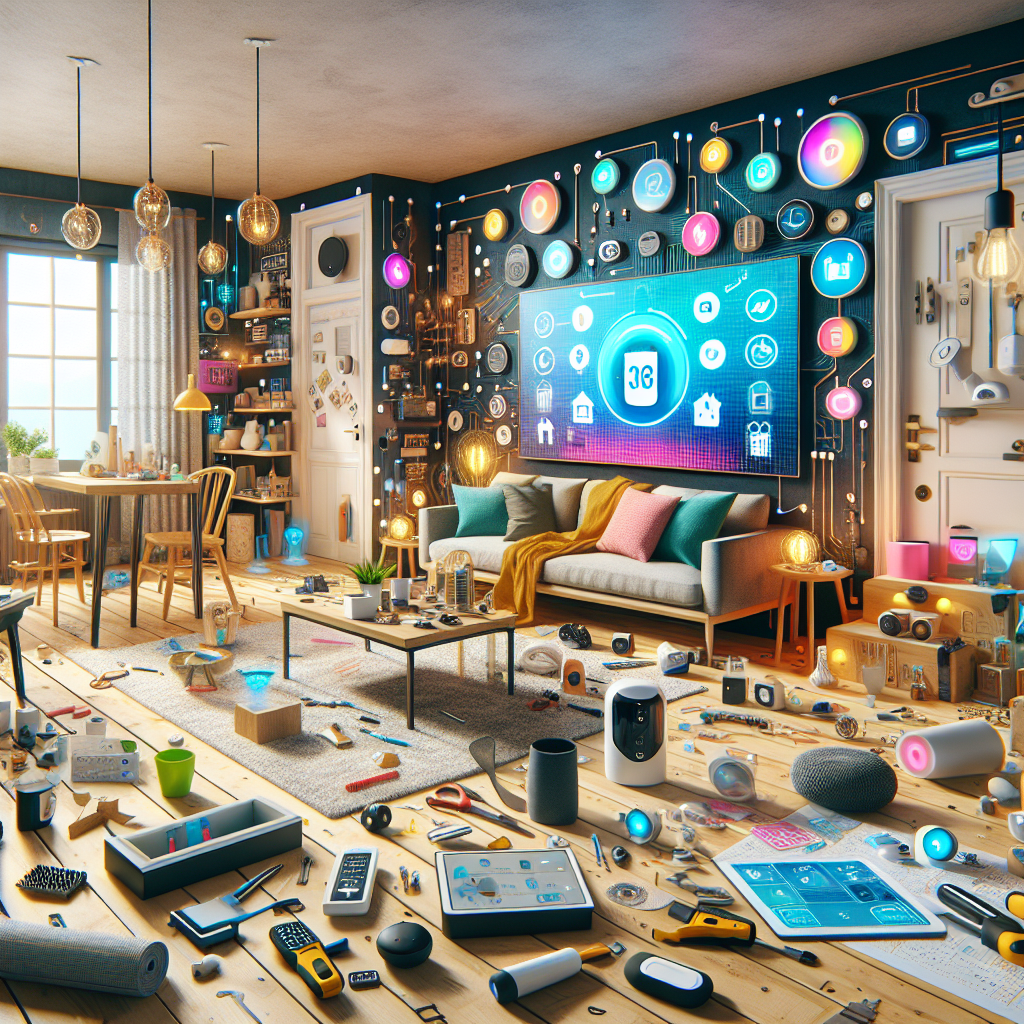
In the age of rapidly advancing AI and smart home technology, the prospect of transforming your living space into an automated, energy-efficient paradise has never been more attainable. One of the easiest and most impactful ways to dip your toes into the world of home automation is through a DIY smart lighting setup. By leveraging budget-friendly smart bulbs, switches, and sensors, you can create a tailored, intelligent lighting system that not only enhances the ambiance of your home but also saves you time, money, and energy. In this comprehensive guide, we'll explore the world of DIY smart lighting, revealing practical tips, innovative solutions, and cost-effective strategies to help you automate your home on a budget. Whether you're a tech-savvy early adopter or a cautious first-time smart home enthusiast, this article will equip you with the knowledge and confidence to transform your living space into a true smart home oasis.Laying the Foundation: Understanding Smart Lighting Basics
Before we dive into the specifics of setting up your DIY smart lighting system, it's essential to grasp the fundamental concepts and components that make it all possible. Smart lighting, at its core, refers to a network of connected light bulbs, switches, and sensors that can be controlled and automated through a centralized platform, typically a mobile app or voice assistant.The Key Players in Smart Lighting
The primary elements of a smart lighting setup include:- Smart Bulbs: These are Wi-Fi-enabled light bulbs that can be controlled remotely, allowing you to adjust brightness, color, and scheduling through a compatible app or voice commands.
- Smart Switches: These are retrofit wall switches that replace your existing light switches, enabling you to control lights both manually and through smart home integrations.
- Smart Sensors: Motion, occupancy, and ambient light sensors can be used to automate your lighting based on activity, presence, and daylight levels, respectively.
- Smart Home Hubs: These central control devices, such as Amazon's Echo or Google's Nest Hub, allow you to manage your entire smart home ecosystem, including lighting, from a single platform.
The Benefits of DIY Smart Lighting
Embracing a DIY approach to smart lighting setup offers several compelling advantages:- Cost-Effectiveness: Many smart lighting products are now available at affordable price points, making it possible to transform your home on a budget.
- Flexibility and Customization: DIY smart lighting allows you to tailor your setup to your specific needs and preferences, without the constraints of a one-size-fits-all solution.
- Incremental Upgrades: You can start small and gradually expand your smart lighting setup over time, integrating new devices and features as your needs evolve.
- Increased Energy Efficiency: Smart lighting solutions often incorporate energy-saving features, such as automated scheduling and daylight sensing, helping you reduce your carbon footprint and utility bills.
- Improved Home Security: Smart lighting can be integrated with security systems, allowing you to create the illusion of occupancy and deter potential intruders.
Choosing the Right Smart Lighting Products
With a solid understanding of smart lighting fundamentals, let's explore the key considerations when selecting the right products for your DIY setup.Compatibility and Ecosystem Integration
One of the most crucial factors to consider is the compatibility of your smart lighting components with your existing (or planned) smart home ecosystem. Popular platforms like Amazon Alexa, Google Assistant, and Apple HomeKit each have their own set of compatible devices, so be sure to choose products that align with your preferred voice assistant or hub. Additionally, many smart lighting brands offer their own proprietary control apps and hubs, which may provide more advanced features and customization options. However, these closed-ecosystem solutions may limit your ability to integrate with other smart home devices down the line.Lighting Needs and Preferences
When selecting smart bulbs, pay close attention to factors such as:- Bulb Type: Choose between LED, CFL, or incandescent based on your existing light fixtures and energy efficiency requirements.
- Brightness: Determine the appropriate lumen output for each room or area, considering the size and usage of the space.
- Color Temperature: Opt for warm, soft white tones (2700K-3000K) for a cozy ambiance or cooler, bluer tones (4000K-6500K) for a more energizing atmosphere.
- Color Changing Capabilities: If you desire more creative lighting experiences, look for bulbs that offer full-spectrum color tuning.
- Wiring and Electrical Compatibility: Ensure the switches are compatible with your home's electrical setup and can be easily installed.
- Number of Circuits: Determine how many individual light circuits you need to control, and choose switches accordingly.
- Additional Features: Some smart switches offer built-in dimmers, motion sensors, or multi-way control capabilities.
Budget and Cost Considerations
When embarking on a DIY smart lighting journey, it's essential to establish a realistic budget that aligns with your project goals and preferences. While high-end smart lighting solutions can be more expensive, there are plenty of affordable options that deliver excellent value. As a general guideline, you can expect to pay:- Smart Bulbs: $10-$50 per bulb, depending on features and brand
- Smart Switches: $20-$100 per switch, depending on complexity and additional features
- Smart Sensors: $20-$50 per sensor, depending on the type and capabilities
- Smart Home Hubs: $50-$150 for a standalone hub or voice assistant device
Building Your DIY Smart Lighting System
Now that you've explored the fundamentals and made your product selections, it's time to bring your DIY smart lighting dreams to life. Let's walk through the step-by-step process of setting up your custom smart lighting system.Step 1: Plan and Prepare
Begin by mapping out your home's existing lighting layout and identifying the areas where you'd like to implement smart lighting. Consider factors such as:- The number and location of light fixtures in each room
- The types of light bulbs currently in use
- The availability of neutral wires for smart switches
- Potential integration with security systems or other smart home devices
Step 2: Install Smart Bulbs
Replacing your existing light bulbs with smart bulbs is one of the easiest and most accessible ways to begin your DIY smart lighting journey. Simply screw in the compatible smart bulbs, download the manufacturer's app, and connect them to your home's Wi-Fi network. Many smart bulbs offer features like scheduling, geofencing, and voice control integration, allowing you to create custom lighting scenes and routines. Experiment with different color temperatures and dimming levels to find the perfect ambiance for each room.Step 3: Integrate Smart Switches
For a more comprehensive smart lighting solution, consider installing smart switches to replace your existing wall switches. This approach offers several advantages, such as the ability to control lights manually or through smart home integrations, as well as the potential for multi-way control (controlling a single light fixture from multiple locations). The process of installing smart switches typically involves shutting off power, removing the old switch, and wiring the new smart switch in its place. Be sure to follow the manufacturer's instructions carefully and consult a licensed electrician if you're not comfortable with the installation.Step 4: Automate with Smart Sensors
To take your DIY smart lighting setup to the next level, incorporate smart sensors into your system. Motion sensors can automatically turn lights on when someone enters a room and off when the space is unoccupied, while ambient light sensors can adjust brightness based on the available daylight. These smart sensors can be placed strategically throughout your home, communicating with your smart bulbs, switches, and central control hub to create a truly automated lighting experience.
Step 5: Integrate with a Smart Home Hub
While standalone smart lighting products can be managed through their dedicated mobile apps, integrating your setup with a smart home hub, such as Amazon Alexa or Google Home, can significantly enhance the user experience and unlock additional features. By connecting your smart lighting devices to a central hub, you can control all your home's lighting (and other smart home features) from a single app or through voice commands. This level of integration also enables advanced automations, scheduling, and energy-saving routines.Optimize and Expand Your DIY Smart Lighting
As you begin to experience the benefits of your DIY smart lighting setup, consider ways to further optimize and expand your system over time.Leverage Lighting Automation and Routines
One of the key advantages of smart lighting is the ability to automate your home's illumination based on your lifestyle and preferences. Experiment with features like:- Schedules and Timers: Program your lights to turn on and off at specific times, creating a seamless daily routine.
- Geofencing: Leverage your smartphone's location services to trigger lighting changes when you arrive or leave home.
- Sunrise/Sunset Automations: Sync your lighting to natural daylight cycles, ensuring your home is always well-lit.
- Motion-Activated Lighting: Use smart sensors to turn on lights when movement is detected, enhancing security and convenience.
Integrate with Other Smart Home Devices
As your DIY smart home ecosystem grows, explore ways to integrate your lighting system with other connected devices, such as:- Security Systems: Coordinate your lighting with security cameras, alarms, and access controls to create a comprehensive home security solution.
- Climate Control: Synchronize your lighting with smart thermostats, ensuring optimal energy efficiency and comfort.
- Entertainment Systems: Coordinate your lighting with smart TVs, speakers, and media players to enhance movie nights, gaming sessions, and more.
Expand and Upgrade Over Time
As your confidence and comfort with DIY smart lighting grow, consider gradually expanding your system by adding new devices and features. This could include:- Replacing additional light fixtures with smart bulbs
- Upgrading to more advanced smart switches with additional capabilities
- Incorporating smart sensors for presence detection, daylight harvesting, and energy monitoring
- Investing in a dedicated smart home hub or upgrading to a more robust system
Key Takeaways
In conclusion, creating a DIY smart lighting setup is an accessible and cost-effective way to automate your home and embrace the benefits of smart home technology. By leveraging a combination of smart bulbs, switches, sensors, and hubs, you can transform your living space into an intelligent, energy-efficient, and customized environment. Remember these key takeaways:- Understand the core components of smart lighting, including bulbs, switches, sensors, and hubs, and how they can work together to create a seamless automation experience.
- Choose compatible products that align with your preferred smart home ecosystem and fit your specific lighting needs and budget.
- Implement your DIY smart lighting system step-by-step, from installing smart bulbs to integrating smart switches and sensors.
- Leverage automation and integration features to optimize your lighting setup and enhance the overall functionality of your smart home.
- Embrace the flexibility and scalability of a DIY approach, allowing you to gradually expand and upgrade your smart lighting system over time.