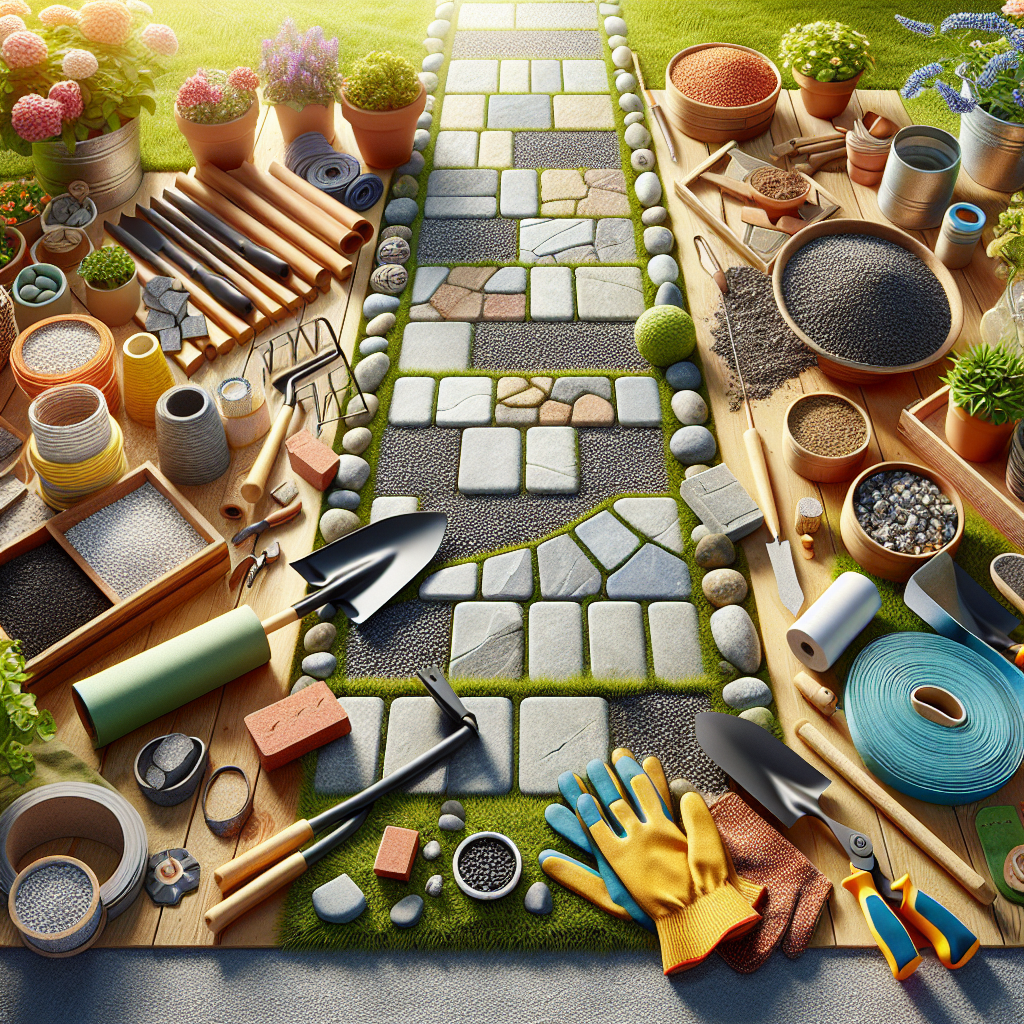
Choosing the Right Materials for Your Garden Pathway
The foundation of any great garden pathway starts with the materials you select. While there are many options to consider, natural stones and gravel are two of the most popular and versatile choices for DIY projects.Natural Stone Pathways
Stone pathways offer a timeless, elegant look that complements a wide range of garden styles - from formal, manicured landscapes to more casual, naturalistic settings. Some of the most common stone options include:- Flagstone - Flat, irregularly-shaped stones that create a rustic, uneven pathway. Comes in a variety of colors like sandstone, slate, and limestone.
- Pavers - Uniform, rectangular stones that provide a more formal, structured appearance. Great for creating geometric patterns.
- River Rocks - Smooth, rounded stones with a natural, organic vibe. Work well for winding, meandering pathways.
- Cobblestones - Irregularly-shaped, textured stones that add unique visual interest. Often used for a vintage, historic feel.
Gravel Pathways
Gravel is another fantastic option for DIY garden pathways. It's generally more budget-friendly than natural stone, and offers a wide range of styles and textures to choose from. Some popular gravel varieties include:- Crushed Granite - A classic choice that comes in shades of gray, tan, and white. Provides a uniform, clean look.
- Pea Gravel - Small, rounded stones that create a soft, informal pathway. Available in earth-toned hues.
- Decomposed Granite - A finer, more compacted gravel that forms a smooth, almost paved-like surface.
- Crushed Seashells - An unexpected and unique material that adds a coastal, beachy vibe.
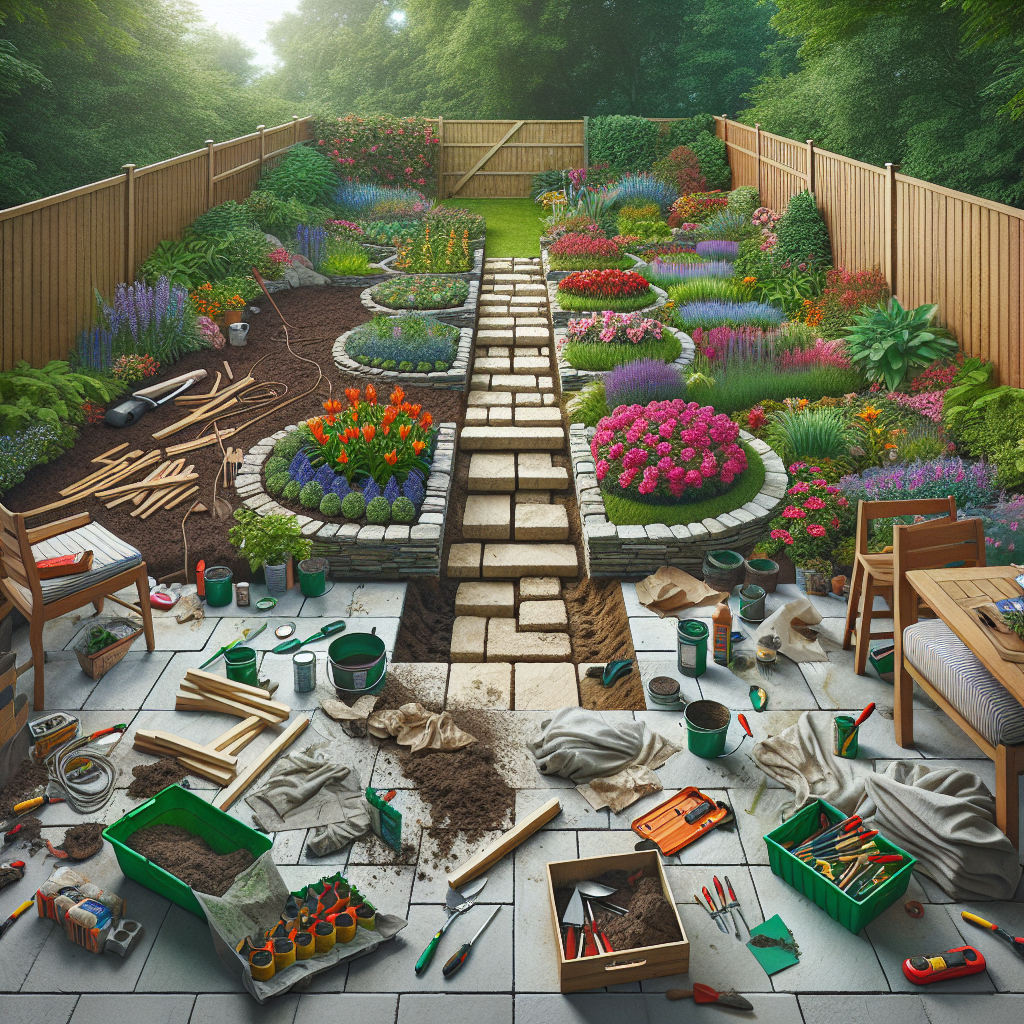
Preparing the Site for Your Garden Pathway
Proper site preparation is key to ensuring your DIY garden pathway is both functional and long-lasting. Here are the essential steps to get your project started on the right foot:1. Mark the Pathway Layout
Start by mapping out the desired pathway route using stakes, strings, or spray paint. Consider factors like traffic flow, access to key areas of your yard, and overall landscape design when determining the best placement.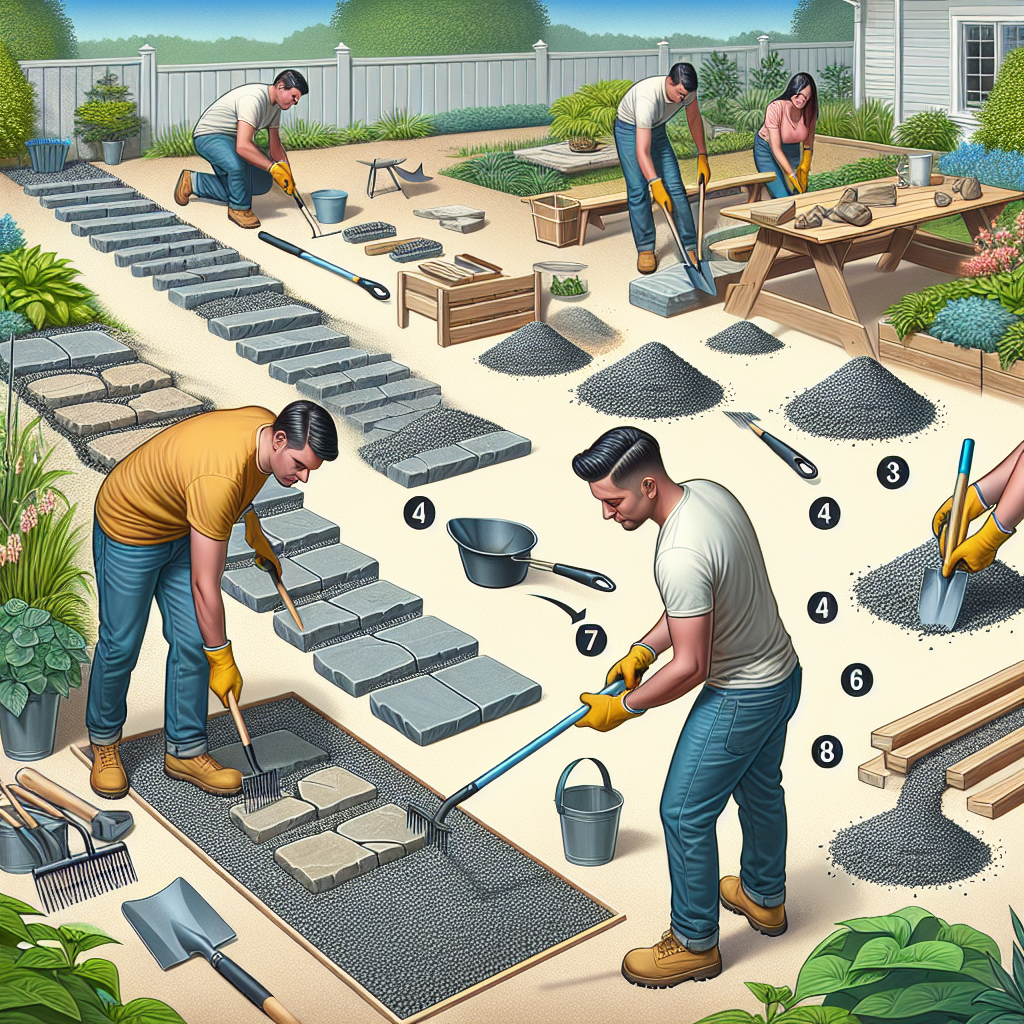
2. Excavate the Pathway Area
Once you have the layout marked, use a shovel or sod cutter to excavate the soil along the pathway. Aim for a depth of 4-6 inches to allow room for your base materials.3. Lay a Gravel or Crushed Stone Base
Add a 2-4 inch layer of crushed gravel or stone to the excavated area. This base provides stability and drainage to prevent settling or pooling. Compact the material using a tamping tool or lawn roller.4. Add a Weed Barrier (Optional)
For an extra layer of protection against weeds and vegetation growth, you can install a landscape fabric or weed barrier cloth over the gravel base before adding your final pathway material.
5. Finalize the Edging
To contain your pathway material and create clean, defined edges, consider adding edging options like:
- Landscape timbers or railroad ties
- Plastic or metal landscape edging
- Bricks or pavers laid along the sides
With the groundwork laid, you're now ready to start installing your chosen pathway material. Let's explore the step-by-step process for both stone and gravel walkways.
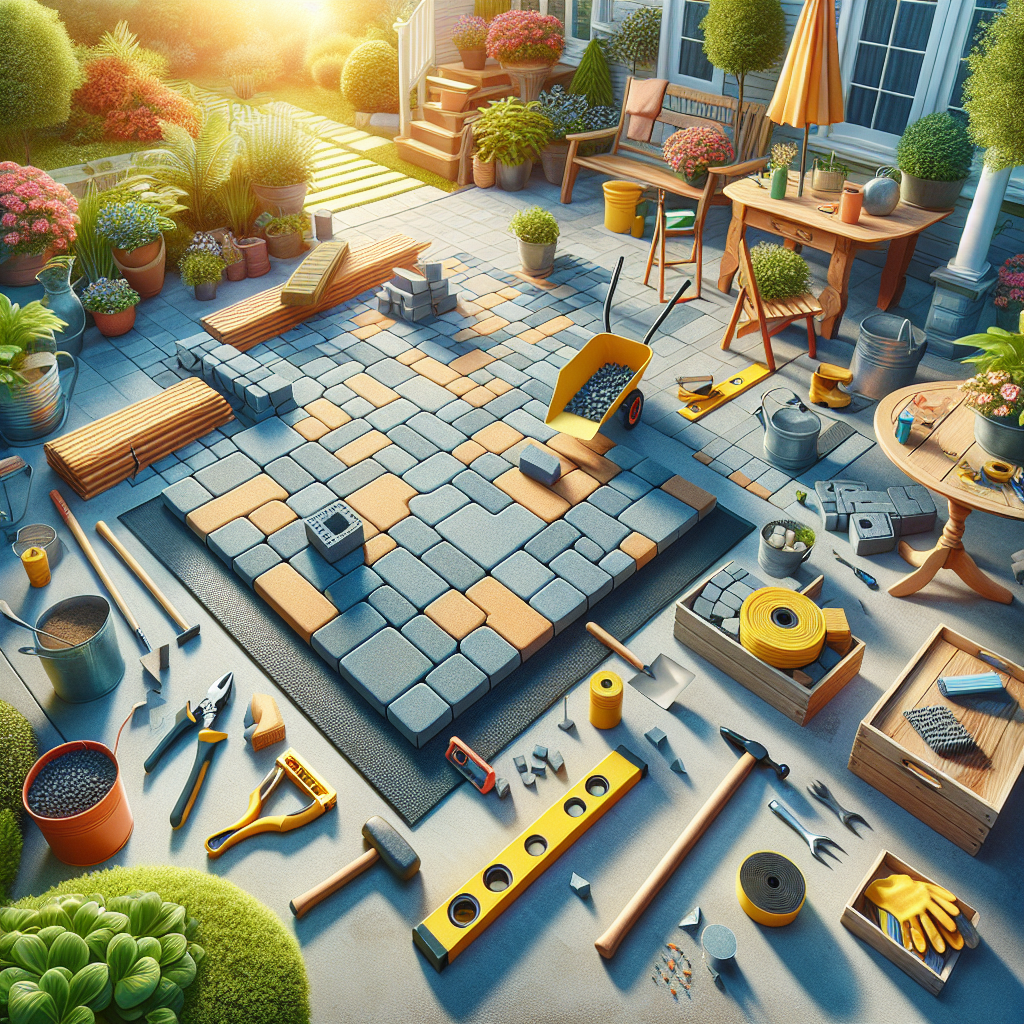
Building a DIY Stone Pathway
Natural stone pathways offer a classic, elegant look that can elevate any outdoor space. Whether you opt for flagstone, pavers, or a mix of materials, the installation process follows a similar approach.
Tools and Materials Needed:
- Stones/pavers
- Crushed gravel or stone for base
- Landscape fabric (optional)
- Shovel
- Hammer
- Trowel
- Level
- Rubber mallet
- Marking paint or chalk
Step 1: Lay the Stone Foundation
Begin by arranging your stones or pavers in the desired pattern directly on top of the prepared gravel base. Try to fit the pieces together as tightly as possible, leaving minimal gaps.
Step 2: Secure the Stones
Once the stones are in place, use a rubber mallet to gently tap them down, ensuring a stable, level surface. For larger pavers or flagstone, you may need to add a bit of sand or crushed gravel between the cracks to fill gaps and lock everything in place.
Step 3: Fill the Gaps
For a polished, finished look, use a trowel to fill any remaining gaps between the stones with sand, soil, or fine gravel. This adds stability and prevents weeds from growing through.
Step 4: Finish with Edging
Complete your stone pathway by adding edging along the sides, such as landscape timbers, bricks, or metal/plastic edging. This creates a clean, defined border and helps contain the pathway material.
Tips for Success:
- Lay the stones in a staggered, overlapping pattern for maximum stability.
- Use a level to ensure an even, consistent surface as you build.
- Consider incorporating curves, angles, or stepping stones for visual interest.
- Leave slight gaps between stones to allow for expansion and drainage.
- Seal the pathway with a stone or paver sealer for added protection and longevity.
Building a DIY Gravel Pathway
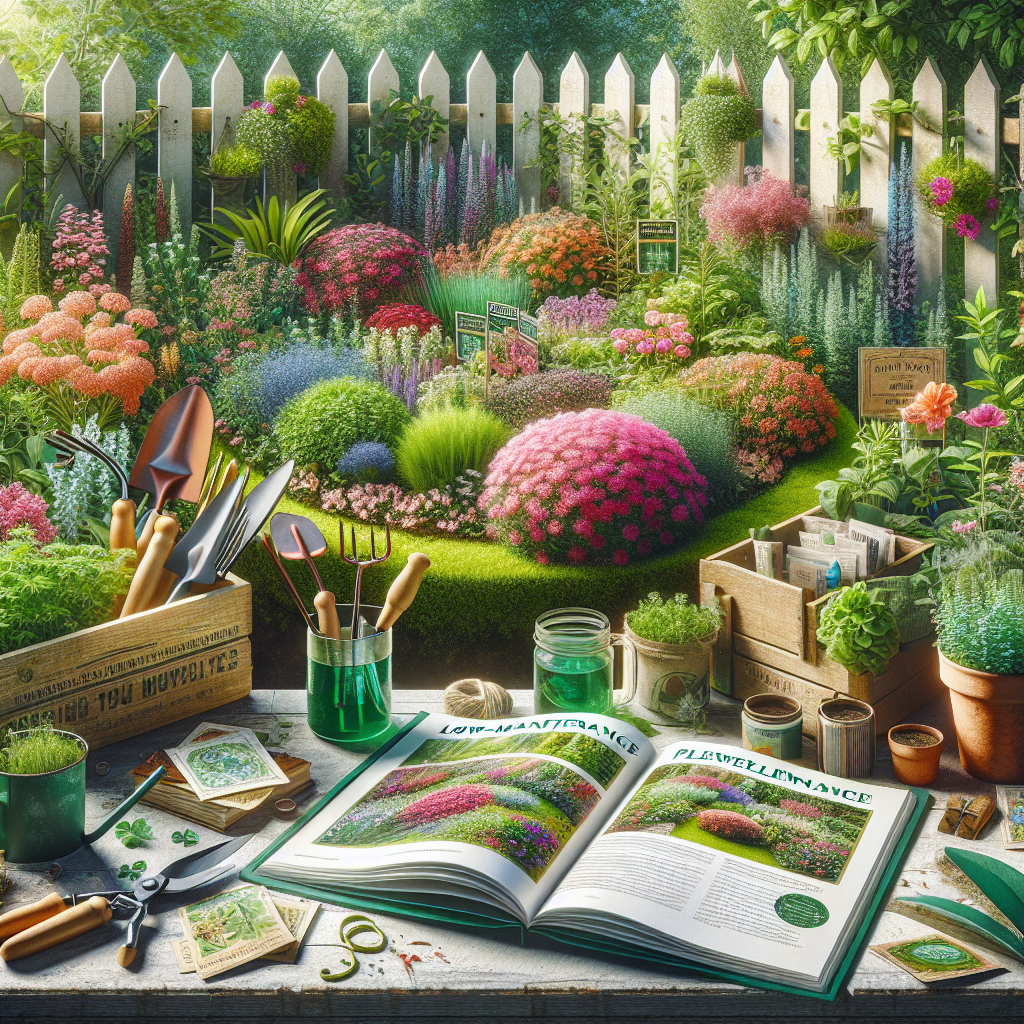
Gravel pathways offer a more budget-friendly, low-maintenance option for garden walkways. They're also incredibly versatile, allowing you to create winding, organic shapes or clean, geometric designs.
Tools and Materials Needed:
- Gravel (crushed granite, pea gravel, etc.)
- Landscape fabric
- Shovel
- Rake
- Lawn roller or tamping tool
- Edging materials (landscape timbers, bricks, etc.)
Step 1: Prepare the Base
Start by excavating the pathway area and laying down a 2-4 inch layer of crushed gravel or stone. Use a rake to level the surface, then compact it firmly with a lawn roller or tamping tool.
Step 2: Add the Landscape Fabric
Lay down a sheet of landscape fabric over the compacted gravel base. This acts as a weed barrier to prevent unwanted vegetation from growing through your pathway.
Step 3: Spread the Gravel
Carefully pour the gravel of your choice over the landscape fabric, spreading it evenly with a rake. Aim for a depth of 2-4 inches, depending on the size and type of gravel you're using.
Step 4: Compact the Gravel
Once the gravel is in place, go over the surface again with a lawn roller or tamping tool to compact the material and create a firm, stable pathway.
Step 5: Add Edging
Finish your gravel pathway by installing edging along the sides. This can be as simple as lining the edges with landscape timbers, bricks, or metal/plastic landscape edging.
Tips for Success:
- Choose a gravel size that complements the scale and style of your garden.
- Consider mixing different gravel types or sizes for added visual interest.
- Leave a slight slope or crown in the center of the pathway to promote drainage.
- Refresh the gravel every few years by adding a thin top layer to maintain the desired depth.
- Use larger boulders or stepping stones along the pathway for a more natural, organic look.
Key Takeaways
- Natural stone and gravel are both excellent, versatile options for DIY garden pathways.
- Proper site preparation, including a stable gravel base and weed barrier, is key to ensuring a long-lasting pathway.
- Stone pathways offer a classic, elegant look, while gravel pathways are more budget-friendly and low-maintenance.
- Consider factors like material type, color, texture, and pattern when designing your garden walkway.
- Proper installation techniques, such as compacting the base and filling gaps, are essential for a sturdy, attractive pathway.
- Adding edging along the sides helps contain the pathway material and creates a polished, finished look.
Final Thoughts
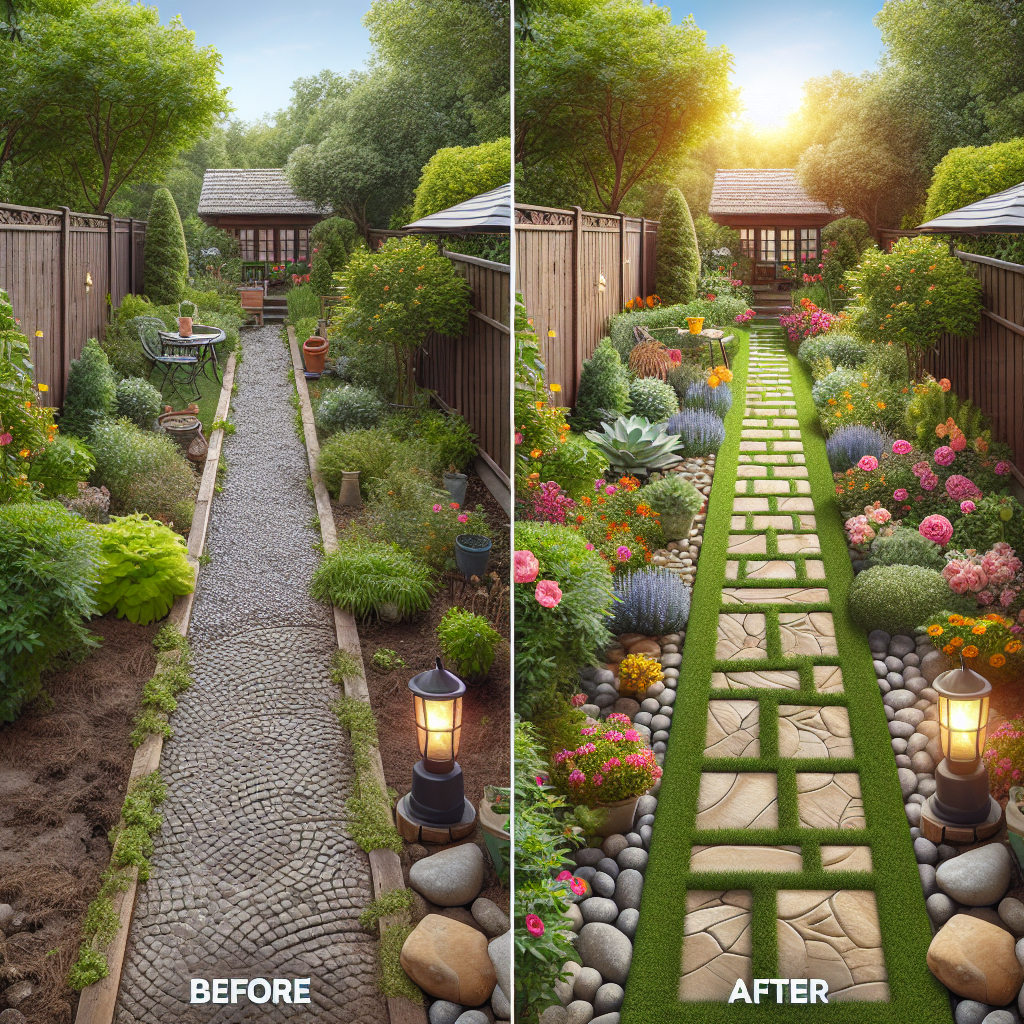
Creating a beautiful, functional garden pathway is a rewarding DIY project that can dramatically enhance the aesthetic and usability of your outdoor space. By carefully selecting the right materials and following best practices for installation, you can transform your landscape into a true oasis.
Whether you opt for the timeless elegance of natural stone or the budget-friendly versatility of gravel, the key is to plan your project thoughtfully and execute with attention to detail. With this comprehensive guide, you'll have all the knowledge and confidence needed to build a stunning DIY garden pathway that will impress for years to come.