DIY Command Center: Organize Family Schedules in One Spot
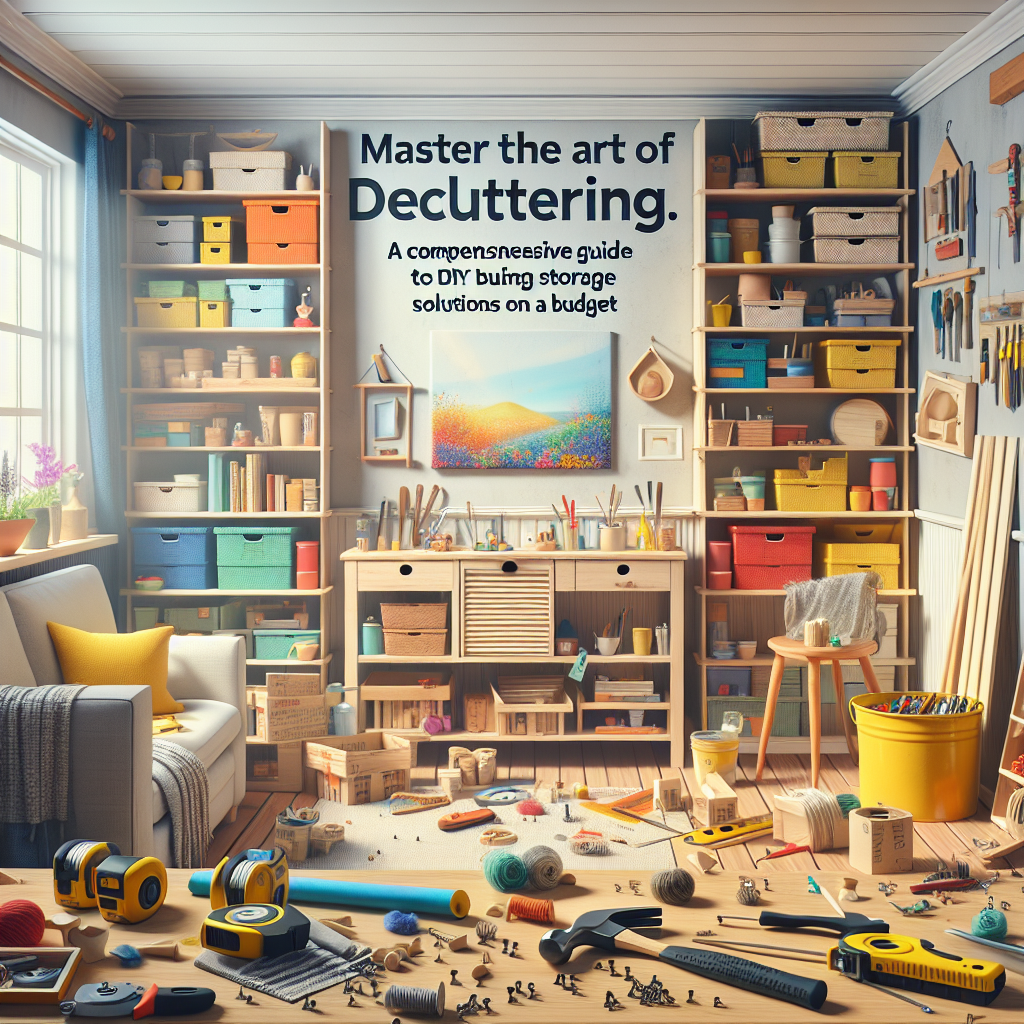
In today's busy households, keeping everyone on the same page can feel like an endless juggling act. Between work commitments, school activities, social events, and everyday tasks, it's easy for schedules to become chaotic and communication to break down. That's where a well-designed DIY command center comes in – a dedicated space to centralize all your family's important information, streamline organization, and maintain a sense of order amidst the daily hustle.The Benefits of a DIY Command Center
A command center is a game-changer for busy families. By consolidating calendars, to-do lists, reminders, and other essential data in one easily accessible location, you can:- Improve communication and coordination between household members.
- Reduce stress and mental clutter by eliminating the need to keep track of information in multiple places.
- Save time by having everything you need at a glance.
- Enhance productivity and ensure important tasks and events don't slip through the cracks.
- Teach organizational skills to children by involving them in the command center's upkeep.
Choosing the Right Location
The first step in building your DIY command center is selecting the ideal location. Ideally, you want a spot that is:- Centrally located and highly visible to family members as they move through the home.
- Near frequently used entry/exit points, such as the front door, mudroom, or kitchen.
- Positioned away from high-traffic areas to minimize distractions and maintain a sense of organization.
- Well-lit to ensure easy readability of calendars, lists, and other displayed information.
Planning Your DIY Command Center Layout
Calendar and Scheduling
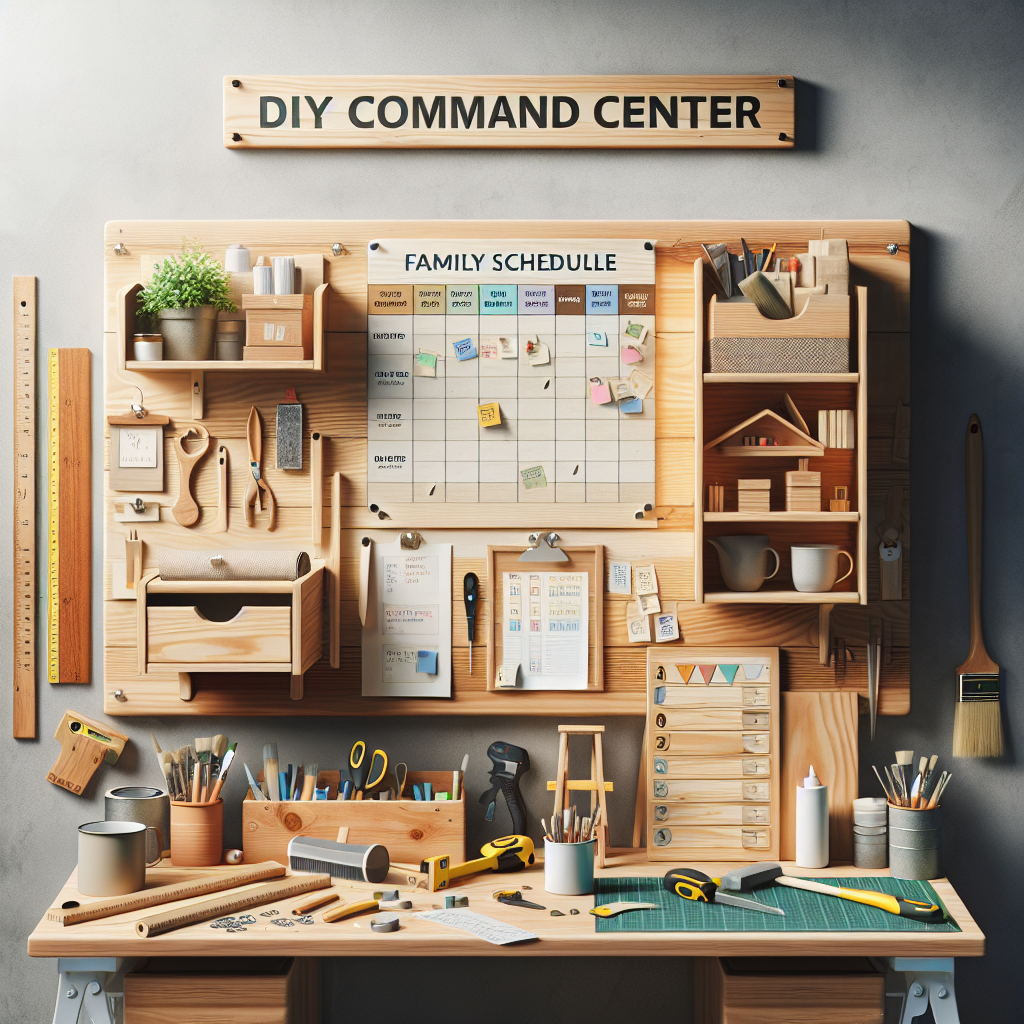
The heart of any command center is a centralized calendar to track everyone's schedules. This can take the form of a traditional wall calendar, a dry-erase board, or a digital display. Whichever option you choose, make sure it's large enough to clearly see all upcoming events and appointments.To-Do Lists and Reminders
Incorporate designated spaces for household to-do lists, chore charts, and other reminders. Magnetic whiteboards, chalkboards, or cork boards work well for this purpose, allowing you to jot down tasks, notes, and updates as needed.Storage and Organization
Include storage solutions like shelves, bins, or cubbies to keep frequently used items like pens, notepads, stamps, and other office supplies close at hand. This helps maintain a neat, uncluttered appearance.Family Communication
Dedicate a section of your command center for family communication, such as a message board, pocket chart, or magnet board to post important notices, invitations, schedules, and other shared information.Personalization and Decor
Don't forget to add personal touches that reflect your family's style and interests. This can include framed artwork, inspirational quotes, family photos, or decorative accessories that tie the entire space together.Building Your DIY Command Center
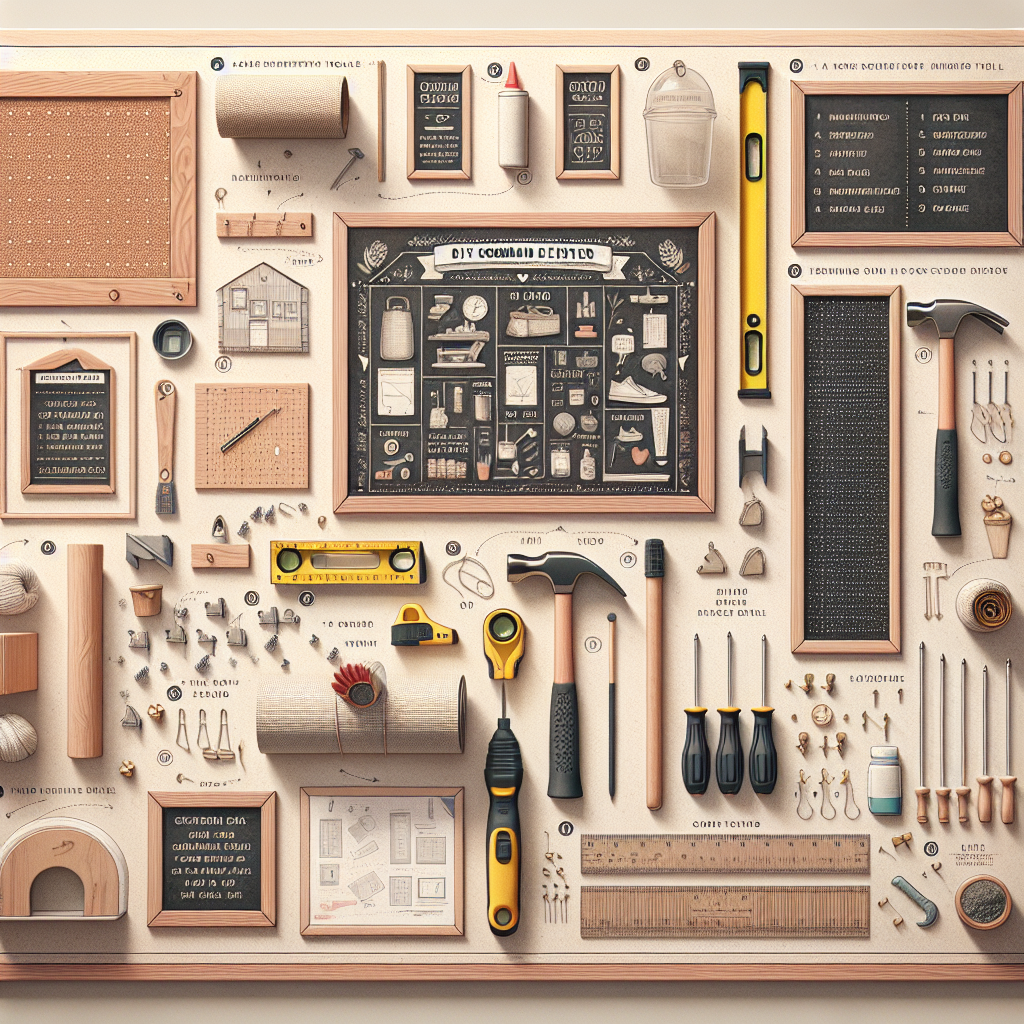
Now that you've planned the layout, it's time to start building your DIY command center. Here's a step-by-step guide:Gather Necessary Supplies
The specific supplies you'll need will depend on the components you've selected for your command center, but some common items include:- Wall-mounted or freestanding whiteboard, chalkboard, or cork board
- Shelves, bins, or cubbies for storage
- Calendar (wall-mounted, digital, or dry-erase)
- Baskets, folders, or trays for organizing paperwork
- Bulletin board pins, magnets, or adhesive hooks
- Pens, markers, and other office supplies
- Decorative elements like frames, artwork, or organizational labels
Measure and Mark the Space
Before installing any components, carefully measure the designated command center area and mark where each element will be placed. This will ensure a cohesive, well-planned layout.Assemble and Install
Begin by mounting the primary organizational tools like whiteboards, calendars, and storage solutions. Use screws, nails, or adhesive hooks to securely attach them to the wall. Then, add in any additional organizational tools and decorative elements.Test and Refine
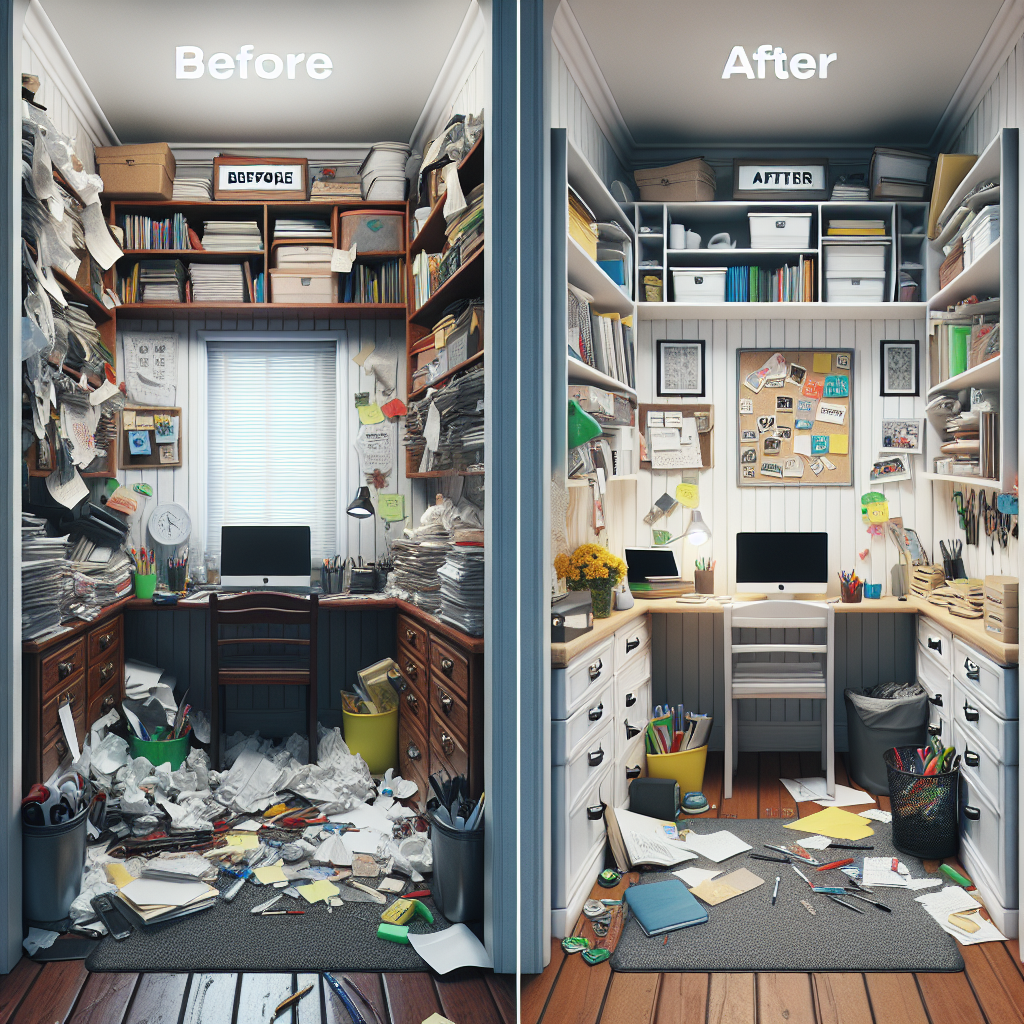
Once your DIY command center is set up, use it for a week or two to assess its functionality. Make any necessary adjustments, such as rearranging components or adding/removing storage solutions, to optimize the space for your family's needs.Maintaining and Updating Your Command Center
A well-designed command center is an ongoing project that requires regular maintenance and updates to keep it running smoothly. Dedicate time each week to:- Update calendars and schedules with the latest events, appointments, and activities.
- Review and update to-do lists to ensure nothing gets overlooked.
- Purge outdated or unnecessary information to prevent clutter buildup.
- Restock supplies like pens, markers, and sticky notes as needed.
- Rotate decorative elements or artwork to keep the space feeling fresh.