The Importance of Proper Caulking in the Home
Caulking may seem like a mundane home maintenance task, but it's one of the most critical yet often overlooked DIY projects for homeowners. Proper caulking forms a durable, waterproof seal around bathtubs, sinks, windows, and other fixtures, preventing leaks, drafts, and moisture buildup that can lead to expensive damage over time. Whether you're a seasoned DIYer or tackling caulking for the first time, getting the technique right is essential. Improper caulking application can cause unsightly gaps, bubbles, and rapid deterioration, ultimately defeating the purpose. With the right tools, materials, and approach, however, you can achieve professional-looking results that last for years. In this comprehensive guide, we'll cover everything you need to know to caulk like a pro, including step-by-step instructions, material selection, and troubleshooting tips. By the end, you'll have the confidence and know-how to tackle caulking projects around your home with ease.Essential Caulking Tools and Materials
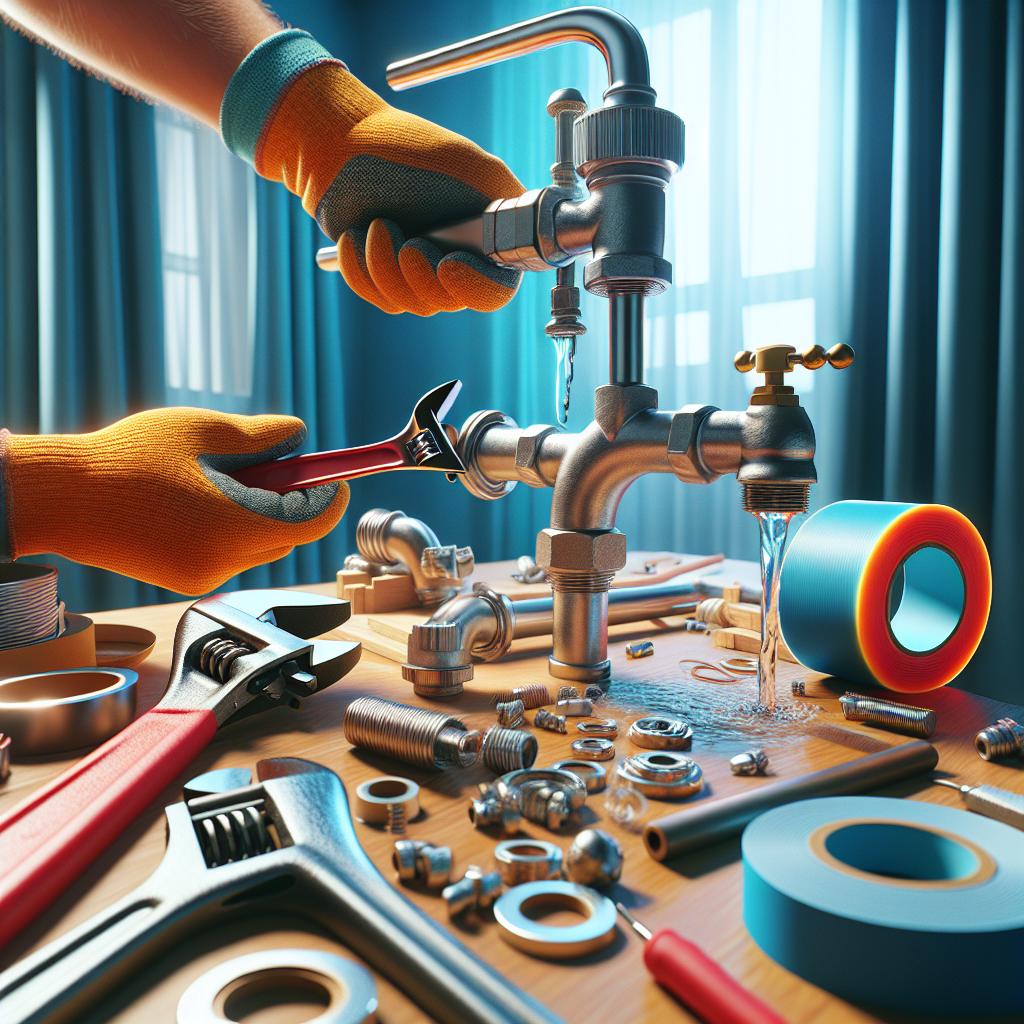
Before getting started, make sure you have the right tools and materials on hand. Here's a checklist of everything you'll need for most caulking projects:Tools:
- Caulk gun
- Utility knife or razor blade
- Painter's tape (optional)
- Caulk smoother or putty knife
- Rags or paper towels
- Isopropyl alcohol (for cleaning)
Materials:
- Caulk - choose a high-quality, flexible silicone or acrylic latex formula
- Backer rod (for gaps wider than 1/4 inch)
- Painter's tape (for crisp edges, if desired)
- Denatured alcohol or mineral spirits (for cleanup)
Preparing the Surfaces for Caulking
Proper surface preparation is crucial for ensuring a long-lasting, professional-looking caulk seal. Here's how to get the area ready:Clean the Surface Thoroughly
Use a clean rag dampened with isopropyl alcohol to wipe down the surfaces you'll be caulking. This removes any dirt, grease, or debris that could prevent the caulk from adhering properly. Let the area dry completely before proceeding.
Remove Old Caulk
If there's existing caulk in the area, use a utility knife or razor blade to carefully cut and peel it away. Avoid damaging the underlying surfaces. Thoroughly clean the area again to remove any remaining caulk residue.
Apply Painter's Tape (Optional)
For a super-clean, professional finish, apply painter's tape along the edges of the area you'll be caulking. This helps create crisp, straight lines. Remember to remove the tape before the caulk dries.
Fill Gaps Wider Than 1/4 Inch
For gaps wider than 1/4 inch, insert a backer rod into the gap before applying the caulk. This provides a solid base and helps prevent the caulk from sagging or shrinking over time.
How to Apply Caulk Like a Pro
Now that your surfaces are properly prepared, it's time to get caulking! Follow these step-by-step instructions for a flawless finish:
Load the Caulk Gun
Snip the tip of the caulk cartridge at a 45-degree angle, making sure the opening is the desired bead size. Insert the cartridge into the caulk gun, then puncture the inner seal.
Apply the Caulk Bead
Hold the caulk gun at a 45-degree angle to the surface and apply a steady, continuous bead of caulk. Move the gun smoothly and at a consistent pace to avoid gaps or bumps.
 Smooth the Caulk Bead
Immediately after applying the caulk, use a caulk smoother or putty knife to gently drag the tool along the bead, smoothing it out for a professional finish. Dip the tool in water or isopropyl alcohol to prevent sticking.
Clean Up Excess Caulk
Use a damp rag or paper towel to wipe away any excess caulk that may have squeezed out. Be careful not to disturb the smooth caulk bead. For a cleaner look, you can also use a utility knife to carefully trim away any excess caulk once it has dried.
Allow Proper Drying Time
Most caulks require 24-48 hours to fully cure and harden. Avoid touching or exposing the caulk to water during this time. Check the manufacturer's instructions for the recommended drying period.
Caulking Specific Surfaces
While the general caulking technique remains the same, there are a few nuances to consider when sealing different surfaces around your home. Let's dive into the specifics:
Smooth the Caulk Bead
Immediately after applying the caulk, use a caulk smoother or putty knife to gently drag the tool along the bead, smoothing it out for a professional finish. Dip the tool in water or isopropyl alcohol to prevent sticking.
Clean Up Excess Caulk
Use a damp rag or paper towel to wipe away any excess caulk that may have squeezed out. Be careful not to disturb the smooth caulk bead. For a cleaner look, you can also use a utility knife to carefully trim away any excess caulk once it has dried.
Allow Proper Drying Time
Most caulks require 24-48 hours to fully cure and harden. Avoid touching or exposing the caulk to water during this time. Check the manufacturer's instructions for the recommended drying period.
Caulking Specific Surfaces
While the general caulking technique remains the same, there are a few nuances to consider when sealing different surfaces around your home. Let's dive into the specifics:
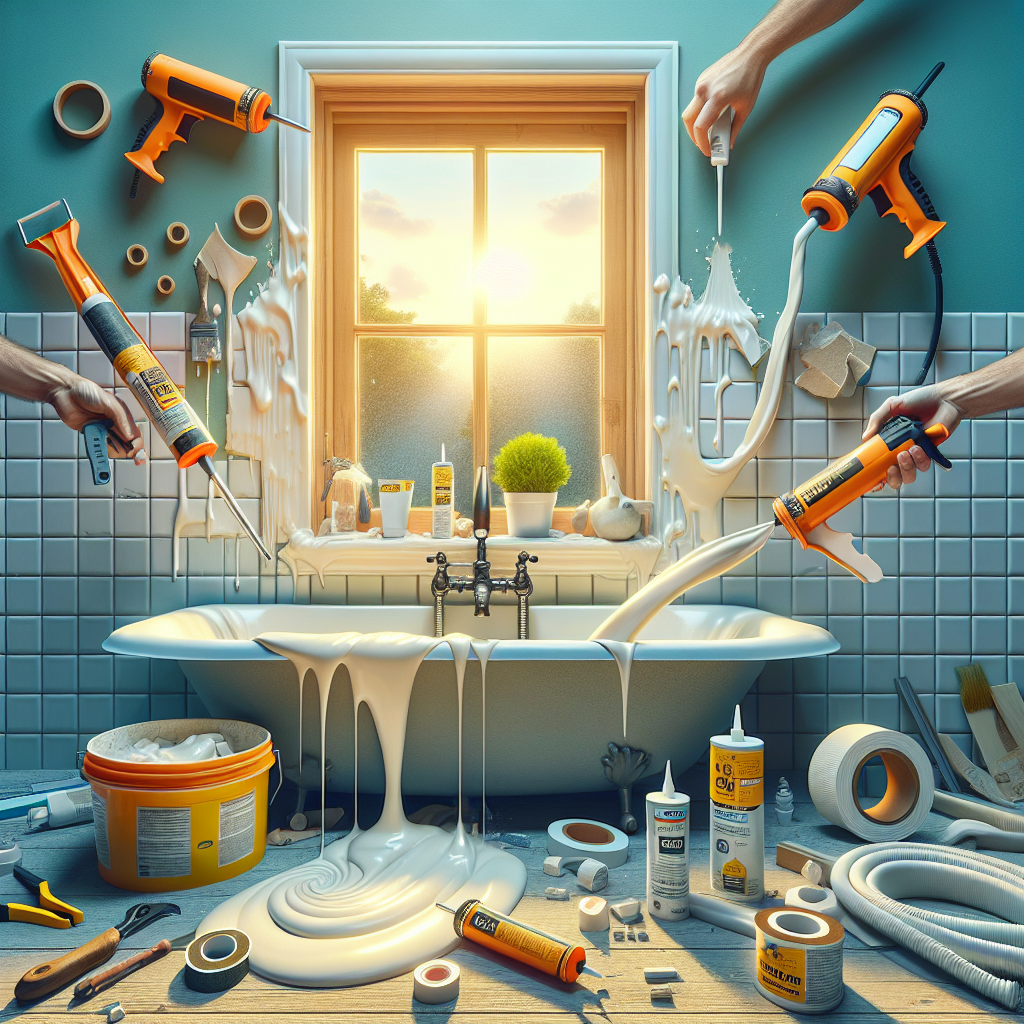
Caulking Bathtubs and Sinks
When caulking around bathtubs and sinks, it's crucial to use a 100% silicone caulk formulated for wet areas. This provides a flexible, waterproof seal that can withstand moisture and temperature changes. Be sure to thoroughly clean the surfaces, removing any old caulk or residue. For a clean look, apply painter's tape along the edges before caulking.
Caulking Windows and Doors
For windows and doors, an acrylic latex caulk is typically the best choice. It provides a durable, flexible seal that can accommodate minor movement and expansion. When caulking around windows, be sure to smooth the bead into the corners for a seamless finish. On doors, focus on sealing any gaps between the frame and the wall.
Caulking Countertops and Backsplashes
 Silicone caulk is the ideal choice for sealing countertops and backsplashes, as it can withstand water, heat, and cleaning products. When caulking these surfaces, be sure to clean the area thoroughly and consider using painter's tape to create crisp, straight lines. Apply the caulk bead and smooth it out, taking care not to leave any gaps or air bubbles.
Common Caulking Challenges and Solutions
Even experienced DIYers can encounter the occasional caulking hiccup. Here are some common issues and how to troubleshoot them:
Silicone caulk is the ideal choice for sealing countertops and backsplashes, as it can withstand water, heat, and cleaning products. When caulking these surfaces, be sure to clean the area thoroughly and consider using painter's tape to create crisp, straight lines. Apply the caulk bead and smooth it out, taking care not to leave any gaps or air bubbles.
Common Caulking Challenges and Solutions
Even experienced DIYers can encounter the occasional caulking hiccup. Here are some common issues and how to troubleshoot them:
Caulk Shrinkage or Cracking
If the caulk appears to be shrinking or cracking over time, it's likely due to poor surface preparation or the wrong type of caulk for the application. Always clean surfaces thoroughly and use a high-quality, flexible silicone or acrylic latex formula.
Bubbles or Gaps in the Caulk
Bubbles or gaps in the caulk bead are usually caused by improper application technique. Make sure to apply the caulk in a smooth, continuous motion and immediately smooth it out with a caulk tool. For wider gaps, use a backer rod first to provide a solid base.
Caulk Sticking to Tools
Caulk can be messy and tend to stick to tools, making the smoothing process difficult. Dip your caulk smoother or putty knife in water or isopropyl alcohol before use to prevent the caulk from adhering to the tool.
Discoloration or Mold Growth
If the caulk starts to discolor or develop mold over time, it's likely due to moisture intrusion. Make sure to use a 100% silicone caulk formulated for wet areas when sealing around bathtubs, sinks, and other high-moisture zones.
Key Takeaways
- Proper caulking is essential for preventing leaks, drafts, and moisture damage in the home.
- Ensure you have the right tools and materials, including a high-quality silicone or acrylic latex caulk.
- Thoroughly clean and prepare surfaces before applying the caulk for maximum adhesion and durability.
- Use the right caulk for the application - silicone for wet areas, acrylic latex for windows and doors.
- Apply the caulk in a smooth, continuous bead and immediately smooth it out for a professional finish.
- Allow the caulk to fully cure before exposing it to water or other stress.
- Troubleshoot common issues like shrinkage, bubbles, and discoloration to maintain a lasting seal.
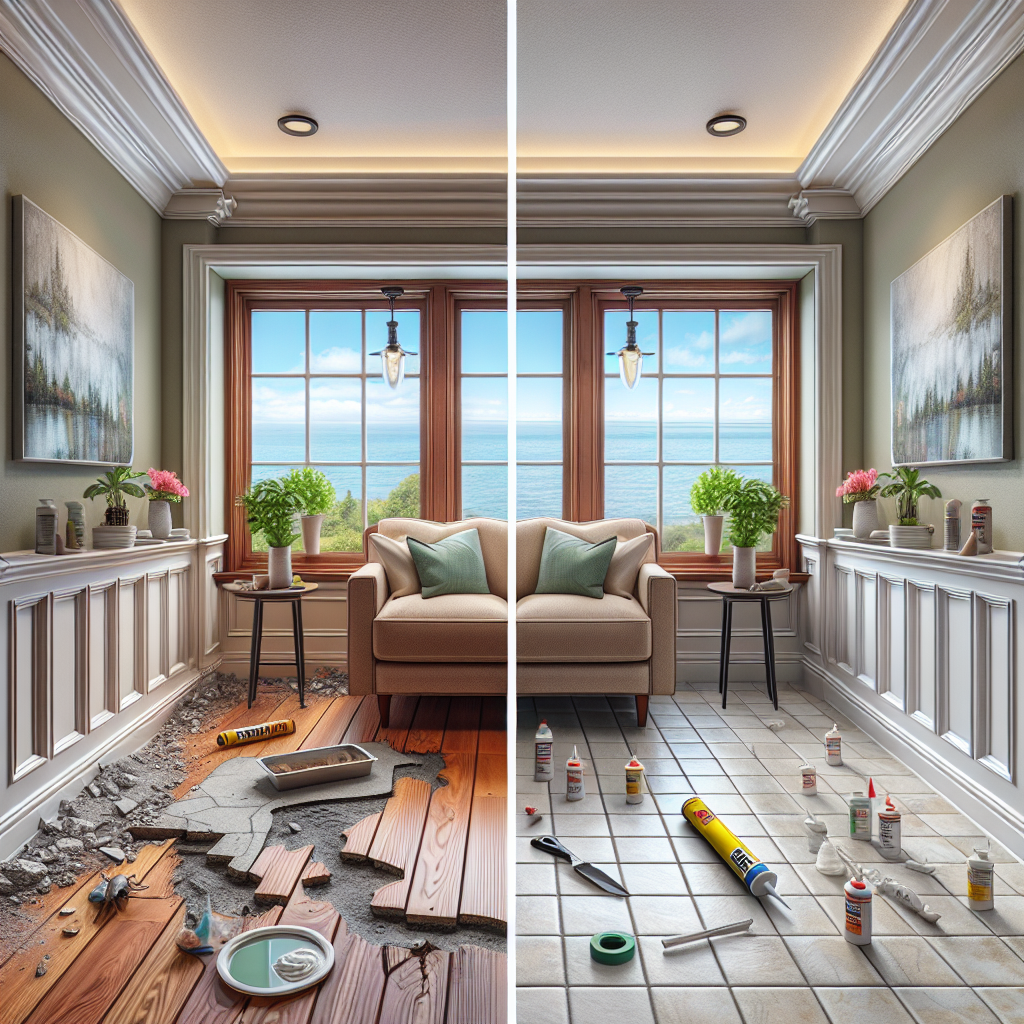
Final Thoughts
Mastering the art of caulking may take a bit of practice, but the payoff is well worth it. By following these expert tips and techniques, you can achieve flawless, long-lasting results that protect your home from costly water damage and create a polished, high-end aesthetic. With the right tools and approach, even beginner DIYers can caulk like a seasoned pro.
Caulking Bathtubs and Sinks
When caulking around bathtubs and sinks, it's crucial to use a 100% silicone caulk formulated for wet areas. This provides a flexible, waterproof seal that can withstand moisture and temperature changes. Be sure to thoroughly clean the surfaces, removing any old caulk or residue. For a clean look, apply painter's tape along the edges before caulking.
Caulking Windows and Doors
For windows and doors, an acrylic latex caulk is typically the best choice. It provides a durable, flexible seal that can accommodate minor movement and expansion. When caulking around windows, be sure to smooth the bead into the corners for a seamless finish. On doors, focus on sealing any gaps between the frame and the wall.
Caulking Countertops and Backsplashes
Silicone caulk is the ideal choice for sealing countertops and backsplashes, as it can withstand water, heat, and cleaning products. When caulking these surfaces, be sure to clean the area thoroughly and consider using painter's tape to create crisp, straight lines. Apply the caulk bead and smooth it out, taking care not to leave any gaps or air bubbles.
Common Caulking Challenges and Solutions
Even experienced DIYers can encounter the occasional caulking hiccup. Here are some common issues and how to troubleshoot them:
Caulk Shrinkage or Cracking
If the caulk appears to be shrinking or cracking over time, it's likely due to poor surface preparation or the wrong type of caulk for the application. Always clean surfaces thoroughly and use a high-quality, flexible silicone or acrylic latex formula.
Bubbles or Gaps in the Caulk
Bubbles or gaps in the caulk bead are usually caused by improper application technique. Make sure to apply the caulk in a smooth, continuous motion and immediately smooth it out with a caulk tool. For wider gaps, use a backer rod first to provide a solid base.
Caulk Sticking to Tools
Caulk can be messy and tend to stick to tools, making the smoothing process difficult. Dip your caulk smoother or putty knife in water or isopropyl alcohol before use to prevent the caulk from adhering to the tool.
Discoloration or Mold Growth
If the caulk starts to discolor or develop mold over time, it's likely due to moisture intrusion. Make sure to use a 100% silicone caulk formulated for wet areas when sealing around bathtubs, sinks, and other high-moisture zones.
Key Takeaways
- Proper caulking is essential for preventing leaks, drafts, and moisture damage in the home.
- Ensure you have the right tools and materials, including a high-quality silicone or acrylic latex caulk.
- Thoroughly clean and prepare surfaces before applying the caulk for maximum adhesion and durability.
- Use the right caulk for the application - silicone for wet areas, acrylic latex for windows and doors.
- Apply the caulk in a smooth, continuous bead and immediately smooth it out for a professional finish.
- Allow the caulk to fully cure before exposing it to water or other stress.
- Troubleshoot common issues like shrinkage, bubbles, and discoloration to maintain a lasting seal.
Final Thoughts
Mastering the art of caulking may take a bit of practice, but the payoff is well worth it. By following these expert tips and techniques, you can achieve flawless, long-lasting results that protect your home from costly water damage and create a polished, high-end aesthetic. With the right tools and approach, even beginner DIYers can caulk like a seasoned pro.
- Proper caulking is essential for preventing leaks, drafts, and moisture damage in the home.
- Ensure you have the right tools and materials, including a high-quality silicone or acrylic latex caulk.
- Thoroughly clean and prepare surfaces before applying the caulk for maximum adhesion and durability.
- Use the right caulk for the application - silicone for wet areas, acrylic latex for windows and doors.
- Apply the caulk in a smooth, continuous bead and immediately smooth it out for a professional finish.
- Allow the caulk to fully cure before exposing it to water or other stress.
- Troubleshoot common issues like shrinkage, bubbles, and discoloration to maintain a lasting seal.