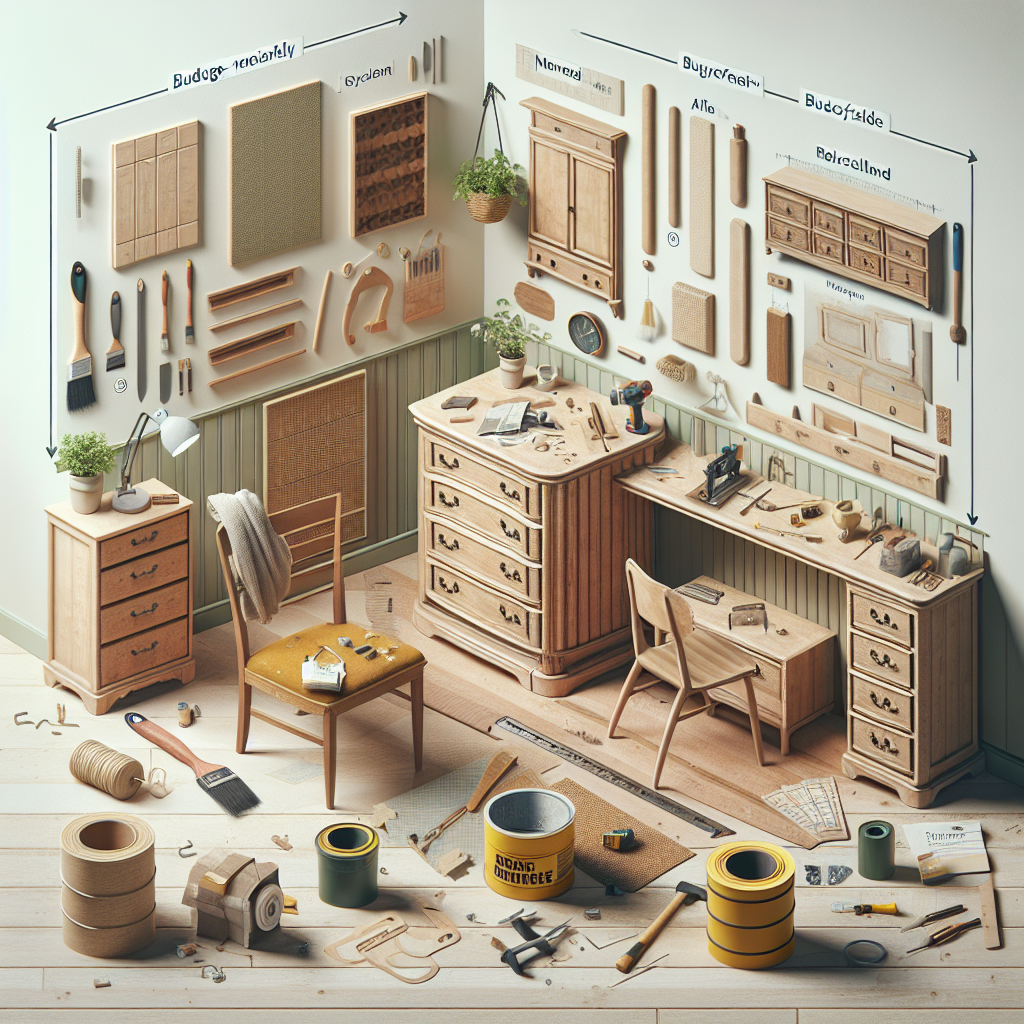
Choosing the Right Wood and Hardware
The first step in any DIY bookshelf project is selecting the right materials. The type of wood you choose will depend on your budget, the look you're going for, and the intended use of the shelves. Some of the most popular options include:Solid Wood
- Oak: A classic hardwood with a distinctive grain pattern that's durable and easy to work with.
- Maple: Known for its smooth, uniform texture and light color, maple is a popular choice for modern, minimalist designs.
- Cherry: Offering a rich, reddish-brown hue, cherry wood has a beautiful aesthetic and develops a lovely patina over time.
Engineered Wood
- Plywood: A budget-friendly option that's sturdy and easy to cut to size. Plywood comes in a variety of grades and finishes.
- Medium-Density Fiberboard (MDF): An engineered wood product with a smooth, uniform surface that's ideal for painted finishes.
- Shelf pins or standards: These metal supports attach to the sides of the bookcase and allow you to adjust the shelf height.
- Screws and anchors: Ensure your bookshelf is securely fastened to the wall, especially if it's tall or top-heavy.
- Hinges and drawer slides: For bookcases with doors or pullout drawers, you'll need quality hardware to ensure smooth, reliable operation.
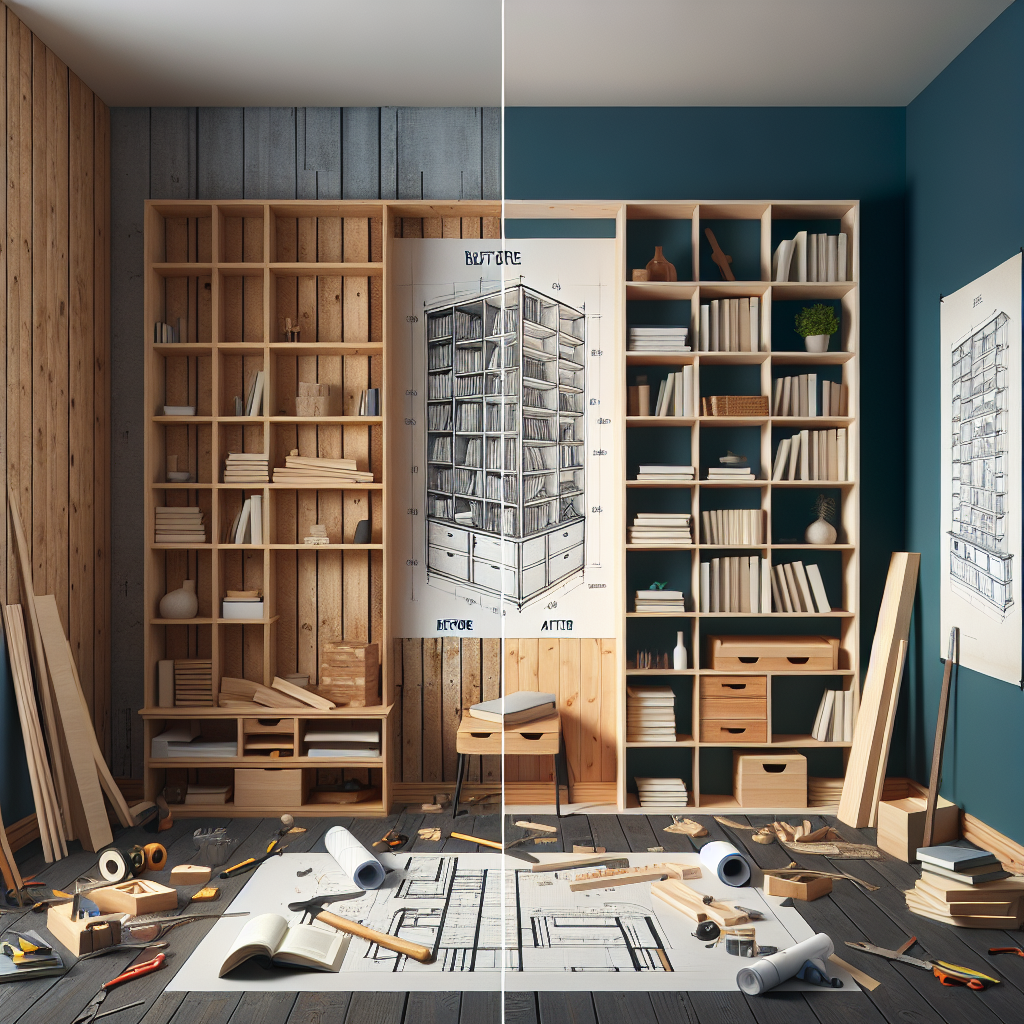
Measuring and Planning Your Bookshelf Design
Before you start building, take accurate measurements of the space where the bookcase will go. Consider the height, width, and depth requirements, as well as any unique architectural features or obstacles, such as electrical outlets, vents, or baseboards.Determining Shelf Dimensions
The standard depth for most bookcases is between 12 and 16 inches, which is deep enough to accommodate most books and décor items. The spacing between shelves is typically 12 to 15 inches, but you can adjust this based on your storage needs. For example, if you plan to display taller items like vases or picture frames, you may want to increase the shelf spacing.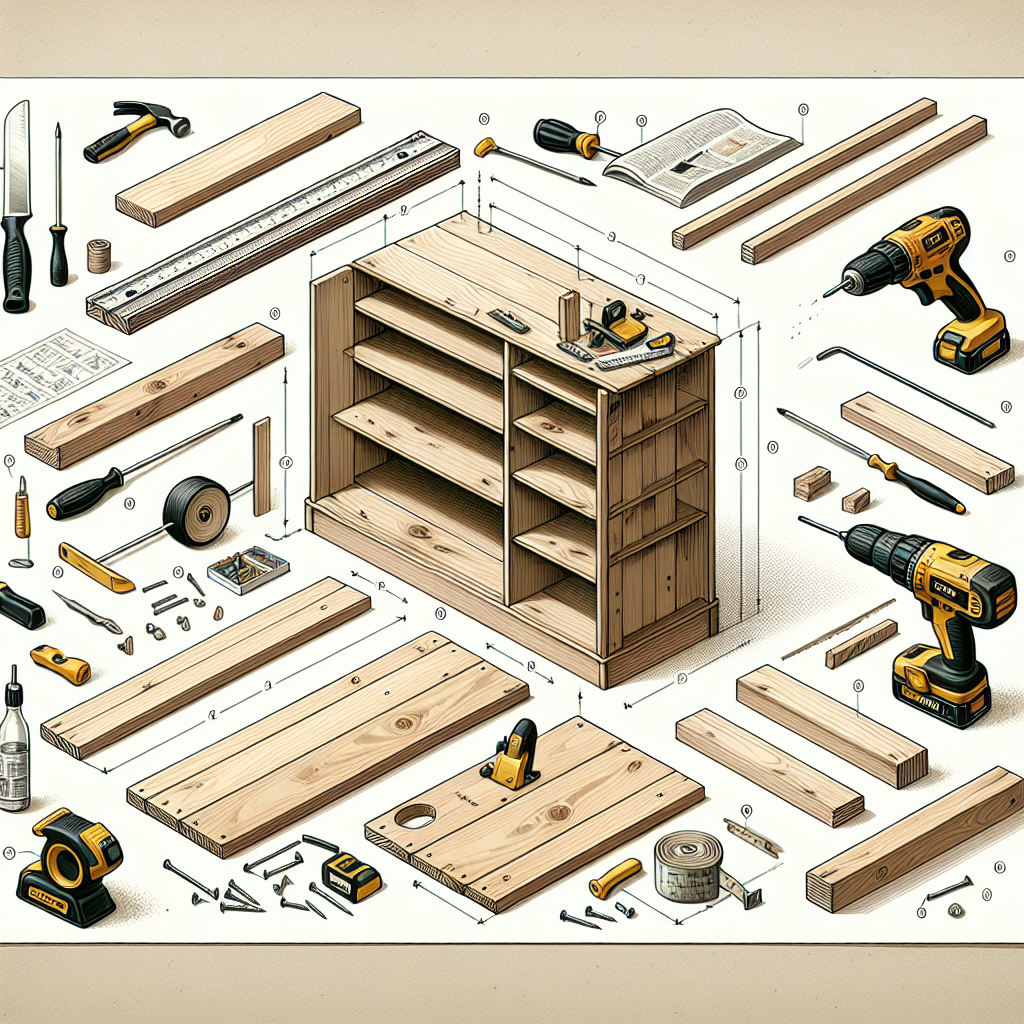
Designing the Layout
Once you have your measurements, start sketching out different bookshelf configurations. Consider the overall look you want to achieve, such as a symmetrical, built-in design or a more freestanding, modular approach. Think about how you'll use the shelves - will you need designated spaces for books, decorative items, storage baskets, or electronics? Jot down your ideas and experiment with various shelf placements and dimensions.Building the Bookcase Frame
With your plan in place, it's time to start construction. The basic process involves building a sturdy frame and then adding the shelves. Here's a step-by-step guide:Cut the Wood to Size
Using a miter saw or circular saw, cut the wood pieces to the desired lengths for the side panels, top, bottom, and any interior shelves. Double-check your measurements to ensure a perfect fit.Assemble the Frame
Begin by attaching the side panels to the top and bottom pieces using wood screws or a pocket hole jig. Make sure the frame is square and level before moving on.Add Interior Supports
Depending on the size of your bookcase, you may need to add one or more vertical supports between the side panels to prevent bowing or sagging. These can be attached with wood glue and screws.Install the Shelves
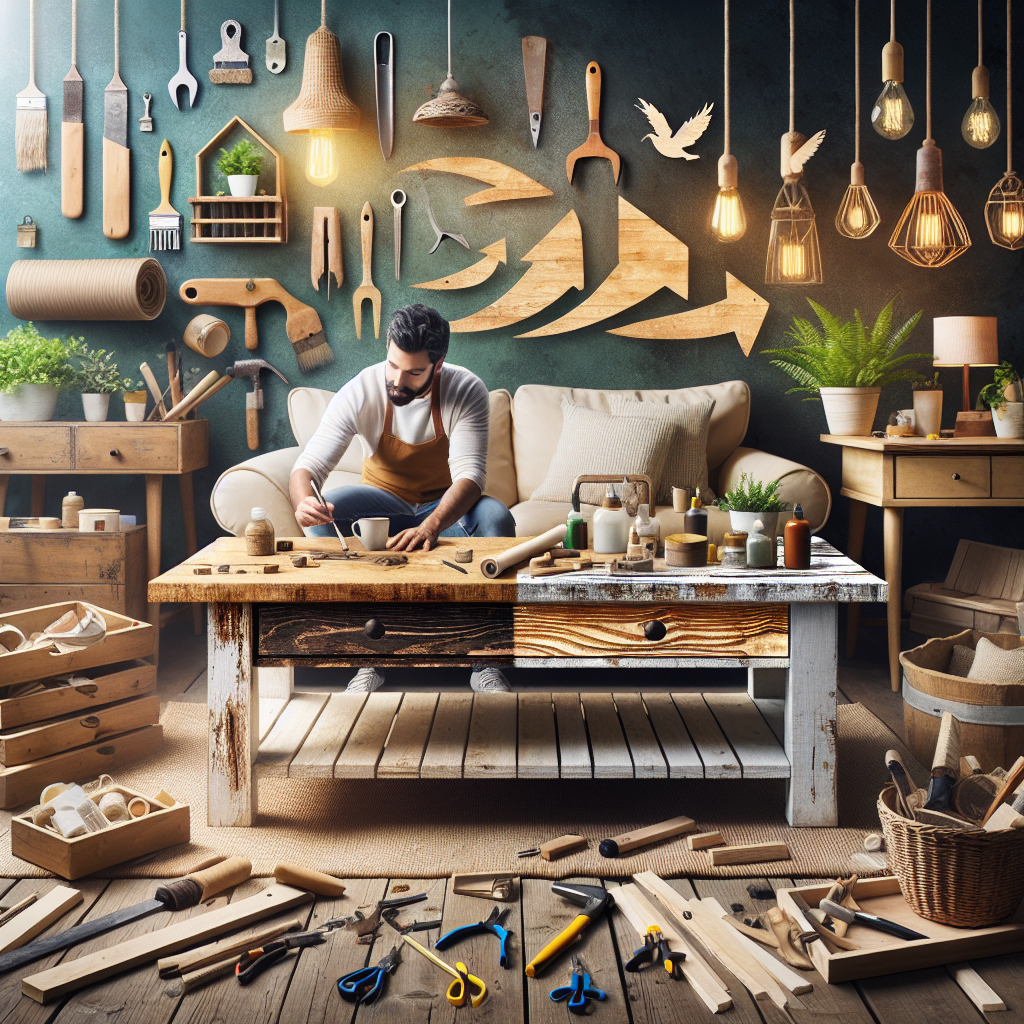
Place the shelf pins or standards along the inside of the side panels at your desired shelf heights. Then, simply set the shelves in place. For added stability, you can also secure the shelves to the frame using wood glue and finish nails.Customizing Your Bookcase
Now that the basic structure is in place, it's time to get creative and add unique storage features that will make your DIY bookshelf truly one-of-a-kind. Here are some ideas to consider:Incorporate Drawers or Doors
Adding pullout drawers or hinged doors to your bookcase can provide hidden storage for items you want to keep out of sight. This is a great way to conceal things like office supplies, media equipment, or extra linens.