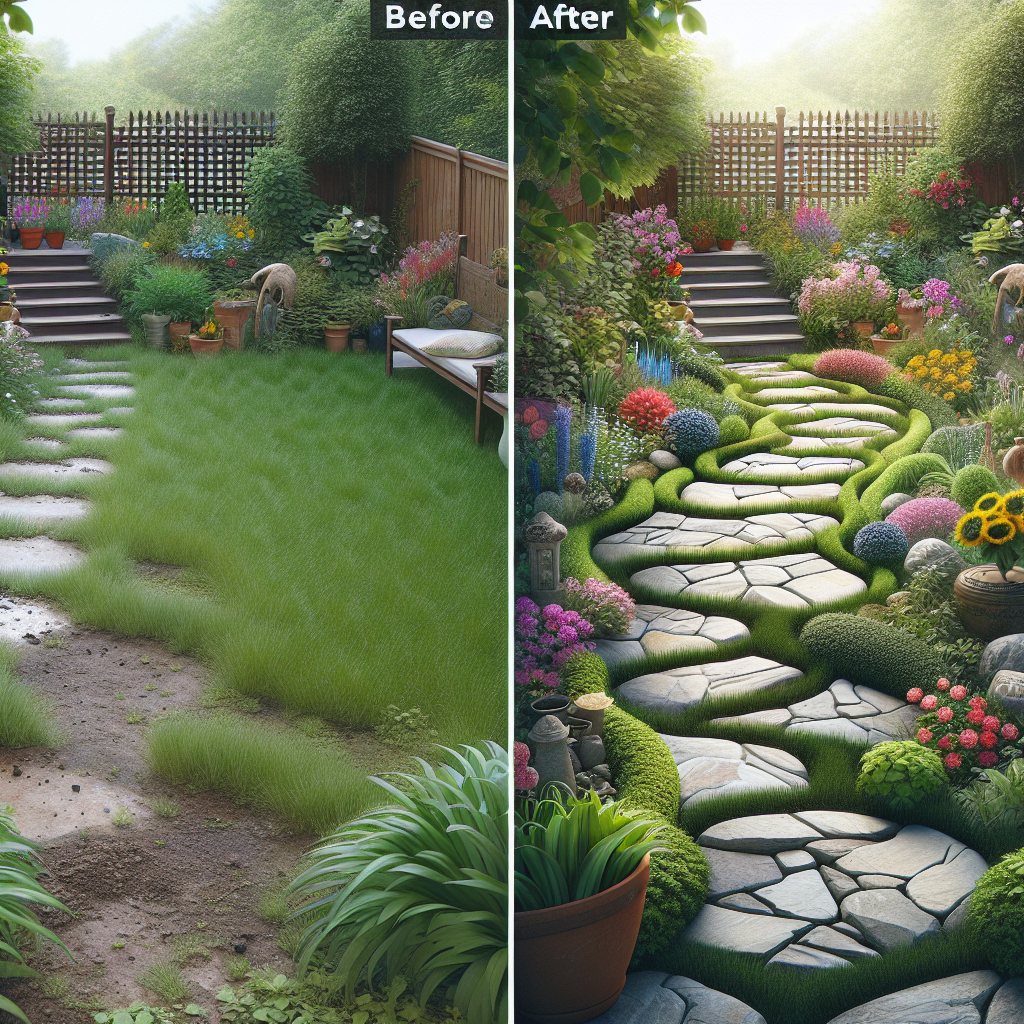
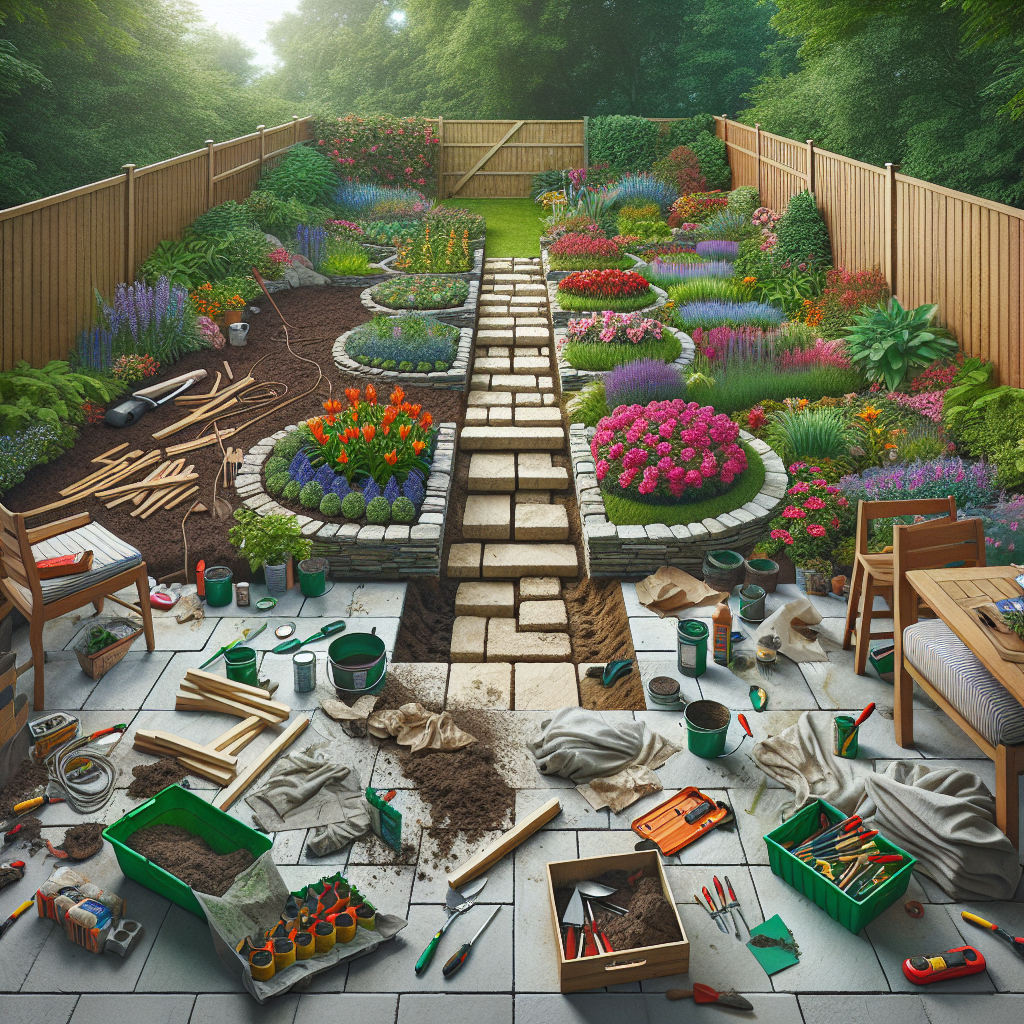
Why a DIY Stone Pathway is Worth the Effort
Professionally installed stone pathways can be quite costly, often running into the thousands of dollars depending on the size, materials, and labor involved. By tackling this project yourself, you can save a significant amount of money while still achieving stunning results. DIY stone pathways also allow for greater customization, enabling you to tailor the design, layout, and materials to perfectly suit your unique outdoor space and personal style preferences. Beyond the cost savings and customization benefits, creating your own stone pathway is an incredibly rewarding DIY endeavor. The sense of accomplishment you'll feel when admiring your handiwork will make the time and effort well worth it. Plus, with the right guidance, even beginner DIYers can successfully complete this project over the course of a weekend.Choosing the Right Materials for Your DIY Stone Pathway
The first step in building a DIY stone pathway is selecting the appropriate materials. The most common options include:Natural Stone Pavers
Natural stone pavers, such as bluestone, flagstone, or travertine, are a classic and durable choice for garden pathways. These materials offer a timeless, high-end look and can withstand heavy foot traffic. Natural stone pavers typically cost between $5 and $15 per square foot.Interlocking Paving Stones
Interlocking paving stones, often made of concrete or clay, are another popular option for DIY pathways. These preformed, uniform units are easy to install and create a seamless, visually appealing pathway. Interlocking pavers generally range from $3 to $10 per square foot.Gravel or Crushed Stone
For a more rustic, informal look, gravel or crushed stone can be an affordable and low-maintenance choice for your pathway. These materials typically cost $1 to $3 per square foot, making them an excellent budget-friendly option. When selecting your pathway materials, consider factors such as your desired aesthetic, budget, and the level of foot traffic the area will experience. Natural stone pavers offer the most long-lasting and high-end look, while interlocking pavers and gravel provide more cost-effective alternatives.Preparing the Pathway Site
Before you can begin installing your DIY stone pathway, you'll need to properly prepare the site. This involves the following steps:Measure and Mark the Pathway
Start by measuring the desired length and width of your pathway, then use marking paint or stakes to outline the area. This will ensure you have a clear vision of the pathway's dimensions and help guide the installation process.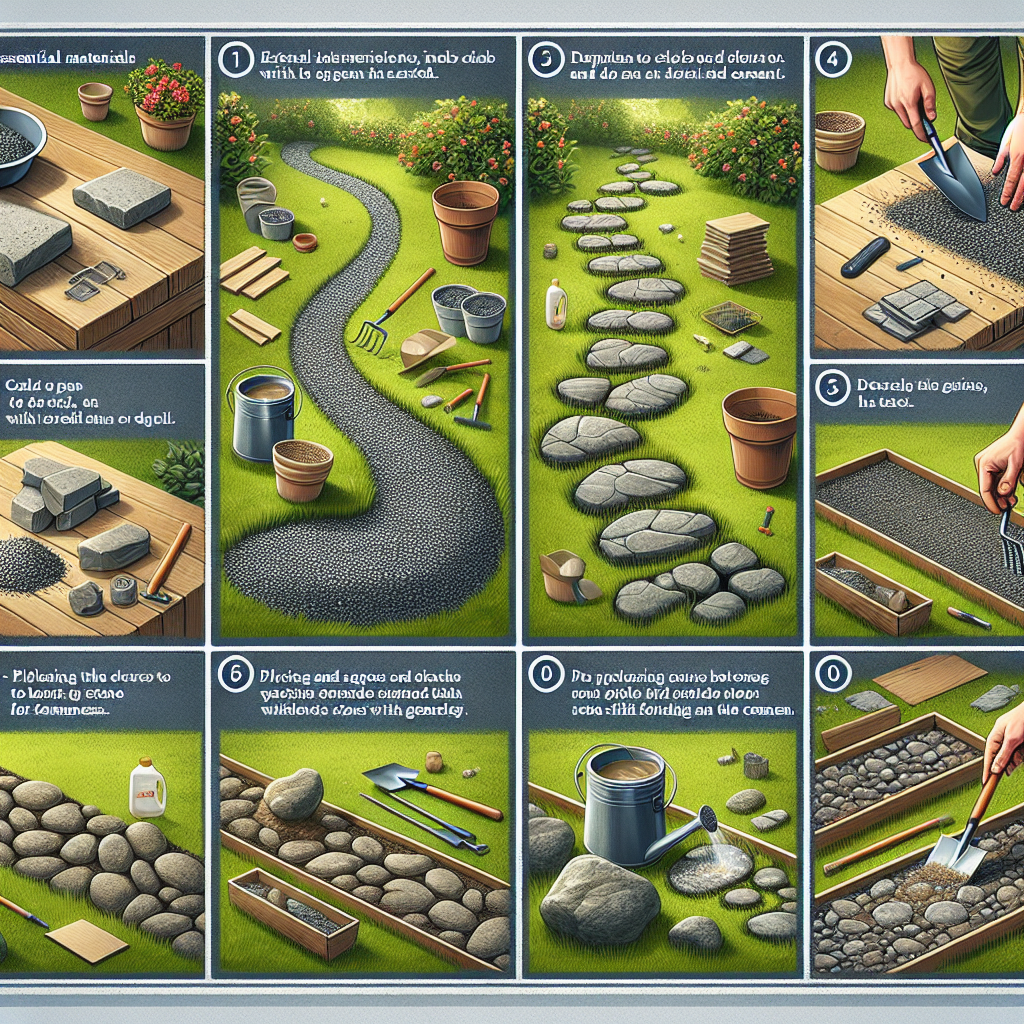
Remove Existing Vegetation
Carefully remove any grass, weeds, or other vegetation from the pathway area. This can be done manually with a shovel or sod cutter, or you may choose to use a chemical weed killer for a more efficient approach.Excavate and Level the Ground
Once the surface is cleared, use a shovel or excavator to remove the top 4-6 inches of soil from the pathway area. This will create a level, stable foundation for your stones or pavers. Be sure to compact the soil using a tamping tool or plate compactor.Install a Gravel Base
Spread a 2-4 inch layer of crushed gravel or crushed stone over the compacted soil. This gravel base will provide additional stability and drainage for your pathway.Edge the Pathway
To keep your stones or pavers in place, install edging along the perimeter of the pathway. This can be done with plastic, metal, or wood edging materials, depending on your preference. By properly preparing the site, you'll ensure a strong, long-lasting foundation for your DIY stone pathway.Laying the Stone Pathway
With the site preparation complete, you're ready to begin the installation process. Here's a step-by-step guide:Lay the First Row of Stones or Pavers
Start by laying the first row of your chosen stones or pavers along the edging. Ensure they are level and evenly spaced, using a rubber mallet to gently tap them into place as needed.Fill Gaps with Crushed Stone
Once the first row is in place, fill any gaps between the stones or pavers with crushed stone or sand. This will help stabilize the pathway and prevent shifting.Continue Laying Rows
Gradually work your way across the pathway, laying additional rows of stones or pavers. Stagger the joints between rows for a more visually appealing and structurally sound result.Cut Stones or Pavers as Needed
When you reach the end of the pathway or need to fit around obstacles, use a stone or paver cutter to trim the materials to the appropriate size.Compact the Pathway
Once all the stones or pavers are in place, use a plate compactor or tamping tool to firmly compact the surface. This will help settle the pathway and prevent any uneven areas.Fill Joints with Polymeric Sand
Finally, spread a layer of polymeric sand over the entire pathway and sweep it into the joints. This specialized sand hardens when wet, locking the stones or pavers in place and preventing weed growth.