Create a Geometric Wall: Use Tape and Color for Bold Designs
Geometric patterns have become a popular trend in home decor, adding a striking visual element to any space. One of the easiest and most cost-effective ways to incorporate this look is by creating a geometric accent wall using painter's tape and bold colors. This technique allows you to customize the design to fit your personal style and transform a bland wall into a stunning focal point. Whether you're an experienced DIYer or a beginner looking to tackle your first home project, this step-by-step guide will walk you through the process of designing and executing a geometric wall that will impress your guests and elevate the overall aesthetic of your home.Choosing Your Design
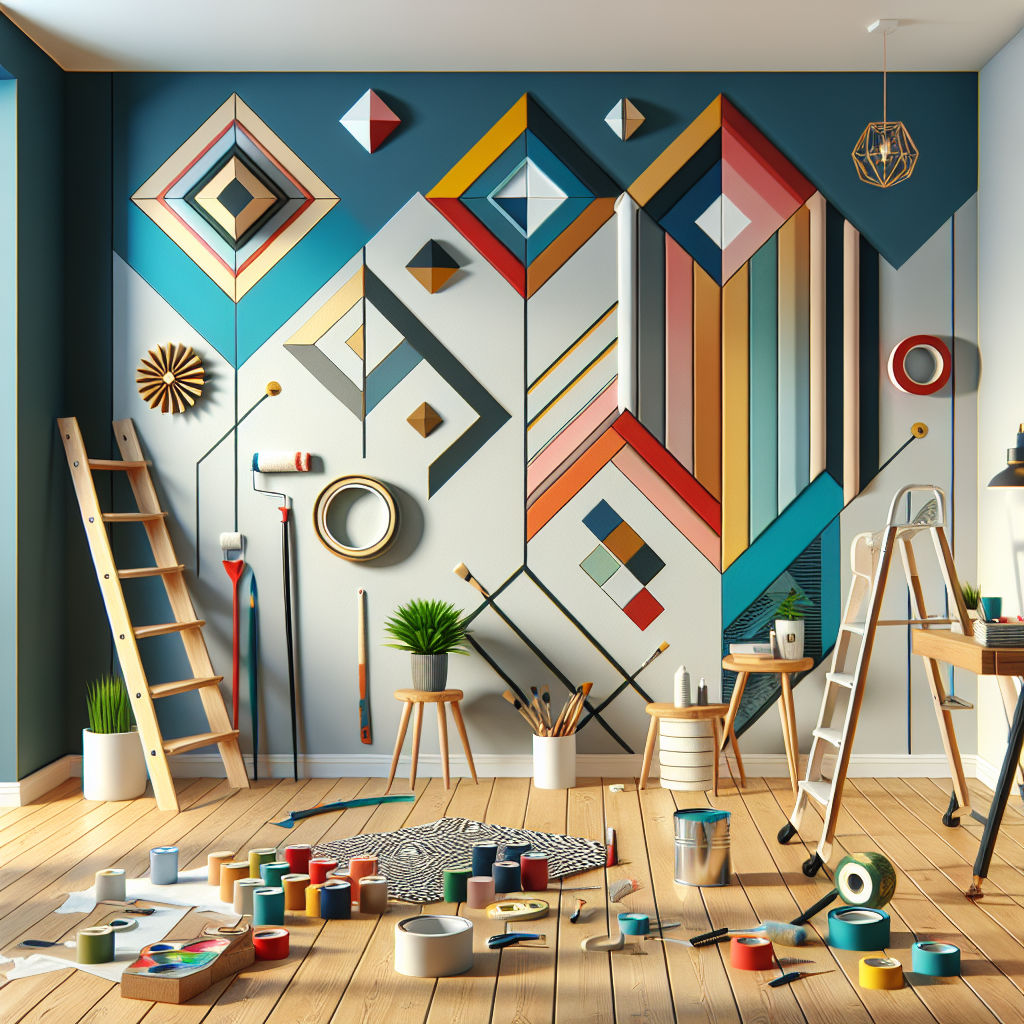
The first step in creating a geometric accent wall is to decide on the specific pattern you want to achieve. This will depend on the overall look and feel you're going for, as well as the size and shape of the wall you're working with. Some popular geometric designs include:- Triangles: Create a dynamic, angular look by arranging triangles in a repeating pattern.
- Diamonds: Slightly softer than triangles, diamonds offer a modern and sophisticated aesthetic.
- Hexagons: Hexagonal shapes can be arranged in a honeycomb-like pattern for a bold, eye-catching effect.
- Rectangles: For a sleek, minimalist look, consider a grid of clean, rectangular shapes.
Preparing the Wall
Before you can start taping and painting, you'll need to properly prepare the wall surface. Begin by thoroughly cleaning the area, removing any dust, dirt, or debris that could interfere with the adhesive. Use a degreasing cleaner or TSP substitute to ensure a clean, smooth surface. Next, examine the wall for any imperfections, such as cracks, holes, or uneven texture. Repair these issues by filling in cracks, sanding down bumps, and applying a layer of joint compound or drywall primer as needed. Allow the repairs to fully dry and then lightly sand the area to create a seamless, uniform surface. Once the wall is clean and smooth, apply a coat of high-quality paint primer. This will help the topcoat of paint adhere better and provide a consistent base for your geometric design. Allow the primer to dry completely before moving on to the next step.Taping the Design
Now it's time to start taping out your geometric pattern. This step requires careful measurement and precision to ensure the final design is visually balanced and aligned correctly.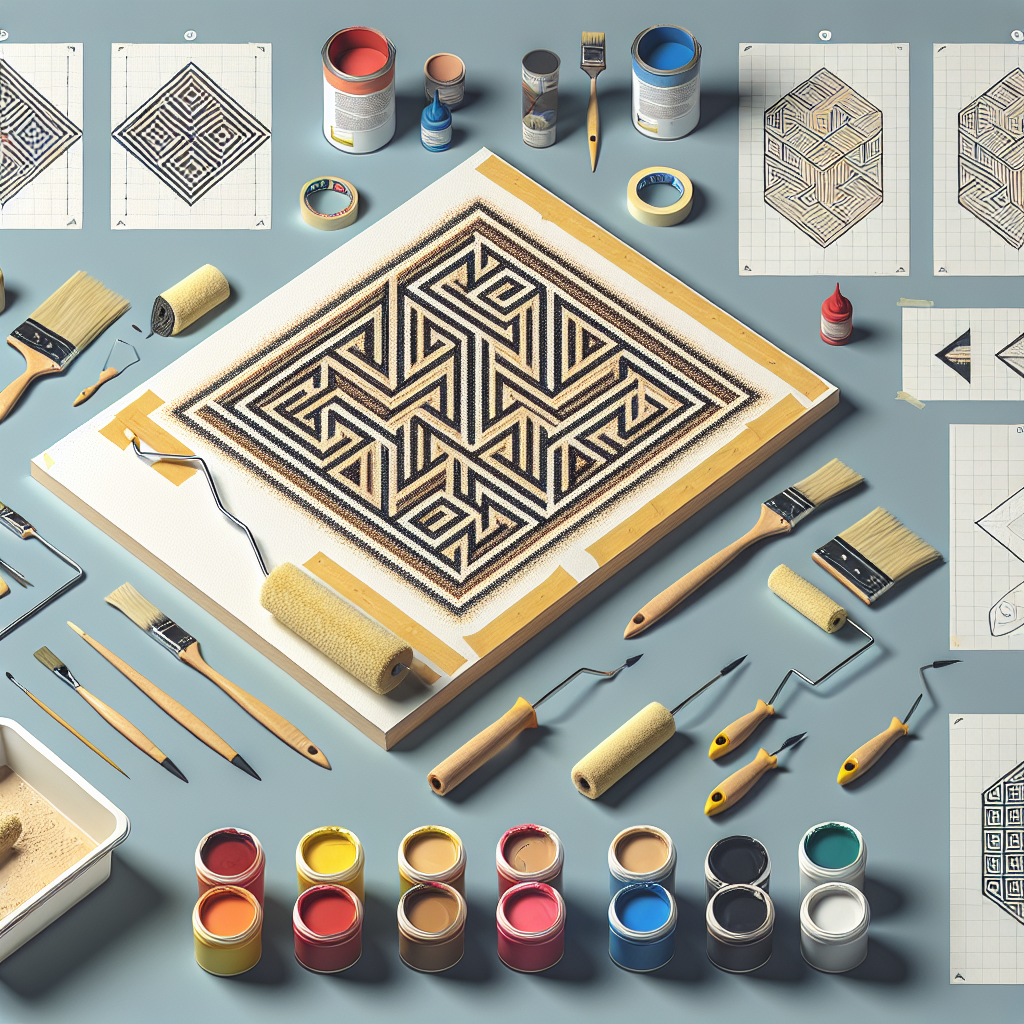
Measuring and Marking the Wall
Begin by measuring the wall and sketching out your design on paper, making note of the dimensions and spacing between shapes. Use a laser level or straightedge to mark guidelines on the wall, creating the basic framework for your pattern. If your design features repeating shapes, measure the distance between each element and mark evenly spaced vertical and horizontal guidelines. This will help you maintain consistent spacing and symmetry throughout the pattern.Applying the Tape
Once you have your guidelines in place, it's time to start taping. Carefully apply high-quality painter's tape along the marked lines, pressing down firmly to ensure a tight seal. For crisp, clean edges, use a putty knife or straight edge to firmly adhere the tape. When taping corners and angles, take your time to ensure the tape is neatly folded and adhered on both sides. Avoid stretching the tape, as this can cause it to pull away from the wall during painting. If your design involves smaller, intricate shapes, consider using a utility knife or scissors to cut the tape into the desired patterns before applying it to the wall. This can be a more precise and efficient approach than trying to tape each shape individually.Painting the Geometric Design
With the taping complete, you're ready to start painting. Choose high-quality, low-odor latex paint in your desired colors. Opt for a satin or eggshell finish for the best results.Painting the Base Coat
Begin by painting the entire wall with the base color, covering all the exposed areas between the taped-off shapes. Apply the paint in thin, even coats, allowing each layer to fully dry before adding the next. This will help prevent any bleeding or seeping under the tape.Painting the Geometric Shapes
Once the base coat is dry, carefully peel back the painter's tape to reveal the clean, crisp lines of your geometric pattern. Slowly and meticulously paint the exposed areas with your accent color, taking care not to let the paint bleed under the tape.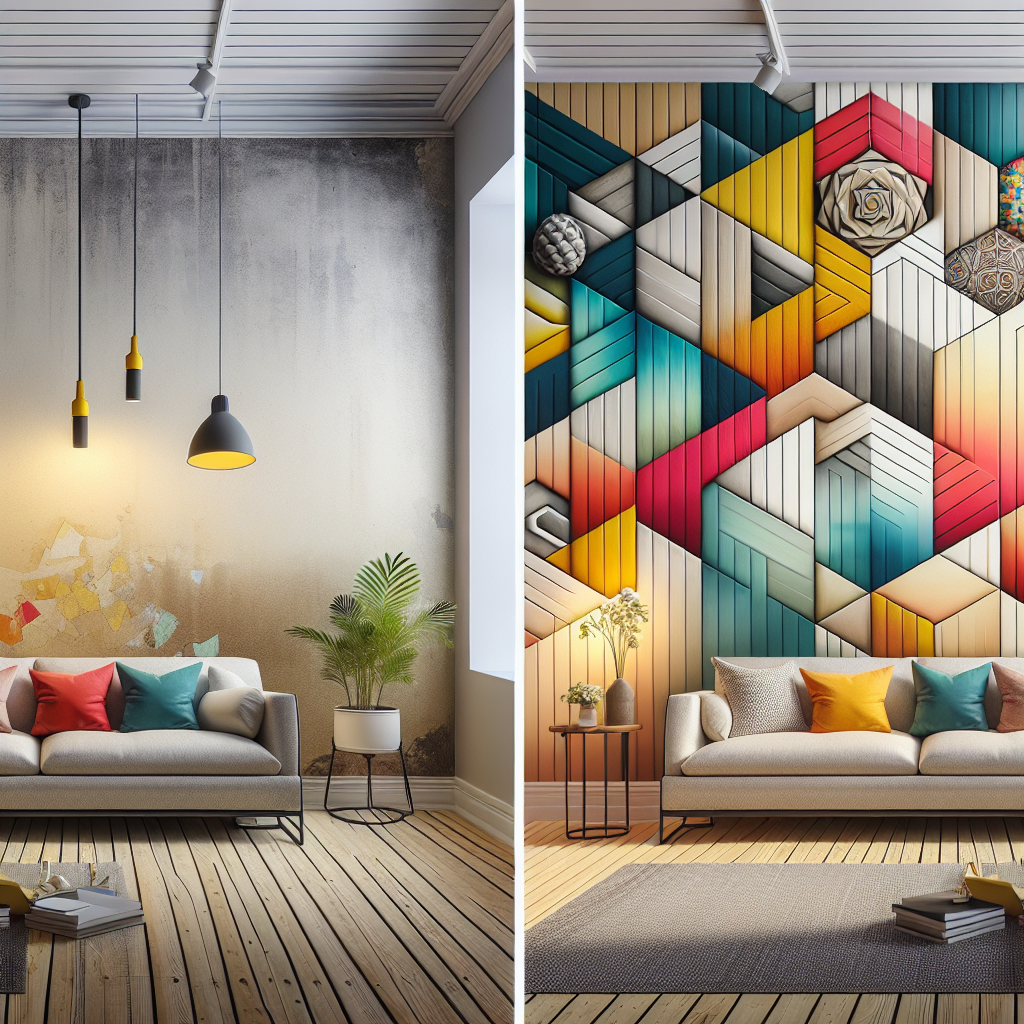
Removing the Tape
After the final coat of accent paint has dried, carefully remove the painter's tape. Start at the top of the wall and slowly peel the tape back at a 45-degree angle, taking care not to tear or pull up any of the paint. If you encounter any areas where the paint has seeped under the tape, use a small brush or razor blade to carefully touch up the edges. This will help maintain the clean, precise lines of your geometric design.Finishing Touches
With the painting complete, your geometric accent wall is nearly finished. Take a step back and examine the overall design, looking for any areas that may need additional touch-ups or refinement. Consider adding a clear, matte polyurethane sealant to protect the paint and keep the colors vibrant over time. This can also help create a cohesive, uniform sheen across the entire wall surface. Finally, style the space around your new geometric accent wall. Complement the bold, graphic patterns with neutral furnishings, natural textures, and pops of coordinating color to create a visually stunning and harmonious design.Key Takeaways
Creating a geometric accent wall using painter's tape and bold colors is a simple yet impactful DIY project that can transform any room in your home. Here are the key steps to remember:- Carefully choose your geometric design based on the size and shape of the wall, as well as your personal style preferences.
- Thoroughly prepare the wall surface by cleaning, repairing any imperfections, and applying a high-quality primer.
- Meticulously measure and mark the wall to create the framework for your geometric pattern, then precisely apply painter's tape along the guidelines.
- Paint the base coat, followed by two or more coats of the accent color, taking care to avoid any paint seeping under the tape.
- Carefully remove the tape to reveal the clean, crisp lines of your geometric design, and make any necessary touch-ups.
- Finish the wall by applying a protective sealant and styling the space around the new focal point.