Understanding Drywall Cracks and Damage
Before we dive into the repair process, it's important to understand the common causes of drywall cracks and damage, as well as the different types of imperfections you may encounter.Causes of Drywall Cracks
Drywall cracks can occur for a variety of reasons, including:- Structural Settling: As a home ages, the foundation and framing can settle, leading to small cracks in the drywall where the walls meet the ceiling or other joints.
- Moisture or Water Damage: Leaks, high humidity, or other moisture-related issues can cause the drywall to swell, crack, and deteriorate over time.
- Impact Damage: Banging furniture, door frames, or other objects against the wall can create localized cracks and holes in the drywall.
- Poor Installation: Improperly installed drywall, including loose joints or inadequate framing support, can lead to cracks and instability over time.
Types of Drywall Damage
The specific type of drywall damage you're dealing with will determine the best repair approach. Common drywall imperfections include:- Hairline Cracks: These are thin, superficial cracks that are typically caused by structural settling or minor impact damage.
- Wider Cracks: Larger cracks, often an eighth of an inch or more in width, may indicate more significant underlying issues, such as structural instability or water damage.
- Holes and Punctures: Drywall can be easily punctured by nails, screws, or other objects, creating small to medium-sized holes that need to be properly repaired.
- Dents and Dings: Drywall can be dented or indented by impact damage, which may require a slightly different repair approach.
Preparing the Damaged Area
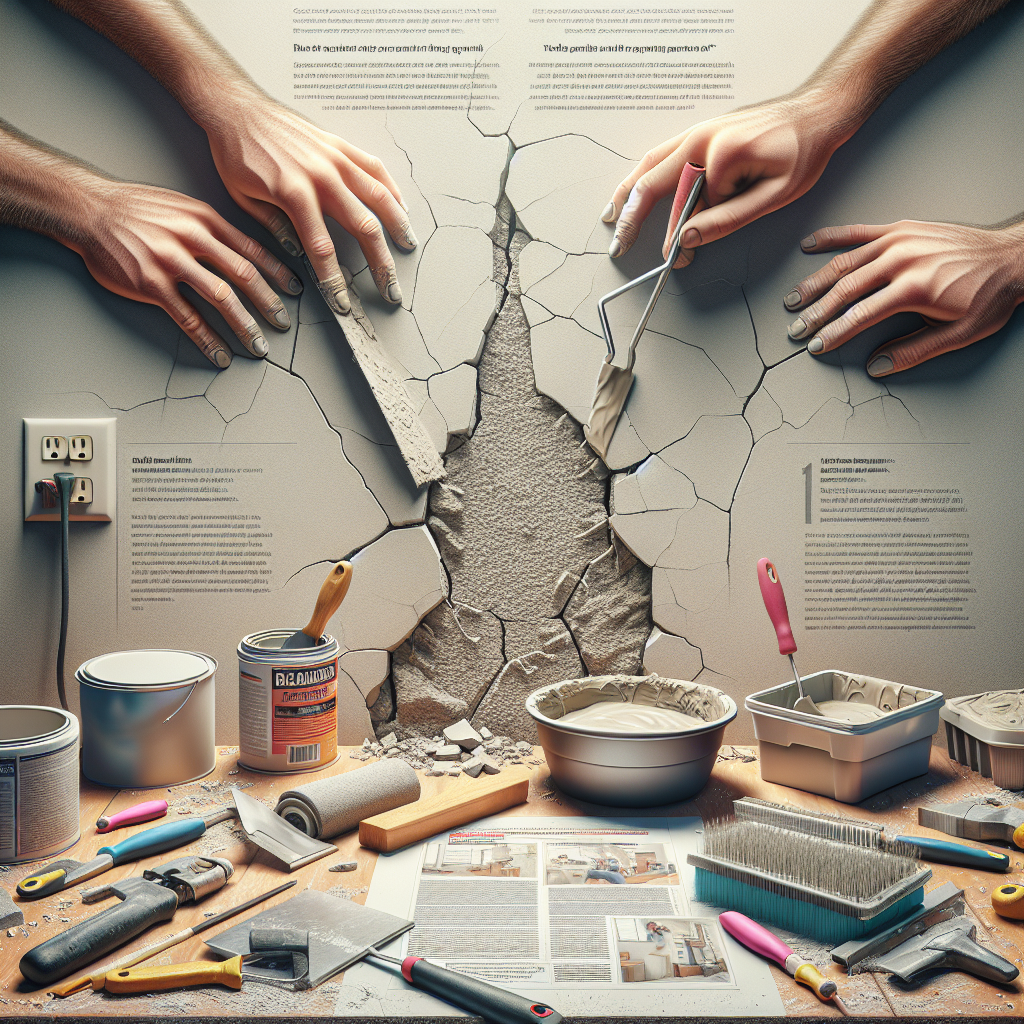
Before you can begin the drywall repair process, you'll need to properly prepare the damaged area. This involves carefully inspecting the crack or hole, cleaning the surface, and ensuring the surrounding drywall is stable and secure.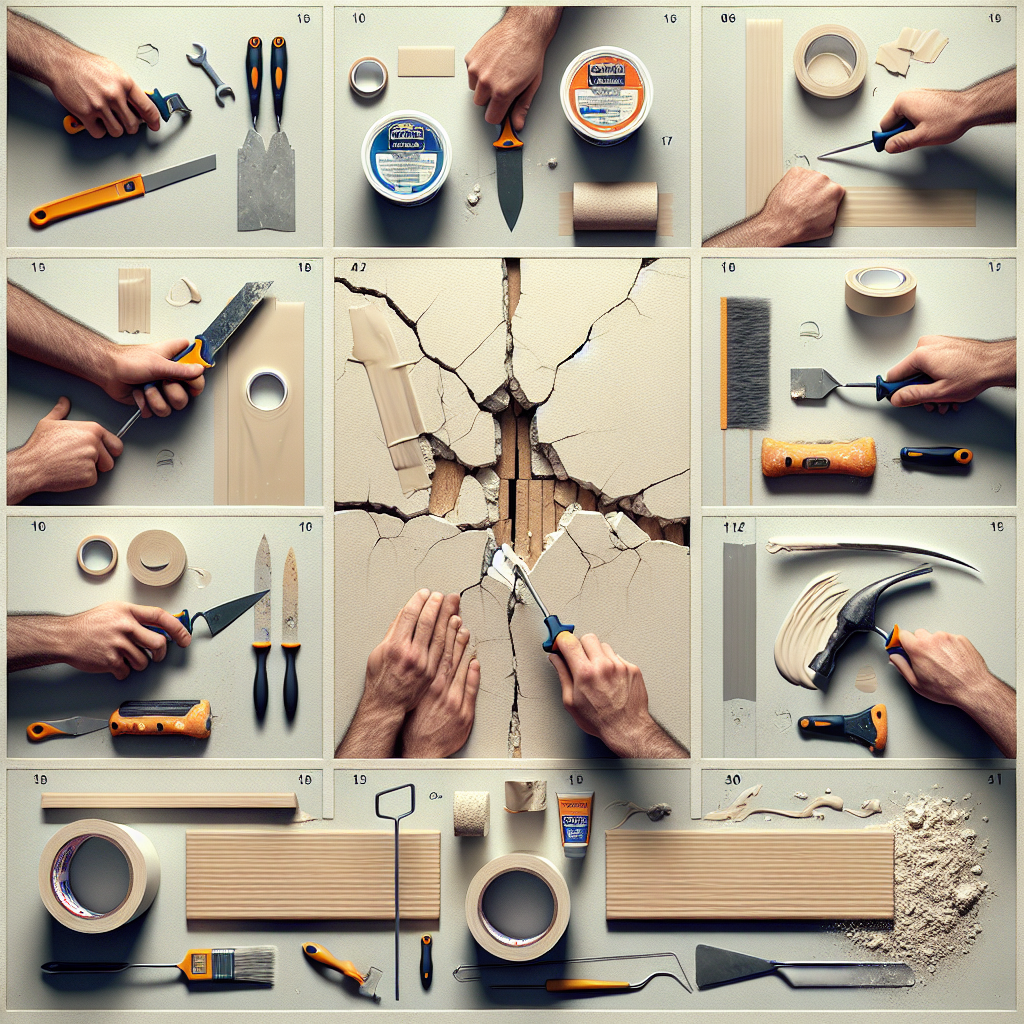
Inspecting the Damage
Start by closely examining the cracked or damaged area to determine the extent of the problem. Gently run your fingers along the crack or hole to check for any loose or crumbling drywall. If the damage appears to be more significant, you may need to investigate further to identify the underlying cause, such as structural issues or water damage.Cleaning the Surface
Once you've assessed the damage, use a putty knife or utility knife to carefully remove any loose or flaking drywall. This will help create a smooth, stable surface for the repair. Be sure to vacuum or wipe away any dust or debris to prepare the area for patching.Stabilizing the Surrounding Drywall
If the cracked or damaged area is located near the edge of a wall or a corner, you may need to reinforce the surrounding drywall to ensure a stable, secure repair. You can do this by applying drywall joint compound or wood glue to any loose or crumbling edges, then allowing it to dry completely before proceeding.Patching Drywall Cracks and Holes
Once the damaged area has been properly prepared, you can begin the process of patching the drywall. Depending on the size and nature of the imperfection, you may need to use different materials and techniques to achieve a seamless, professional-looking repair.Repairing Hairline Cracks
For small, hairline cracks, you can often get away with a simple joint compound or drywall spackle repair. Start by applying a thin layer of compound or spackle over the crack, making sure to feather the edges to blend it into the surrounding drywall. Allow the compound to dry completely, then lightly sand the area to create a smooth, even surface.Patching Wider Cracks
Larger cracks, typically an eighth of an inch or more in width, will require a more robust repair approach. Begin by cutting the crack open slightly using a utility knife or drywall saw to create a V-shaped groove. This will help the joint compound or spackle adhere better to the drywall. Next, apply a generous amount of compound or spackle into the groove, making sure to feather the edges. Allow the first layer to dry completely, then apply a second coat, feathering the edges even further to blend the repair seamlessly into the surrounding drywall.Repairing Holes and Punctures
For holes and punctures in the drywall, you'll need to cut out the damaged section and replace it with a drywall patch. Start by measuring the hole and cutting a slightly larger piece of drywall to fit the opening. Apply a generous amount of drywall joint compound or construction adhesive to the back of the patch, then carefully press it into the hole, making sure it's flush with the surrounding drywall. Allow the compound or adhesive to dry completely, then apply a layer of joint compound over the seams, feathering the edges to blend the patch seamlessly.Addressing Dents and Dings
Dents and dings in the drywall can often be repaired using a similar technique to patching cracks. Start by applying a layer of joint compound or drywall spackle over the indentation, making sure to feather the edges. Allow the first coat to dry, then apply a second coat, sanding the area lightly to create a smooth, even surface.
Sanding and Painting for a Flawless Finish
Once the drywall patch or repair has been completed, the next step is to sand the area to create a smooth, seamless transition between the new and existing drywall.Sanding the Repair
Begin by lightly sanding the patched area with a fine-grit sandpaper (220-grit or higher) to remove any bumps, ridges, or uneven surfaces. Be sure to sand in a circular motion to avoid creating visible sanding marks. Gradually increase the pressure and sanding area until the repaired section blends seamlessly with the surrounding drywall.Priming and Painting
After sanding, clean the area thoroughly to remove any dust or debris. Then, apply a thin coat of drywall primer to the repaired section, allowing it to dry completely. This will help the topcoat of paint adhere properly and ensure a consistent, uniform finish. When it comes to painting, it's best to apply at least two coats of high-quality interior latex paint, matching the existing color and sheen as closely as possible. For the best results, use a small foam roller or high-quality paintbrush to apply the paint, feathering the edges to blend the repaired area into the surrounding wall.Maintaining the Repair
To help ensure the longevity of your drywall repair, be sure to follow the manufacturer's recommended drying and curing times for the joint compound, primer, and paint. Avoid hanging heavy objects or exposing the repaired area to significant impact for at least 24-48 hours after completion. Additionally, keep an eye on the repaired section and address any new cracks or damage promptly to prevent the issue from worsening over time.Key Takeaways
- Properly prepare the damaged drywall area by cleaning, stabilizing, and assessing the extent of the problem.
- Use the appropriate patching technique for the type of drywall damage, whether it's a hairline crack, wider crack, hole, or dent.
- Sand the repaired area thoroughly to create a smooth, seamless transition between the new and existing drywall.
- Prime and paint the repaired section, matching the existing color and sheen as closely as possible.
- Maintain the repair by allowing proper drying and curing times and addressing any new issues promptly.