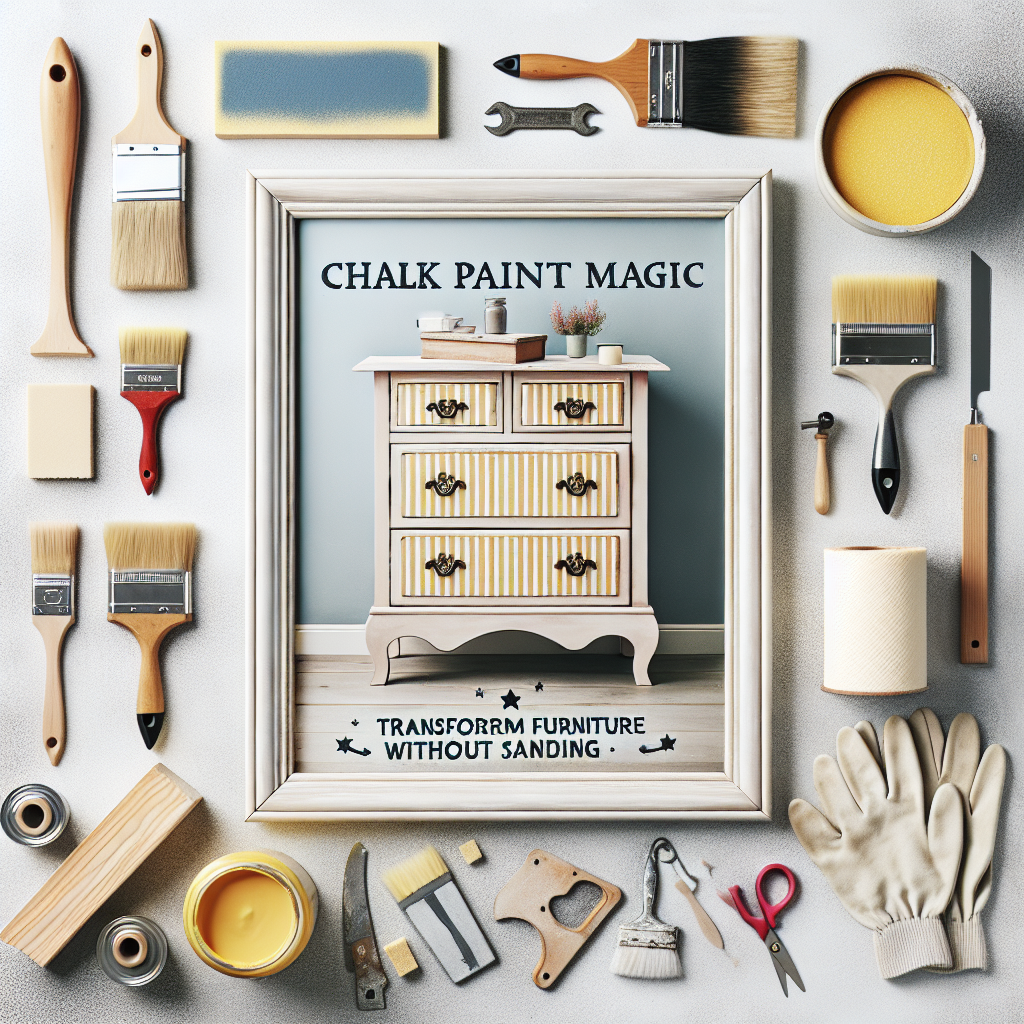
Understanding Chalk Paint: What Makes It Special?
Chalk paint, also known as "chalky paint," has gained immense popularity in the home improvement and DIY communities for its unique properties. Unlike traditional latex or oil-based paints, chalk paint is formulated to adhere to almost any surface, from wood and metal to glass and even laminate, without the need for extensive surface preparation. The magic of chalk paint lies in its matte, velvety finish that creates the illusion of an "aged" or "distressed" look. This versatile paint dries to a smooth, chalky texture that easily allows for layering, distressing, and creating unique, one-of-a-kind finishes. Chalk paint's ability to skip the sanding step is a game-changer for DIYers and furniture enthusiasts, saving time and effort without compromising the final result.Choosing the Right Chalk Paint for Your Project
When it comes to chalk paint, not all products are created equal. The market is flooded with a wide range of chalk paint brands, each with its own unique formulation and characteristics. As you embark on your chalk paint journey, consider the following factors to ensure you select the best paint for your project:Paint Quality and Coverage
High-quality chalk paints typically offer superior coverage, allowing you to achieve a rich, opaque finish with fewer coats. Look for paints that are known for their creamy consistency and easy application.Color Selection
Chalk paint manufacturers offer an extensive palette of colors, from muted, earthy tones to vibrant, bold hues. Decide on the desired aesthetic for your furniture piece and choose a color that aligns with your vision.Specialty Finishes
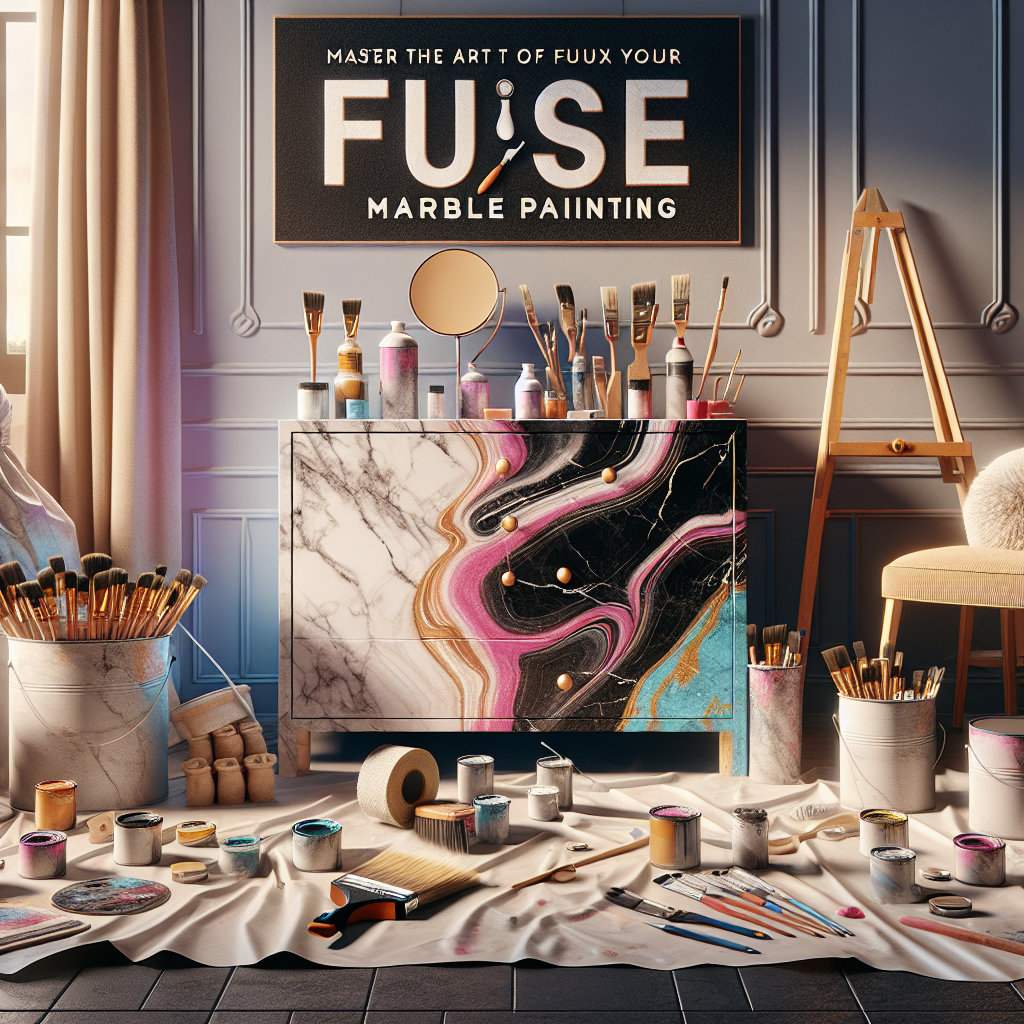
Some chalk paint brands offer specialty formulations, such as metallic, glitter, or matte finishes, allowing you to create unique and eye-catching results.Cost Considerations
Chalk paint can range in price from budget-friendly options to high-end, premium brands. Weigh the quality, coverage, and your project requirements to determine the best value for your investment.Preparing Your Furniture for Chalk Paint
One of the biggest advantages of chalk paint is its ability to adhere to a wide range of surfaces without extensive prep work. However, to ensure a flawless finish, it's important to follow these simple steps: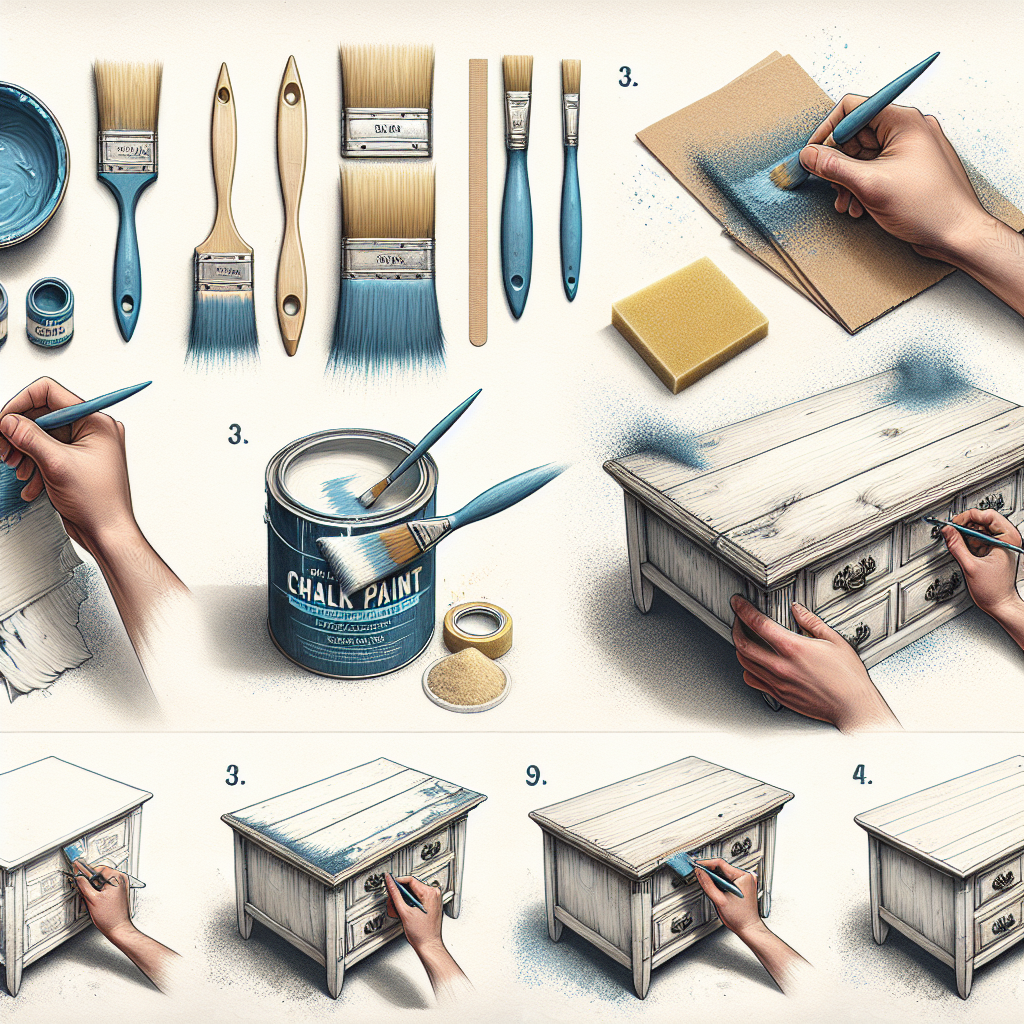
Clean the Surface
Start by thoroughly cleaning the furniture piece with a degreaser or a mixture of warm water and mild soap. This step removes any dirt, grease, or residue that could prevent the paint from adhering properly.Light Sanding (Optional)
While chalk paint can be applied directly to most surfaces, lightly sanding the piece can help create a smoother base for the paint to grip onto, especially for shiny or glossy finishes. Use a fine-grit sandpaper and focus on scuffing up the surface, rather than removing a significant amount of the existing finish.Priming (Optional)
Certain materials, such as laminate or highly-varnished surfaces, may benefit from a light coat of primer before applying the chalk paint. This helps the paint adhere more effectively and ensures a long-lasting finish.Mastering the Chalk Paint Application Technique
With your furniture prepped and ready, it's time to dive into the chalk paint application process. Here's a step-by-step guide to achieving a professional-looking finish:Stir the Paint Thoroughly
Before each use, be sure to stir the chalk paint thoroughly to ensure the pigments are evenly distributed. This will help maintain a consistent color and texture throughout the application.Apply the First Coat
Using a high-quality paint brush or a foam roller, apply the first coat of chalk paint in even, smooth strokes. Work in sections, carefully covering the entire surface of the furniture piece. Allow the paint to dry completely before moving on to the next step.Distressing and Layering
One of the hallmarks of chalk paint is the ability to create a weathered, distressed look. After the first coat has dried, use sandpaper or a distressing tool to selectively remove paint in areas where natural wear and tear would occur, such as edges, corners, and high-traffic zones. This will create a layered, vintage-inspired appearance.Add Additional Coats
Depending on the desired opacity and coverage, apply one or more additional coats of chalk paint, allowing each layer to dry completely before moving on. The number of coats required will depend on the paint's quality, the surface you're working with, and your personal preference.Finishing Touches
To enhance the chalk paint's matte, velvety finish, consider applying a clear wax or topcoat. This will help protect the paint and provide a subtle sheen. Be sure to follow the manufacturer's instructions for proper application and drying times.Transforming Your Furniture with Chalk Paint
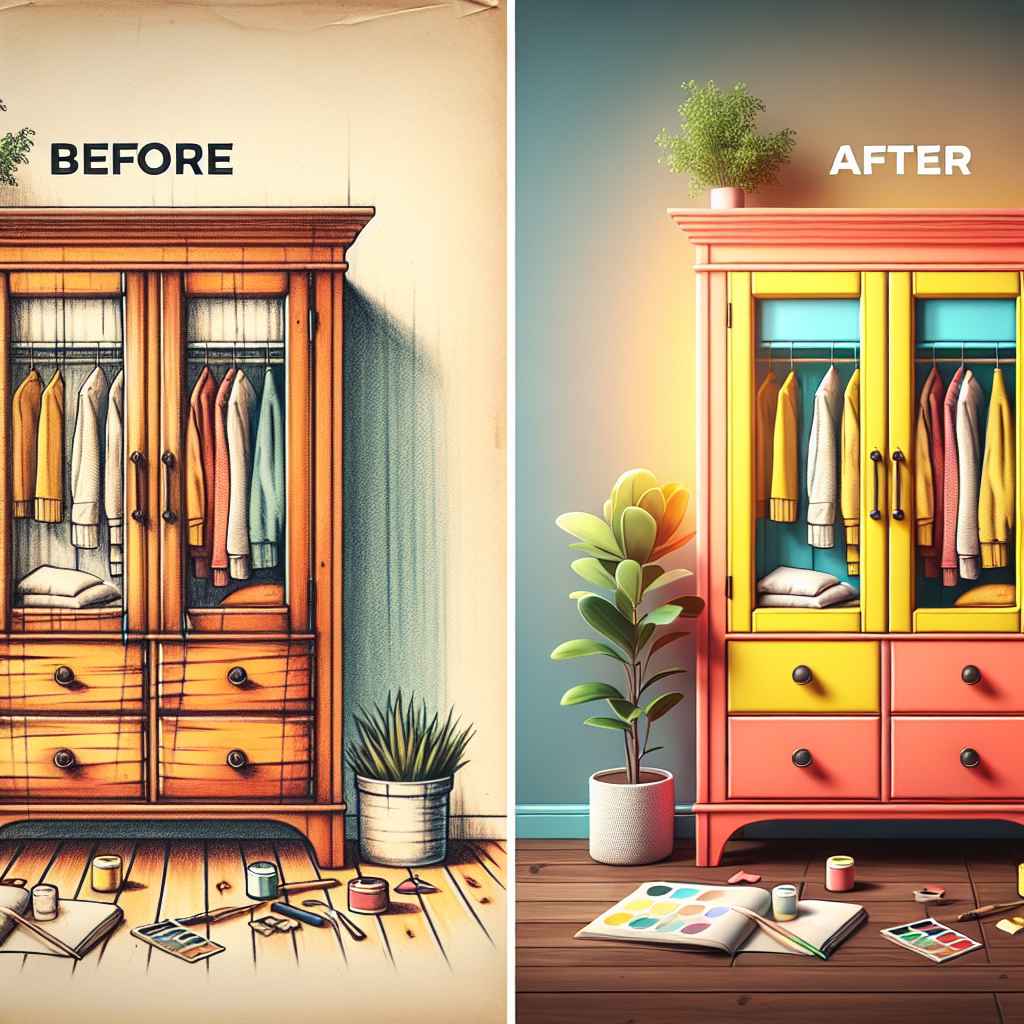
Now that you have a solid understanding of chalk paint and the application process, let's dive into some inspiring furniture transformation ideas: