Transform Your Dining Room with a Stunning, Customized Farmhouse Table
Are you dreaming of a beautiful, one-of-a-kind farmhouse dining table to anchor your dining room? While high-end, artisanal pieces can cost thousands, you can create the same stunning look yourself for a fraction of the price. With some essential woodworking skills and a weekend's worth of work, you can build a substantial, heirloom-quality farmhouse table that will be the centerpiece of your home for years to come. In this comprehensive guide, we'll walk you through every step of constructing your own custom farmhouse dining table - from selecting the right materials to mastering the joinery techniques. Whether you're a seasoned DIYer or just starting your woodworking journey, you'll gain the confidence and know-how to tackle this impressive project. Let's get started!Why Build a Farmhouse Dining Table Yourself?
There are several compelling reasons to consider building your own farmhouse table rather than purchasing a pre-made one: Cost Savings: Handcrafted farmhouse tables from specialty retailers can easily cost $1,000 or more. By building it yourself, you can achieve the same level of quality and craftsmanship for a fraction of the price - often under $300 in materials. Customization: Mass-produced tables are one-size-fits-all, but when you build it yourself, you can tailor the dimensions, wood type, finish, and other details to perfectly suit your dining room and personal style preferences. Sense of Accomplishment: There's immense pride and satisfaction that comes from creating a beautiful, functional piece of furniture with your own two hands. The process of building a farmhouse table is extremely rewarding, especially for beginner woodworkers. Heirloom Quality: A well-built farmhouse table can last for decades, even generations. It becomes a treasured family piece that you can pass down, instilling it with sentimental value that store-bought furniture can't match.Essential Woodworking Skills and Techniques
Before we dive into the step-by-step instructions, let's quickly cover some of the key woodworking skills and techniques you'll need to master for this project:Measuring and Marking
Accurate measuring and precise marking are critical foundations for any woodworking project. You'll need to carefully measure and mark all your lumber to ensure perfect cuts and joinery.Sawing
You'll primarily be using a miter saw or circular saw to make clean, straight cuts on your wood. Developing proper sawing technique is essential for achieving professional-looking results.Drilling and Countersinking
Precise hole drilling, including countersinking for flush screws, is a must-have skill. This will be important for securing the tabletop, legs, and aprons.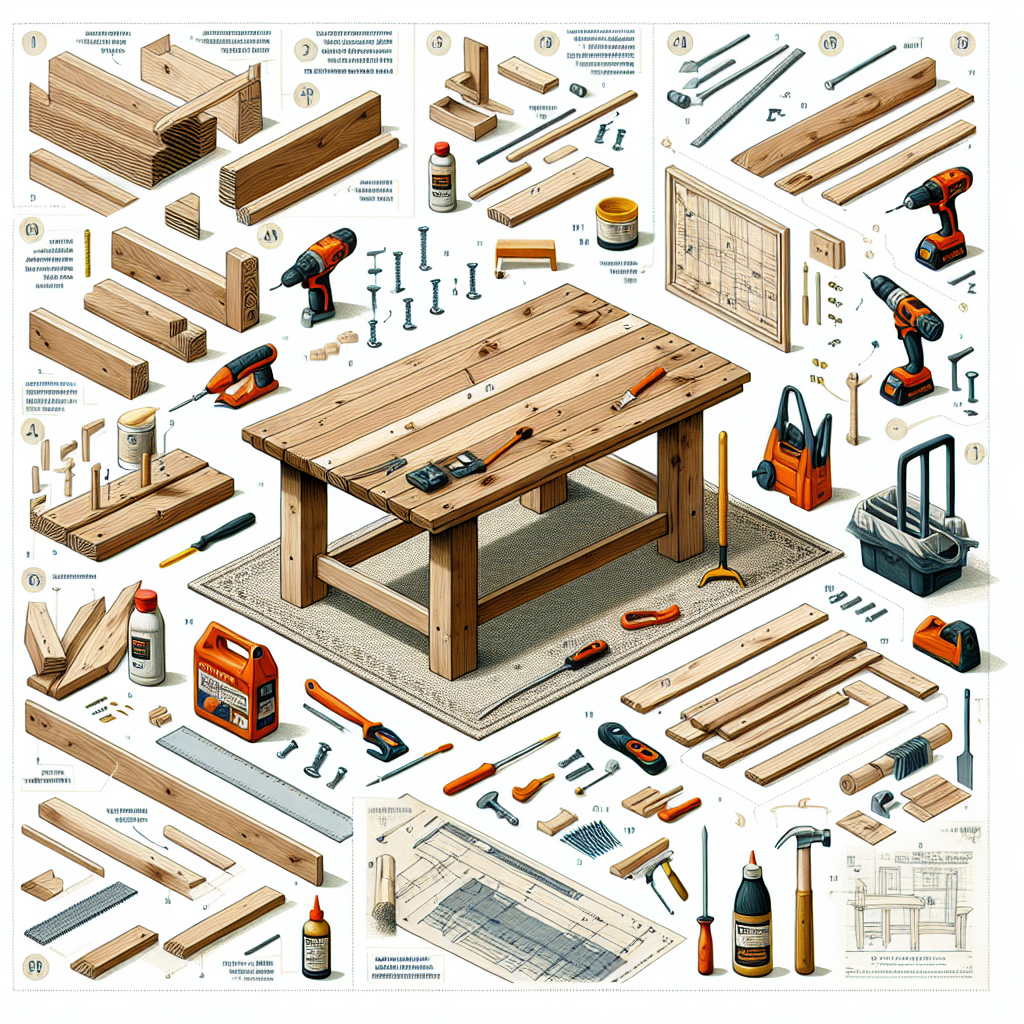
Sanding
Thorough sanding, from coarse to fine grits, is the key to a glass-smooth finish. You'll need to sand each component individually as well as the fully assembled table.Gluing and Clamping
Strong, well-aligned glue joints are essential for the table's structural integrity. Proper clamping techniques ensure a tight, seamless bond.Finishing
The final finish you apply - whether stain, paint, or a natural oil - will dramatically impact the table's overall aesthetic. Mastering finishing techniques is the final step to achieving a professional-quality result. Don't worry if some of these skills feel foreign - we'll provide detailed guidance and tips throughout the build process to ensure you develop competence in each area.Selecting the Right Materials
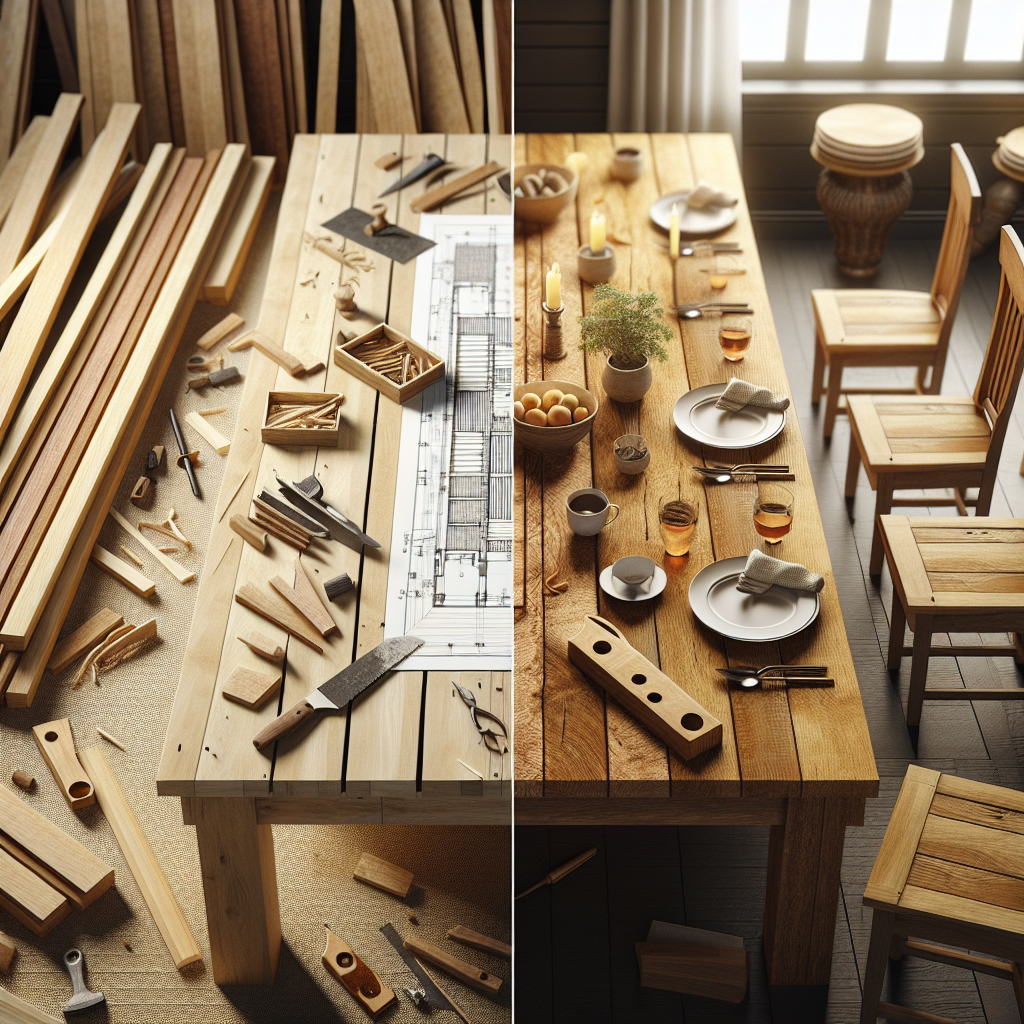
The foundation of your farmhouse table starts with choosing the right wood. Here are some of the most popular and suitable options: Solid Wood Boards: Look for kiln-dried, select-grade boards in materials like pine, oak, maple, or ash. Avoid cheaper, lower-quality woods that are prone to warping or cracking over time. Dimensions: For a standard 6-8 person farmhouse table, you'll typically want 1x6, 1x8, or 1x10 boards that are 6-8 feet long. The exact dimensions can be customized to your needs. Edge-Glued Panels: You can also create the tabletop from individual boards that are edge-glued together. This allows you to use narrower, more affordable lumber. Finishing Wood: For the table legs and aprons, consider using thicker 4x4 or 6x6 posts or beams, which can be easier to work with. In addition to the main wood components, you'll also need fasteners like wood screws, bolts, and washers, as well as wood glue, wood filler, sandpaper, and your preferred finishing products.Building the Farmhouse Table: Step-by-Step
Now that you have the necessary materials and skills, let's dive into the step-by-step process of building your custom farmhouse dining table.Step 1: Prepare the Tabletop
- Measure and cut your solid wood boards or edge-glued panel to size using a miter saw or circular saw. For a standard 6-8 person table, aim for a tabletop that's approximately 72-96 inches long and 36-42 inches wide. - If using individual boards, carefully arrange and clamp them together, then use wood glue and bar clamps to create a seamless panel. Allow the glue to fully cure. - Use a belt sander or orbital sander to smooth the top and edges of the tabletop, starting with coarse 80-100 grit paper and progressing to 120-150 grit for a glass-smooth finish.