Build a Bed Frame

Simple Slatted Design Without Special Tools
Build a Bed Frame
Build a Bed Frame: A Simple Slatted Design Without Special Tools Building your own bed frame can be a deeply rewarding DIY project that allows you to customize the look and feel of your bedroom. While elaborate four-poster or upholstered designs can require specialized tools and techniques, a simple slatted bed frame is a great option for beginner and intermediate woodworkers. This classic style offers a clean, modern aesthetic that complements a wide range of décor styles, from rustic farmhouse to minimalist contemporary. In this comprehensive guide, we'll walk you through the step-by-step process of constructing a sturdy, attractive slatted bed frame using only basic tools that most DIYers already have on hand. We'll cover material selection, cutting and assembly, as well as important safety considerations and tips for a professional-looking finish. By the end, you'll have the knowledge and confidence to build a beautiful custom bed frame that will anchor your bedroom for years to come.

Tools and Materials Needed

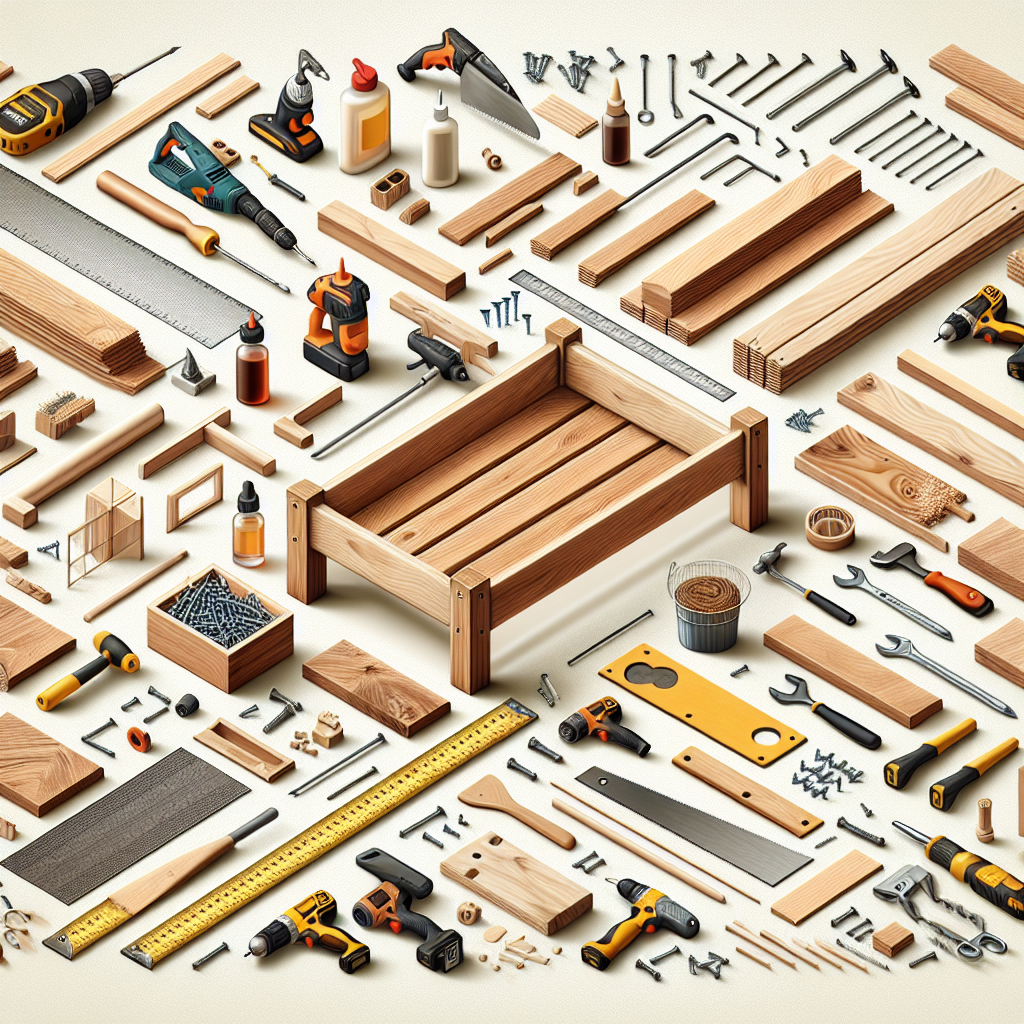
To build this simple slatted bed frame, you'll need the following tools and materials:

Tools:

  • Circular saw or miter saw
  • Drill with assorted drill bits
  • Hammer
  • Tape measure
  • Pencil
  • Clamps (optional but helpful)

Materials:

  • 2x4 or 2x6 lumber for the frame (quantity depends on bed size)
  • 1x3 or 1x4 boards for the slats (again, quantity depends on bed size)
  • Wood screws (2-3" length)
  • Wood glue
  • Wood filler (optional)
  • Sandpaper (varying grits)
  • Wood stain or paint (optional)
The amount of lumber you'll need will depend on the size of your bed. For a standard queen-size bed, you'll typically require:
  • 4 pieces of 2x4 or 2x6 lumber, each 80-84 inches long (for the side and end rails)
  • Approximately 12-14 pieces of 1x3 or 1x4 boards, each 75-80 inches long (for the slats)
Adjust the quantities accordingly for different bed sizes. It's always better to have a little extra material on hand than to run short mid-project.

Measuring and Cutting the Lumber

The first step is to measure and cut all the necessary pieces to size. This will ensure a precise fit and make the assembly process much smoother.

Cutting the Frame Pieces

1. Measure the desired dimensions of your bed frame. A standard queen size is typically 80-84 inches wide by 60-66 inches long. 2. Use a circular saw or miter saw to cut the 2x4 or 2x6 boards to length for the side rails and end rails. Be sure to measure and cut each piece individually to account for any slight variations in the lumber. 3. If using 2x6 boards, you may want to rip them down to 5.5 inches wide on the saw to create a more streamlined profile.

Cutting the Slats

1. Measure the inside width of your frame (typically 75-80 inches for a queen size) and divide by the number of slats you want to use (usually 12-14 for a queen). 2. Use this measurement to cut the 1x3 or 1x4 boards to length for the slats. It's best to cut each one individually to ensure consistency. 3. You can use a miter saw to make quick, clean cuts, or a circular saw with a straightedge guide.

Assembling the Bed Frame

Now that all the pieces are cut to size, it's time to start assembling the bed frame. This process is relatively straightforward, but take your time and double-check measurements as you go.

Constructing the Frame

1. Lay out the 2x4 or 2x6 boards on a flat surface in the desired configuration for the bed frame (two side rails and two end rails). 2. Apply a generous amount of wood glue to the ends of the side rails, then position and clamp the end rails in place. Secure with 2-3" wood screws, being careful not to split the wood. 3. Once the frame is assembled, flip it over and sand any rough edges or joints.

Installing the Slats

1. Measure and mark the position of each slat on the inside of the side rails, spacing them evenly apart (usually 4-6 inches between centers). 2. Apply wood glue to the ends of each slat, then position and clamp them in place on the marks. 3. Secure the slats by driving 2-3" wood screws through the side rails and into the ends of the slats. 4. For a more seamless look, you can fill any visible screw holes with wood filler once the frame is complete.

Finishing Touches

With the basic structure complete, you can now focus on the finishing details to elevate the look of your custom bed frame.

Sanding and Finishing

1. Thoroughly sand the entire bed frame, starting with a coarse 80-100 grit paper and working up to a finer 120-150 grit for a smooth finish. 2. Wipe away any dust, then apply a wood stain, paint, or clear sealant of your choice. This will not only enhance the appearance but also protect the wood. 3. Allow the finish to fully dry and cure according to the manufacturer's instructions.

Bedroom Placement and Assembly

1. Once the finish is dry, carefully move the bed frame to its intended location in your bedroom. 2. If your mattress and box spring will sit directly on the slats, you're ready to go! Simply place them on top of the frame. 3. Alternatively, you can add a sturdy piece of plywood, a bunkie board, or a foundation on top of the slats to support the mattress.

Key Takeaways

Building a simple slatted bed frame is a highly achievable DIY project that can transform the look and feel of your bedroom. By using basic tools and materials, you can create a custom, high-quality piece of furniture that fits your space and style preferences. Remember these key points: - Plan your material needs based on the desired bed size, aiming for a bit of extra just in case. - Carefully measure and cut all the pieces to ensure a precise fit during assembly. - Take your time during the gluing and screwing process to ensure a sturdy, long-lasting frame. - Add finishing touches like sanding, staining, and painting to elevate the overall aesthetic. - Position the frame properly in your bedroom and add any necessary mattress support. With this straightforward guide, you now have the knowledge and confidence to build your own beautiful, custom slatted bed frame. Enjoy the process and the rewarding final product that will anchor your bedroom for years to come.

Ready to Start Your Next DIY Project?

Explore our categories to find more inspiration, tips, and step-by-step guides for your home improvement journey.

Browse All Categories